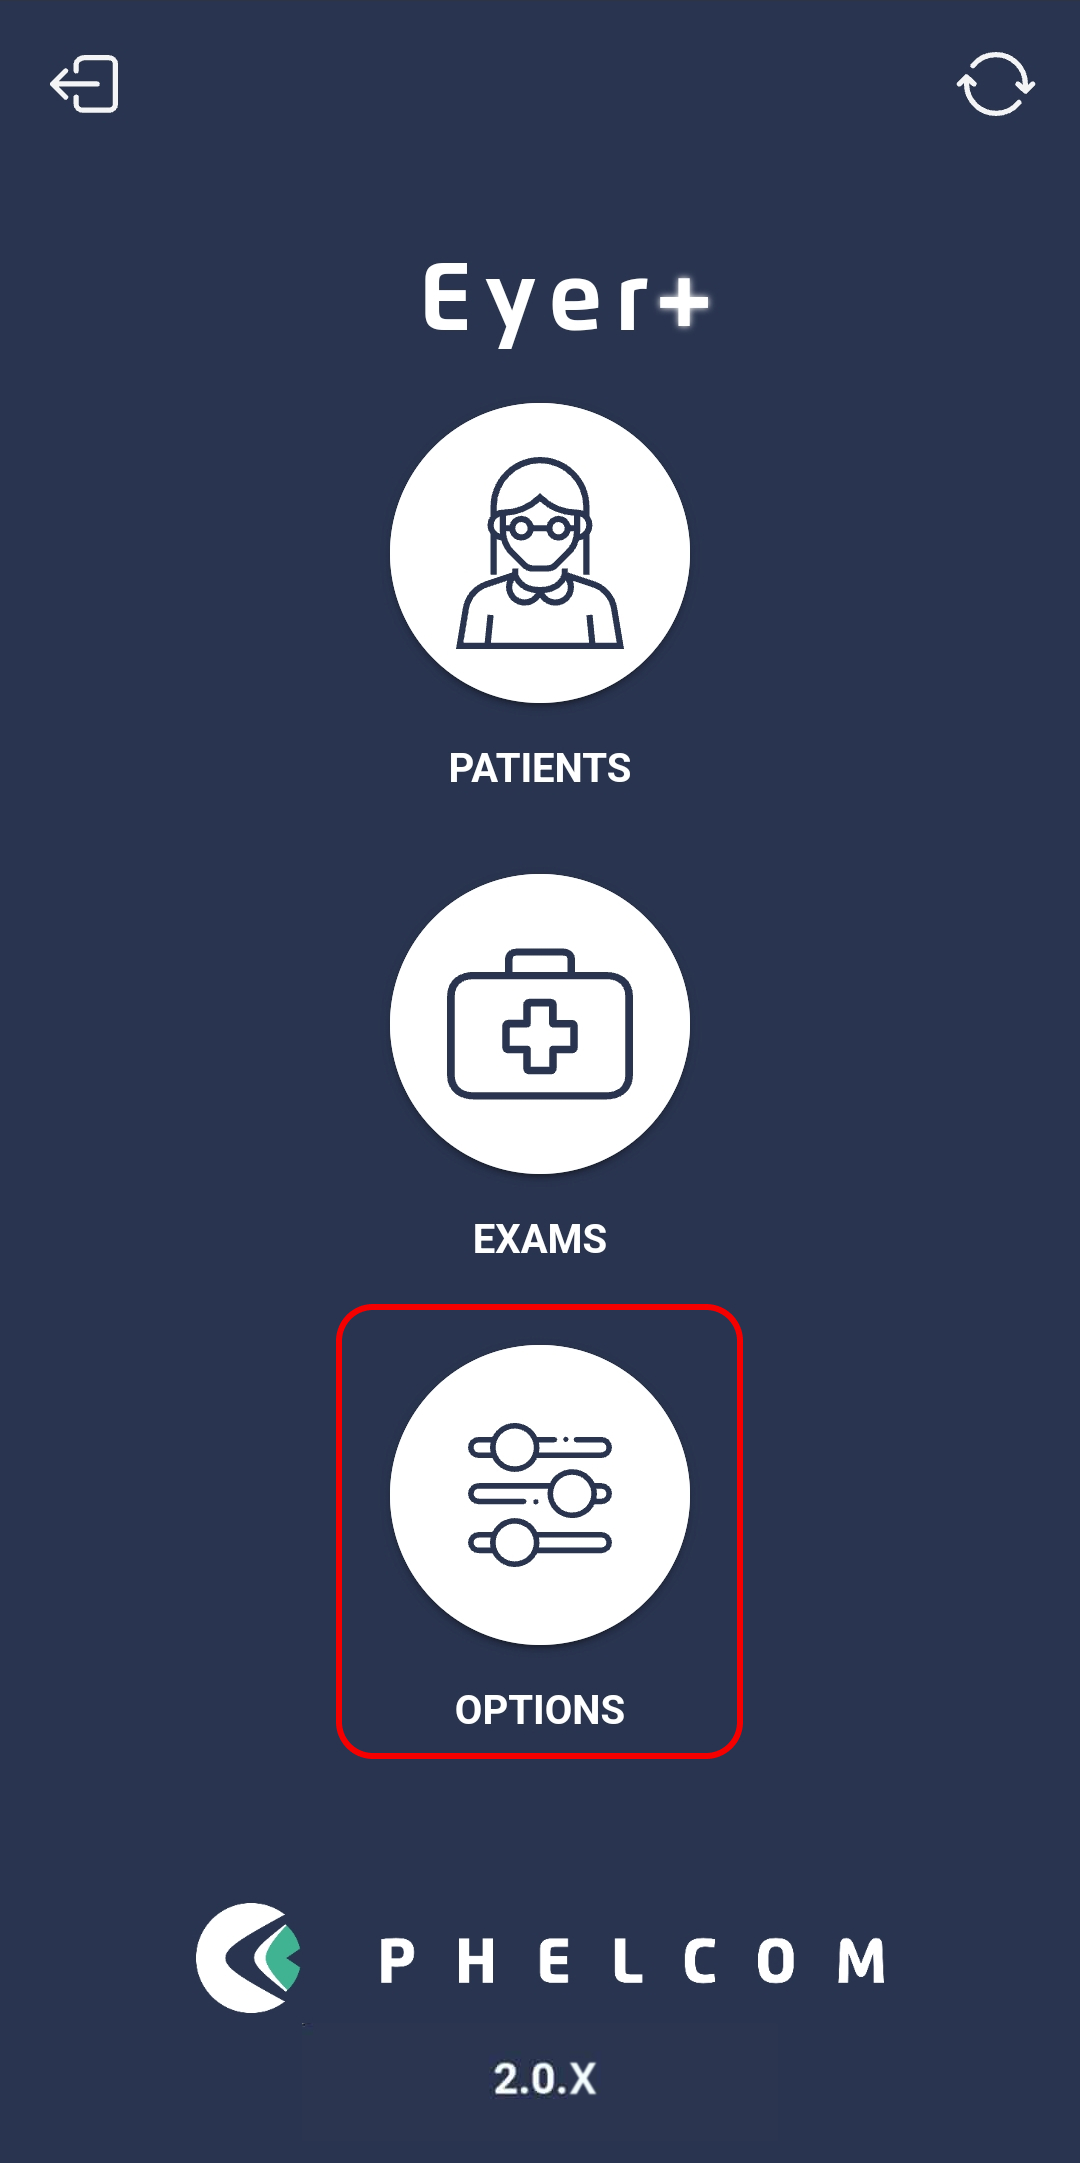
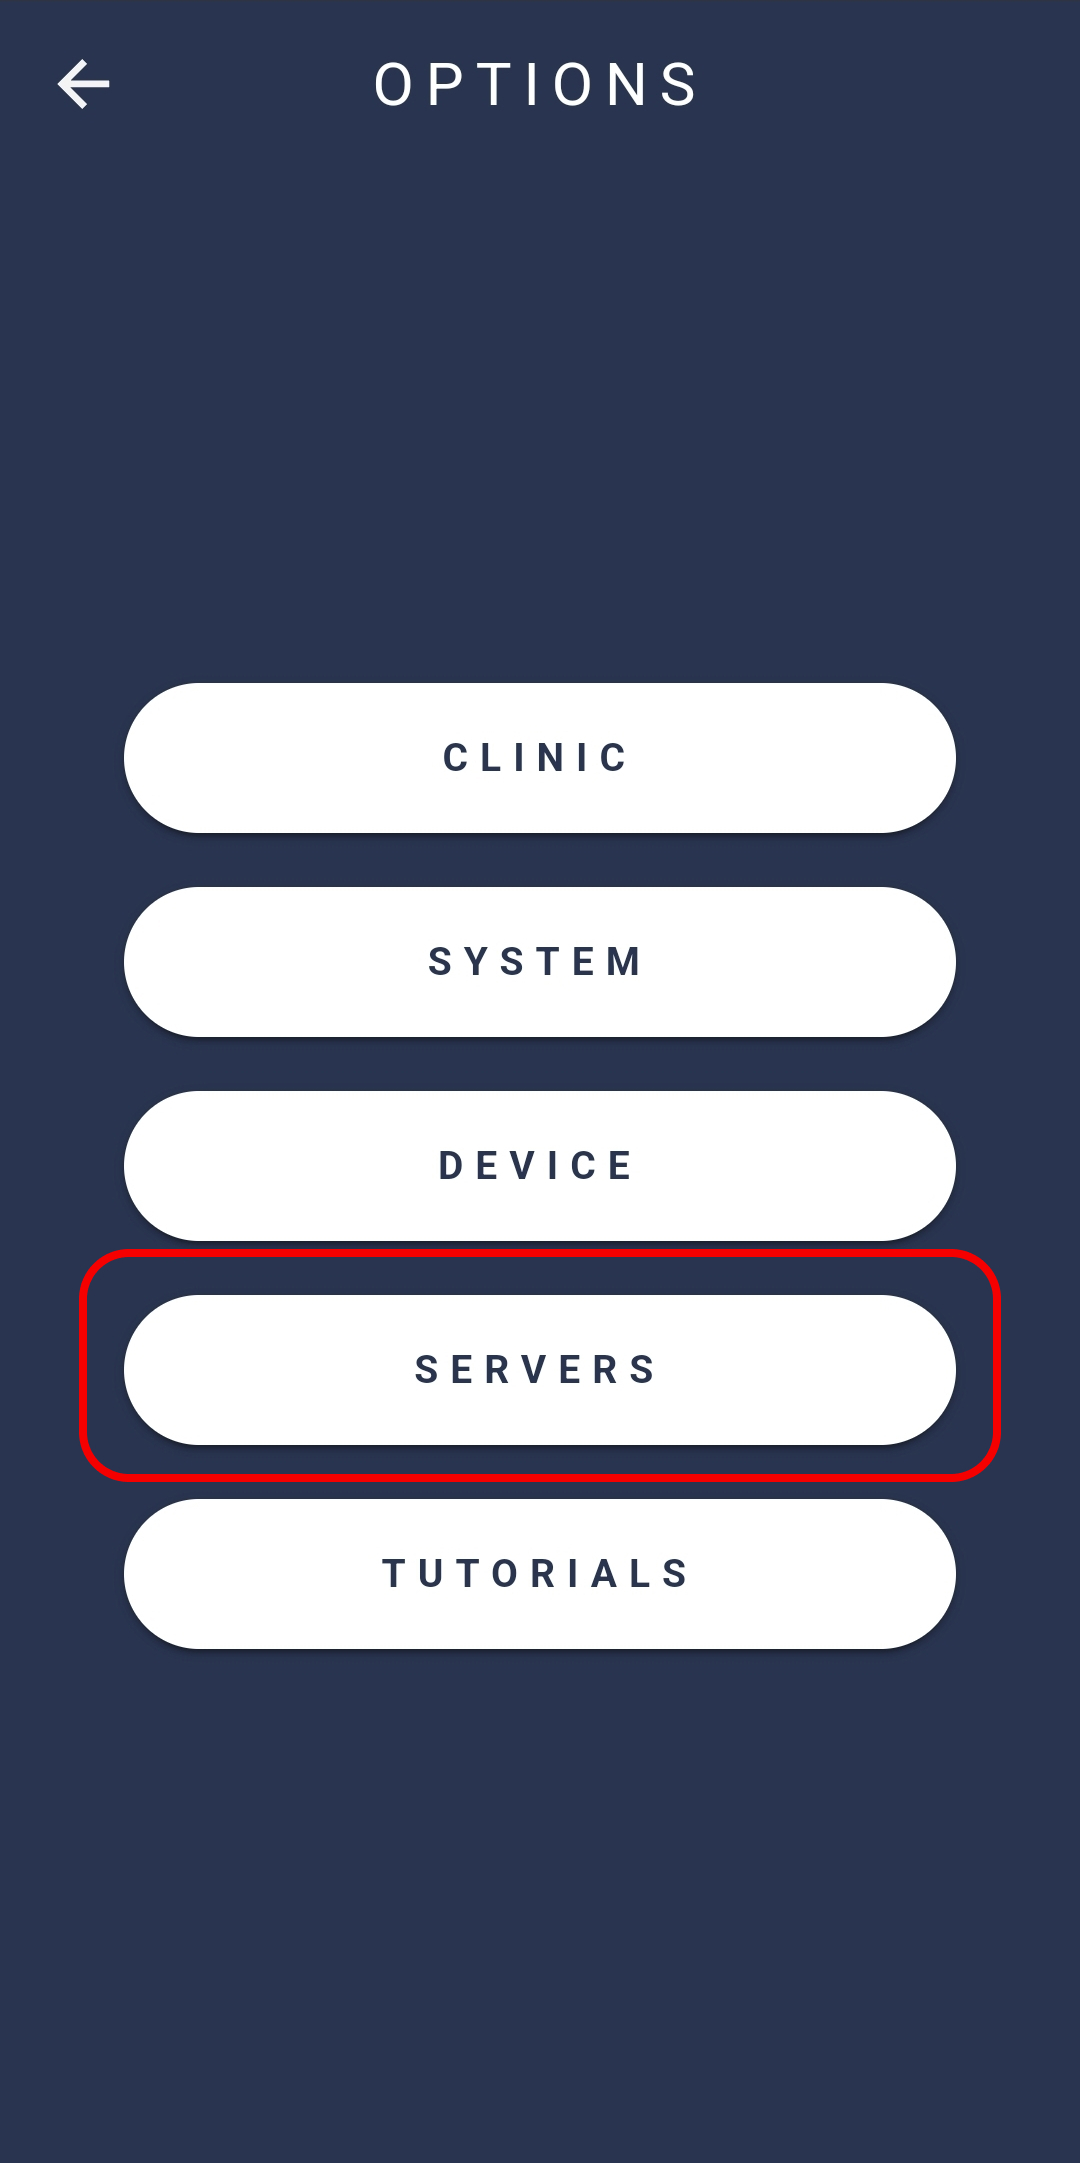
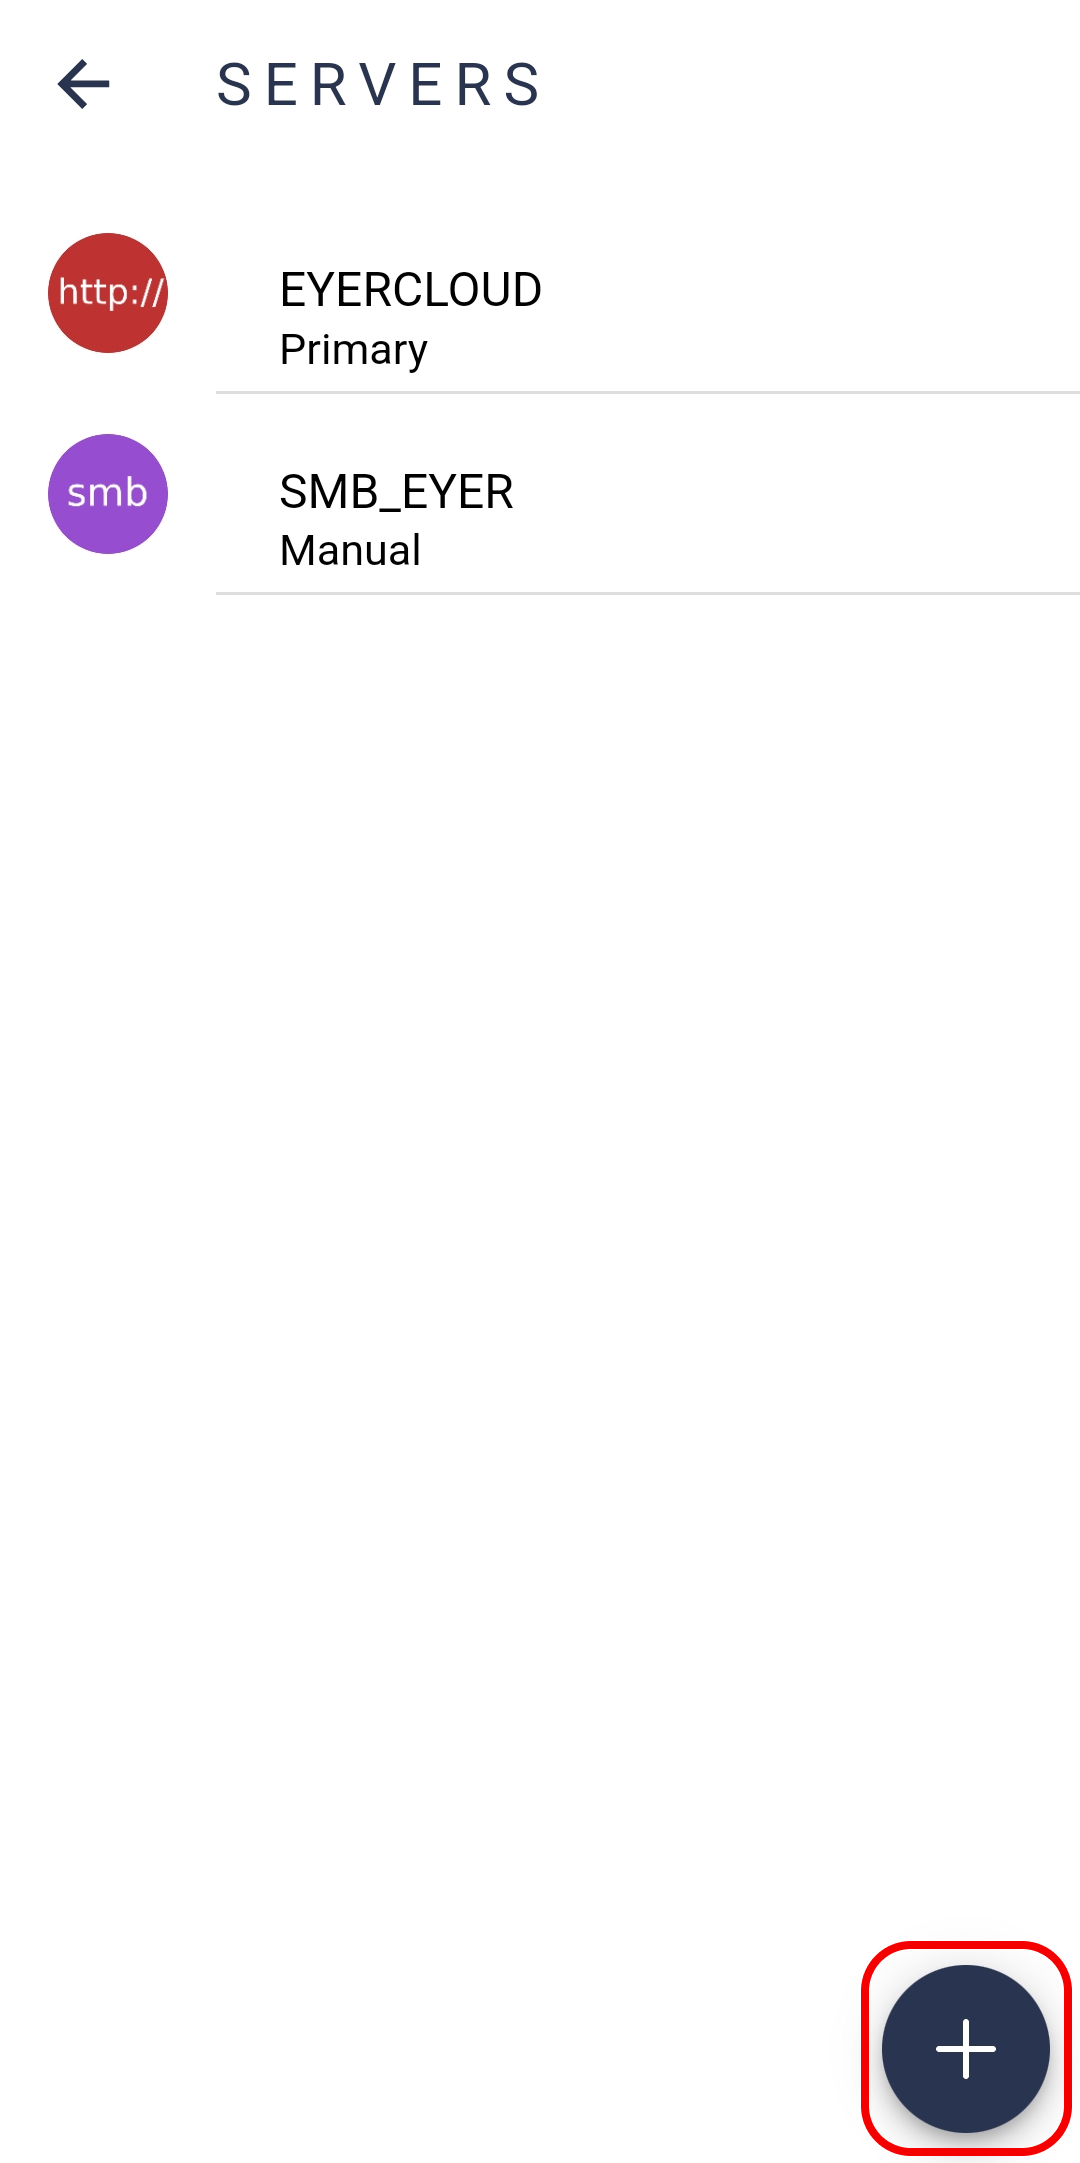
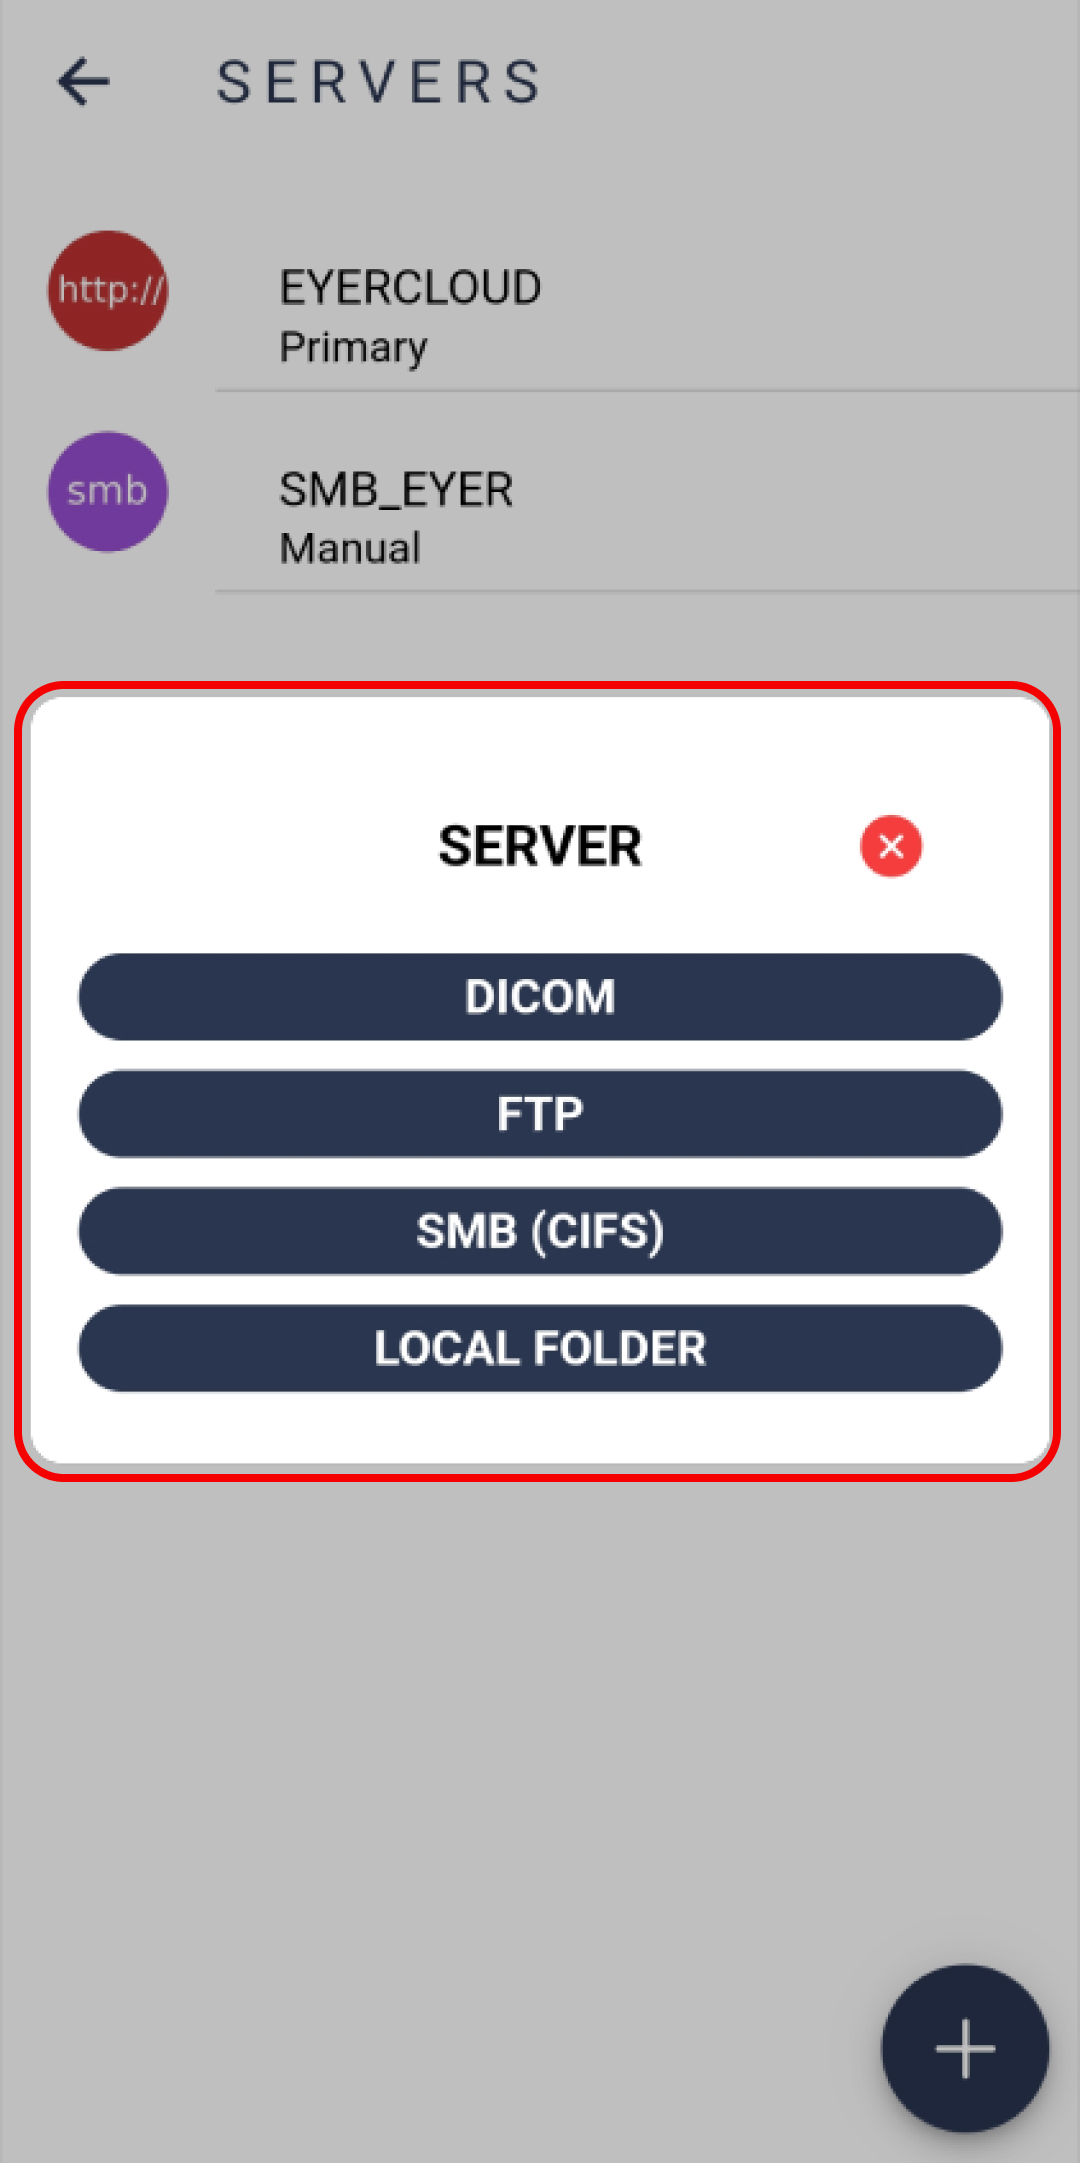
All images are sent to either the Eyercloud system or a user configured server. To establish a connection to a server, click on “Options”, then “Servers”, followed by selecting the icon and choosing the appropriate server type.
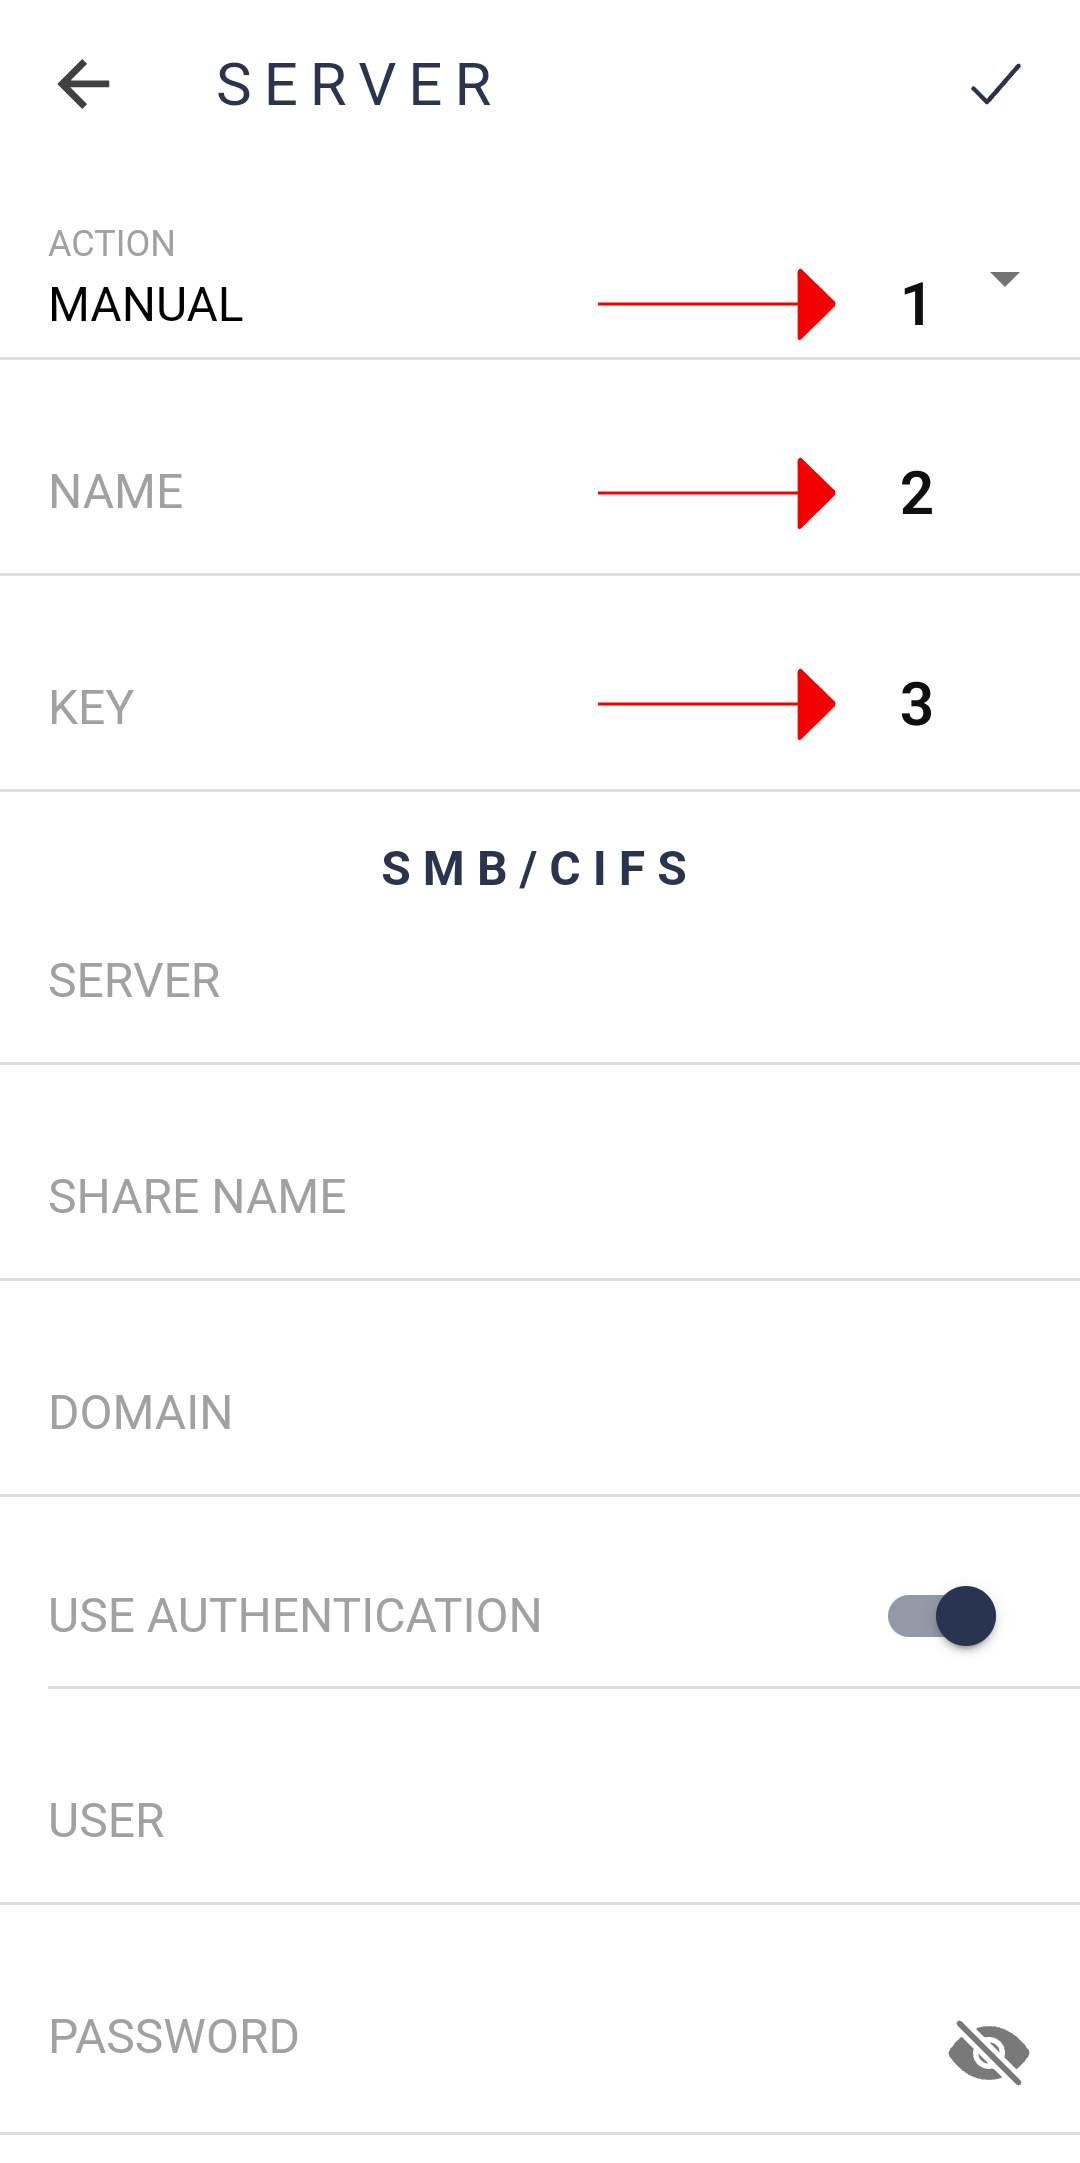
These settings are required regardless of the type of server being configured:
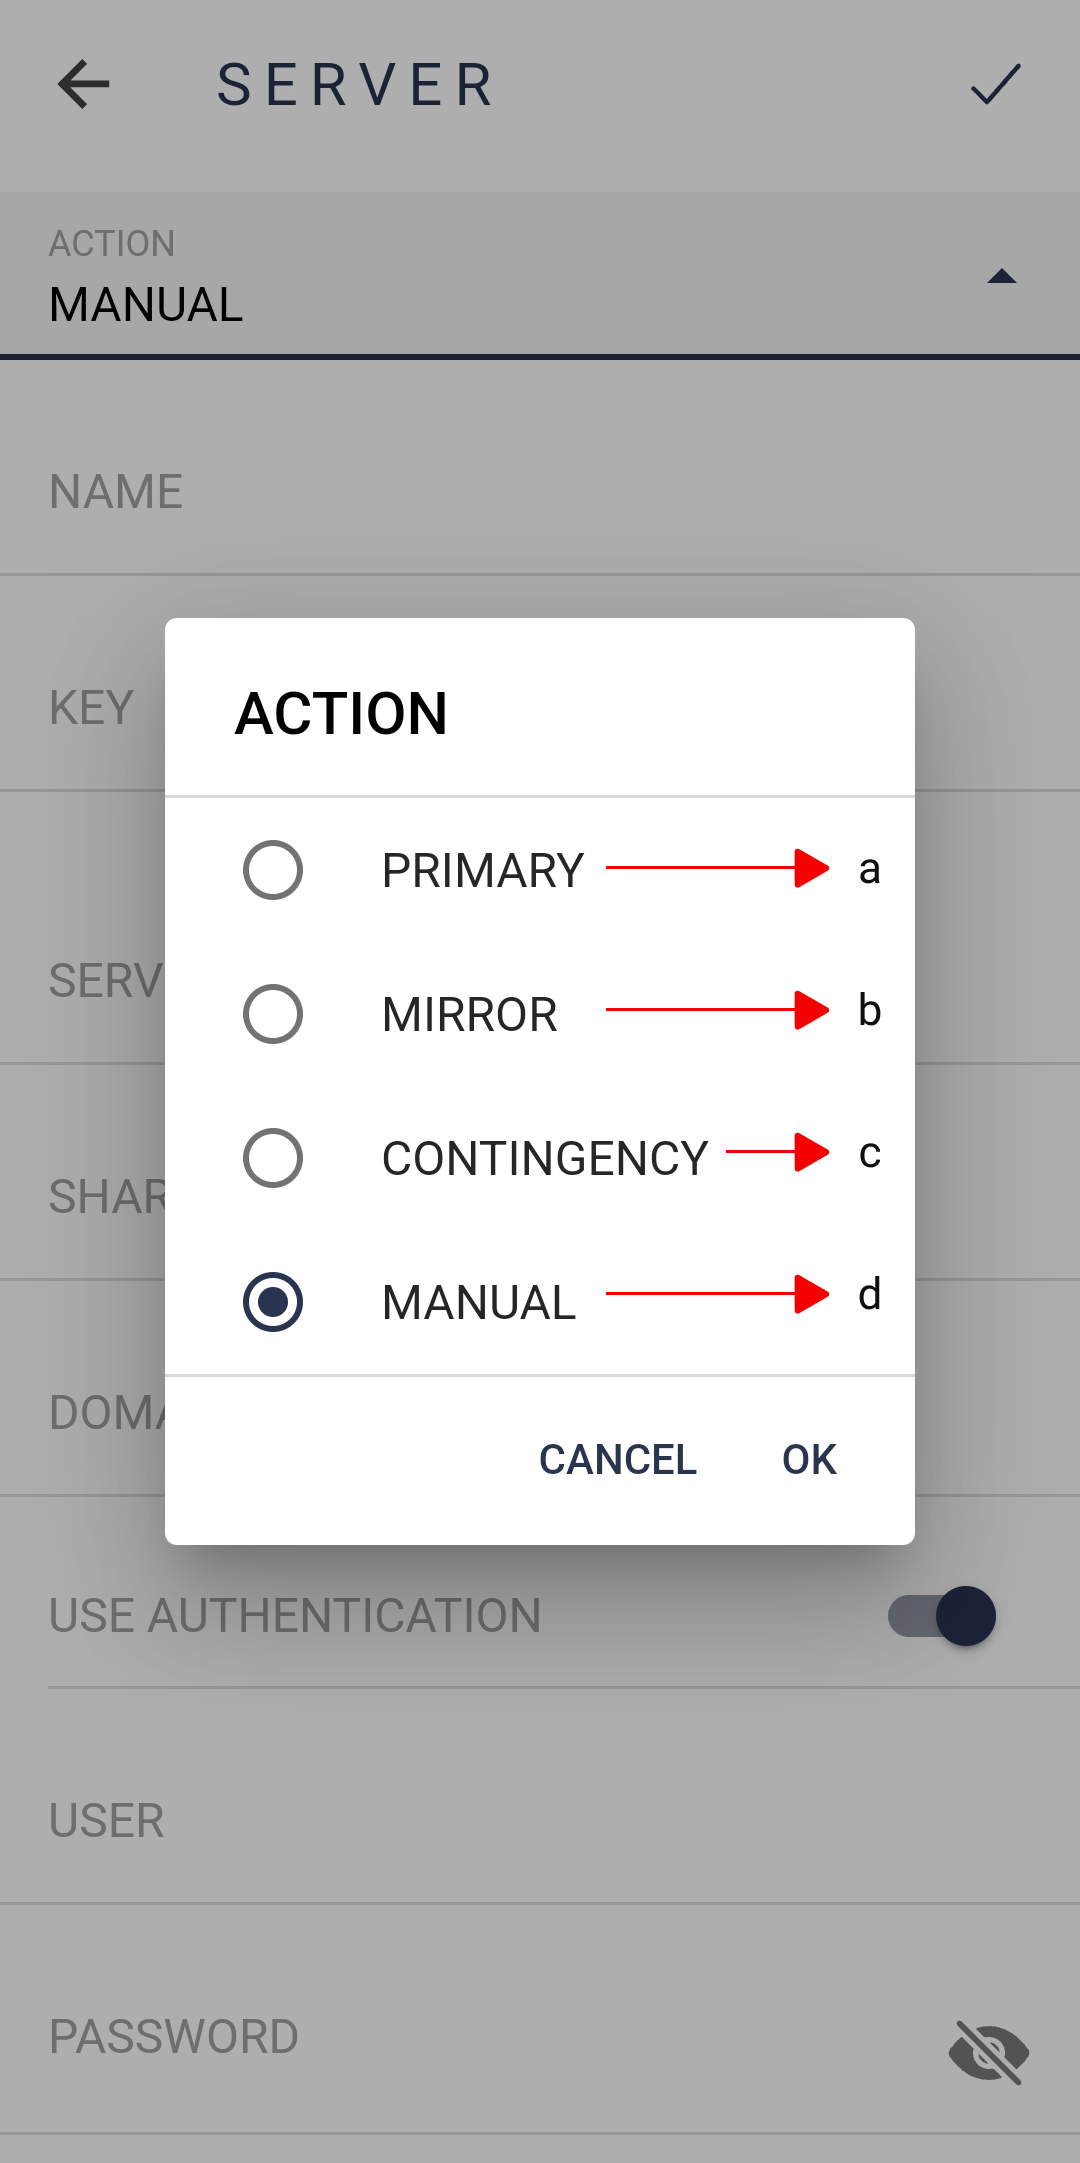
1. Action: Defines the behaviour of the server (when to share the data):Primary: Default server used by Eyercloud. Cannot be removed, only disabled.
Mirror: All the data generated by the device will be sent to the primary server and any mirror(s) configured.
Contingency: Used only in case of Primary server failure.
Manual: not used automatically, but is available for manual transfer.
2. Name: server identifier, is NOT unique.
3. Key: Generated automatically based o nthe server name. Unique and follow the format of three upper case letters (A to Z), followed by a dash (-), followed by three numbers (0 to 9)..
If there are any issues when creating the connection check our troubleshoot post.
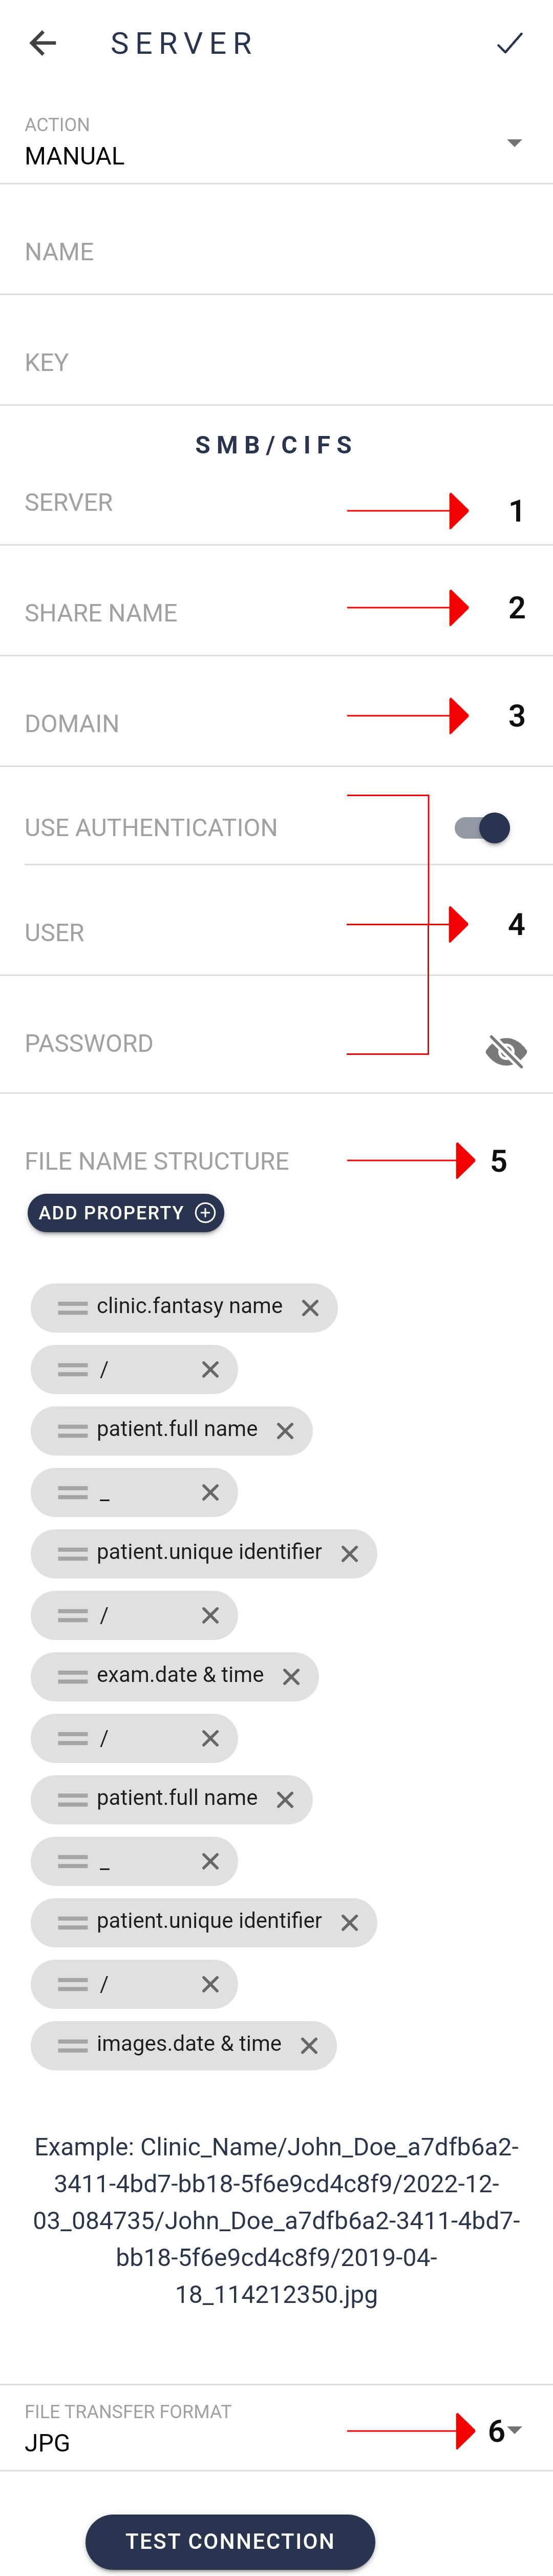
Server: IP address of the computer.
Share Name: name of the shared folder.
Domain: .
Use Authentication: name of the computer’s User, the User who owns the folder.
User / Password: user and password used to connect to the computer.
Filename Structure: name structure of the files.
File Transfer Format: format of the file being transferred, either .jpg or .dcm.
To share data with an SMB server, create a shared folder on your computer. An executable can do this automatically but requires administrator access. If access is unavailable it is advisable to set up the shared folder manually.
Windows
Create the shared folder manually:
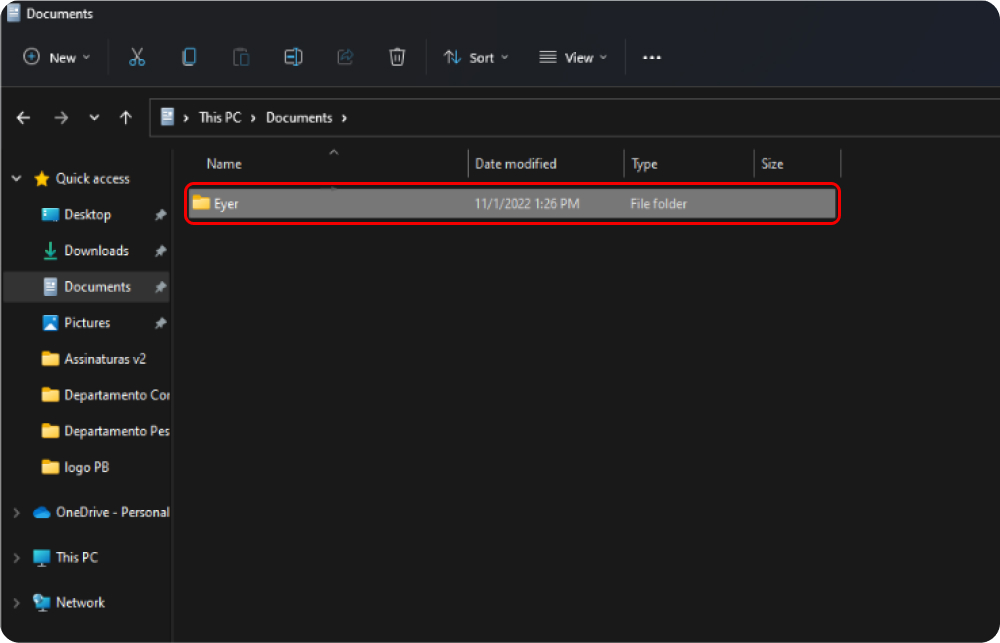
Create a folder to store exam data on the computer.
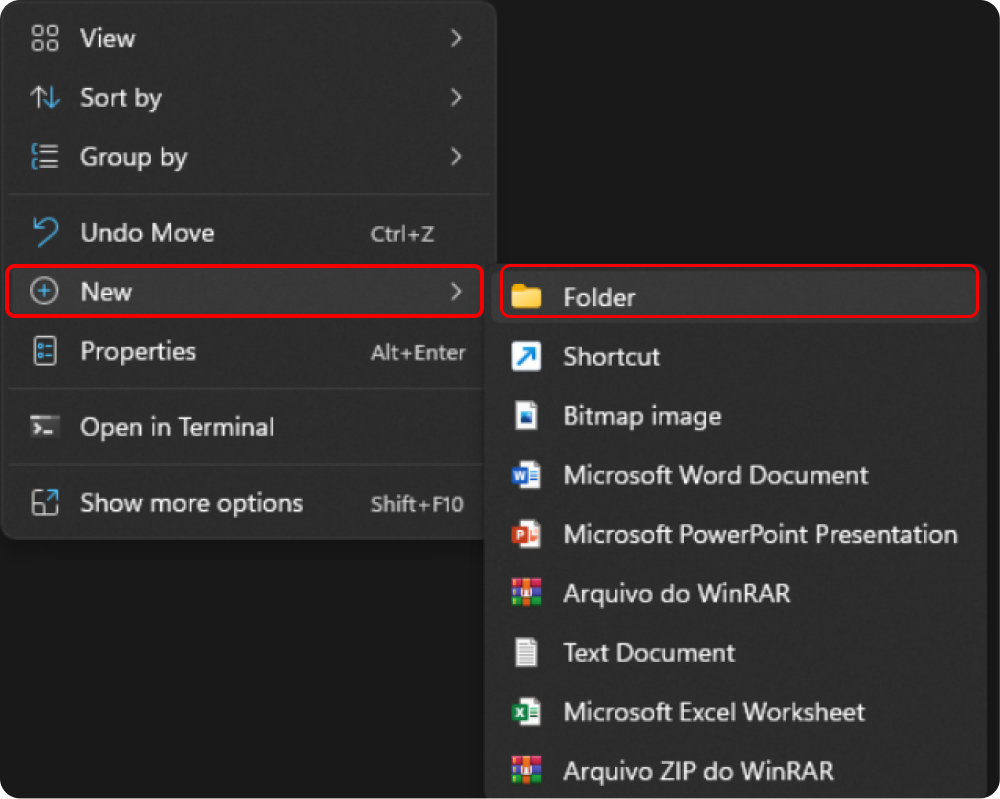
- Right-click the desired location and select “New”, followed by ”Folder” in the menu that appears.
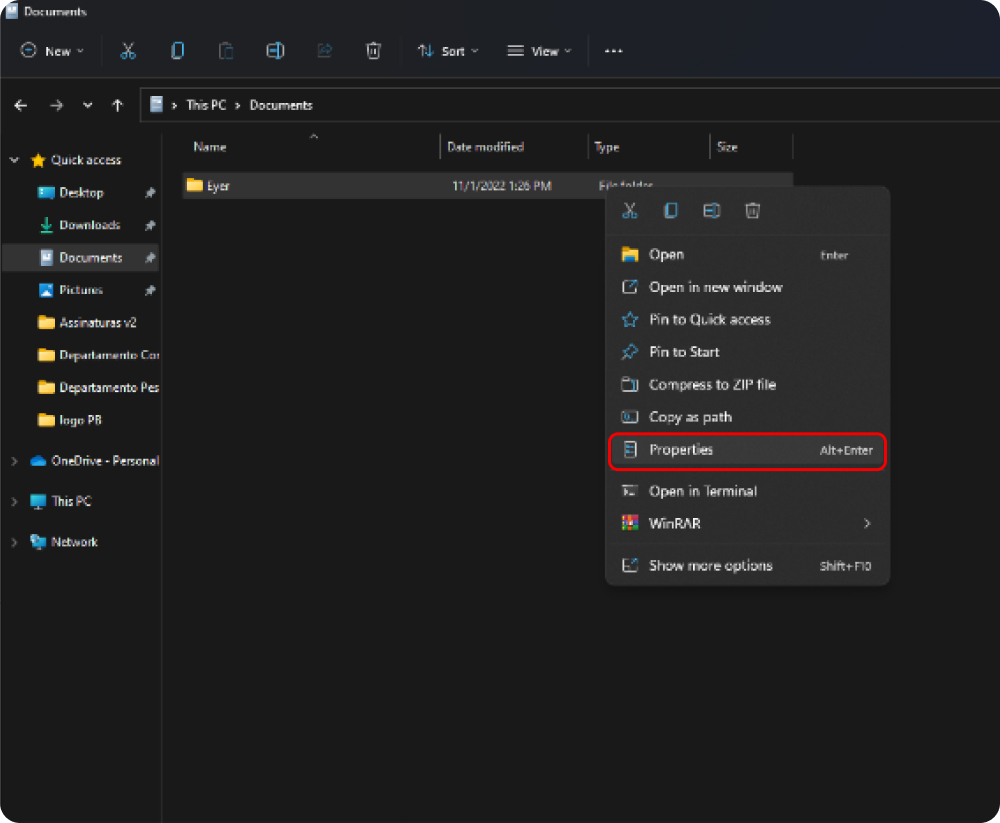
- Right click the folder and in the menu select “Properties”.
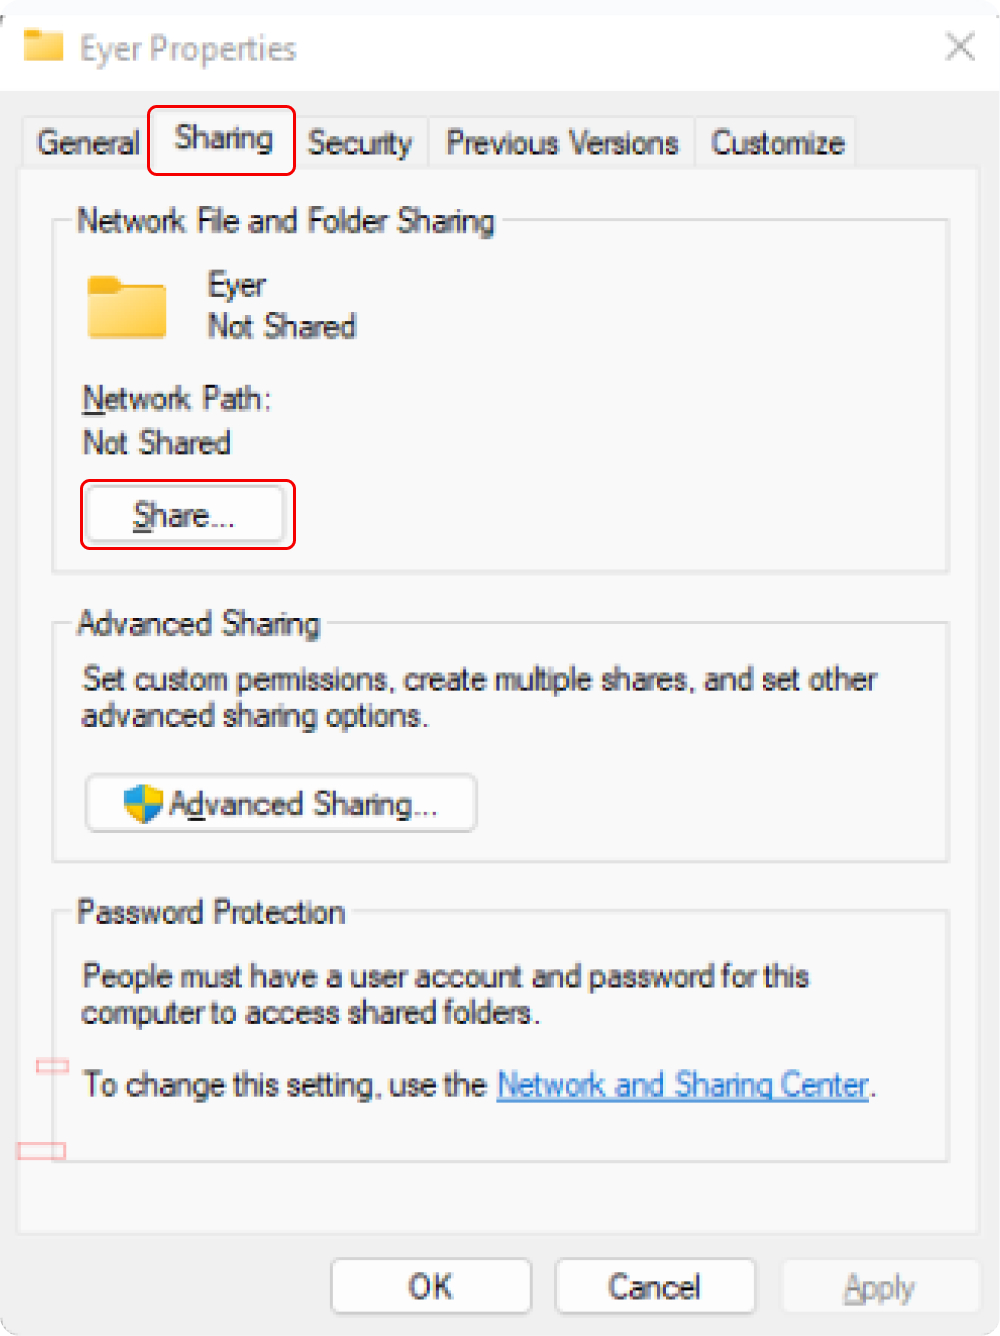
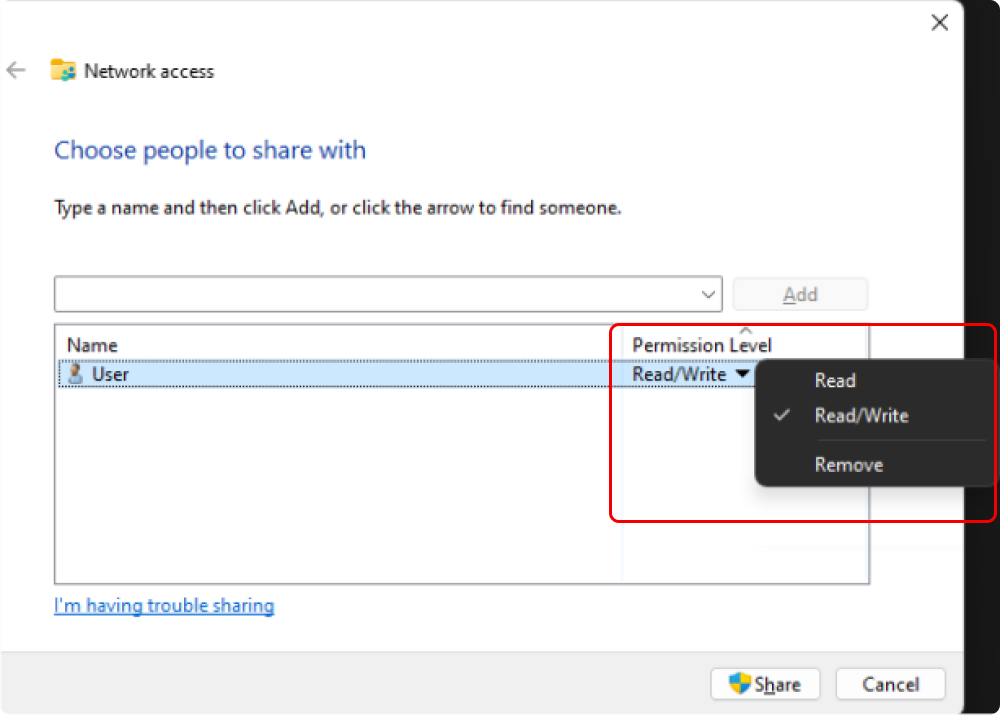
- On the displayed window navigate to “Sharing”, and click on “Share” as shown in the images below.
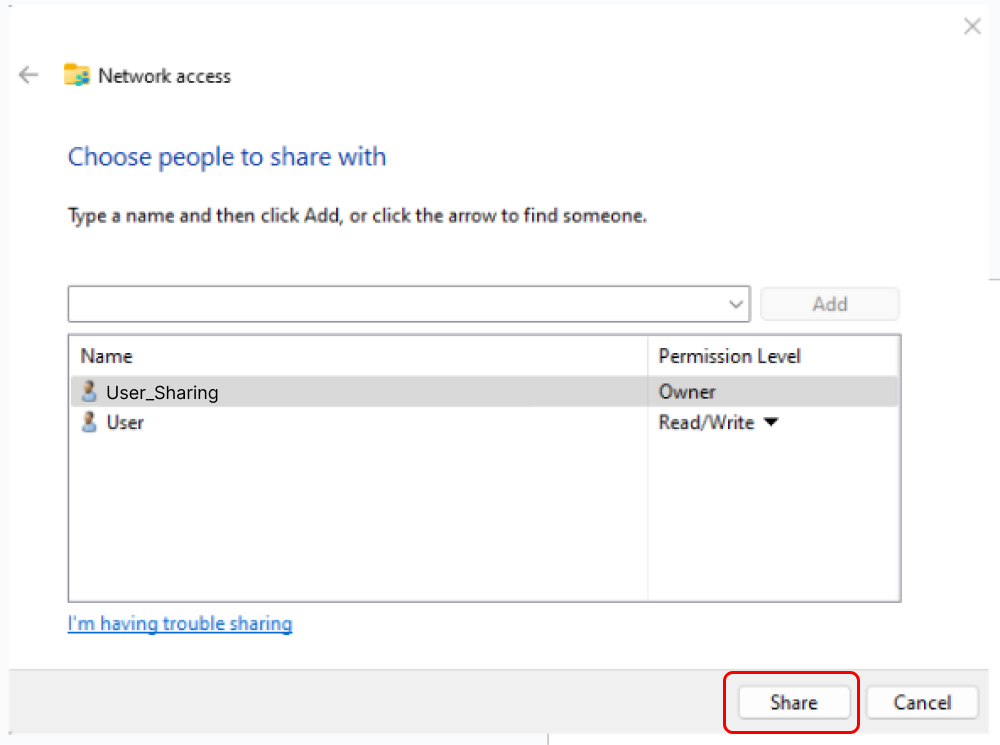
- Select a user to access the folder. Choose an existing one or “Create a new user”. Once selected, grant them “Read/Write” permissions.

- Click “Share” to proceed. If necessary, click “No, make the network that I am connected to a private network”.
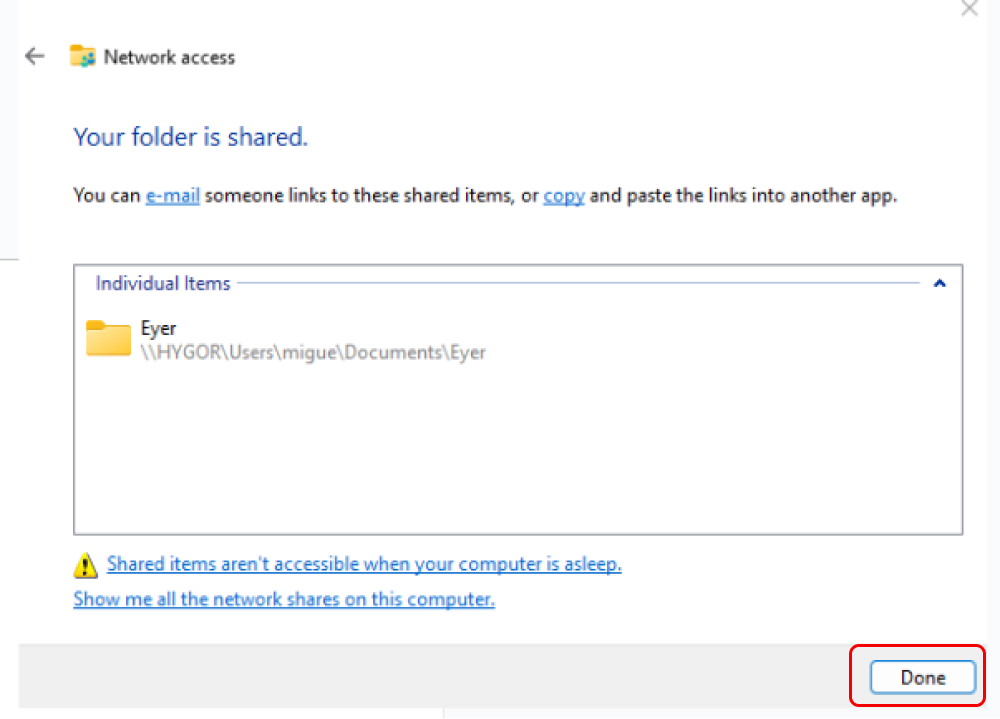
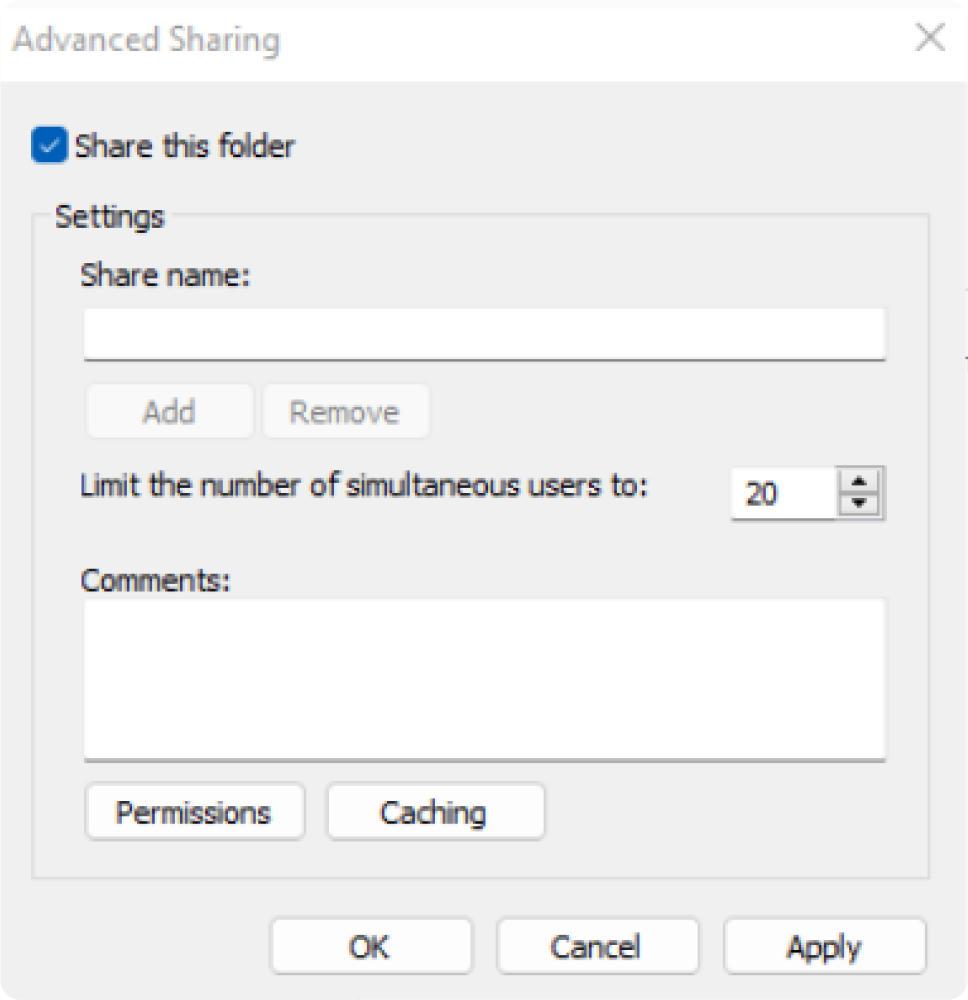
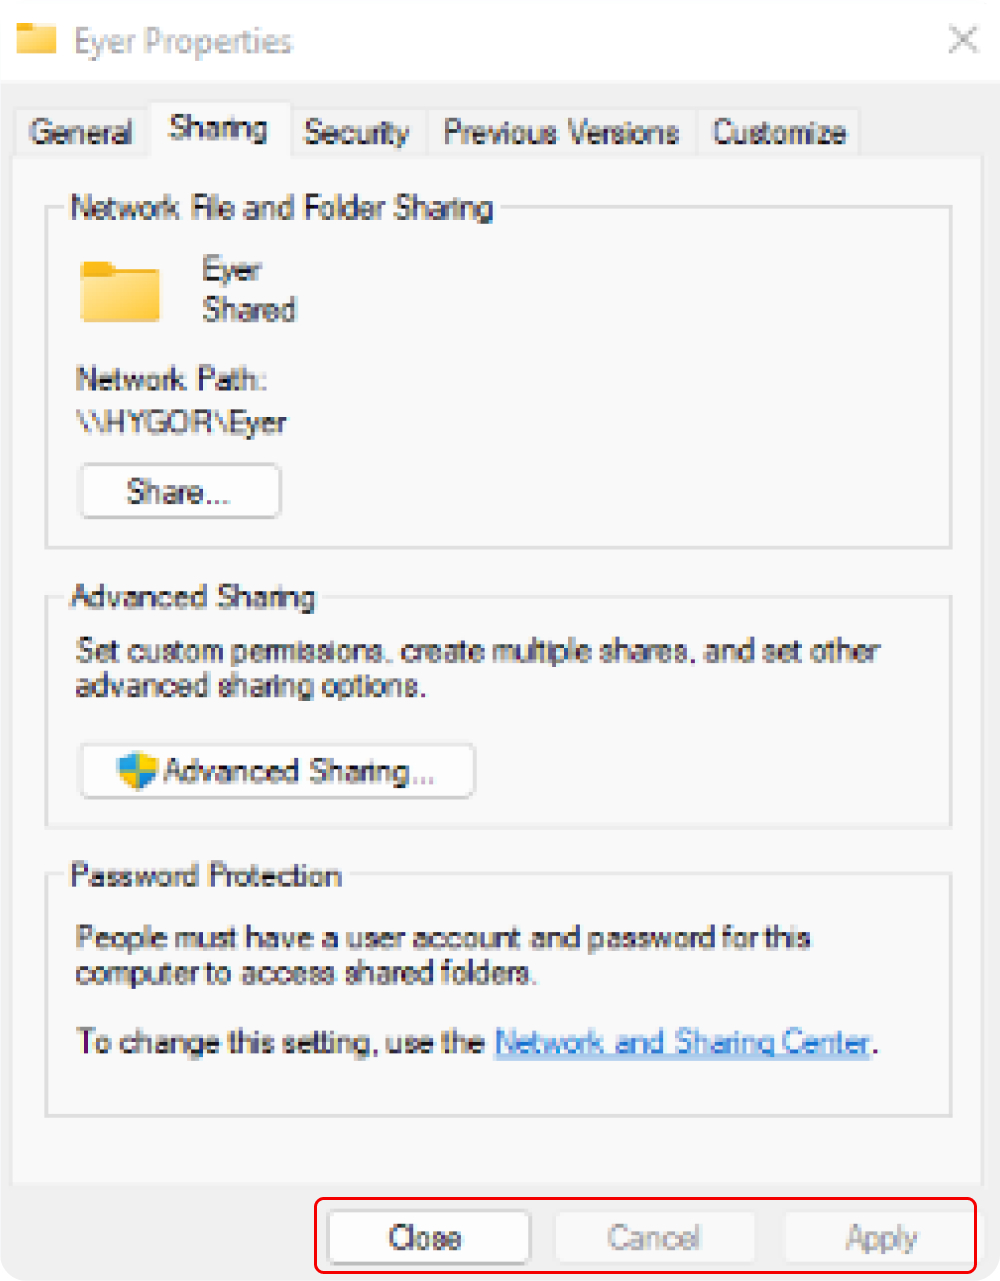
- On the “Sharing” window, click “Advanced Sharing” and then choose “Share this folder”.
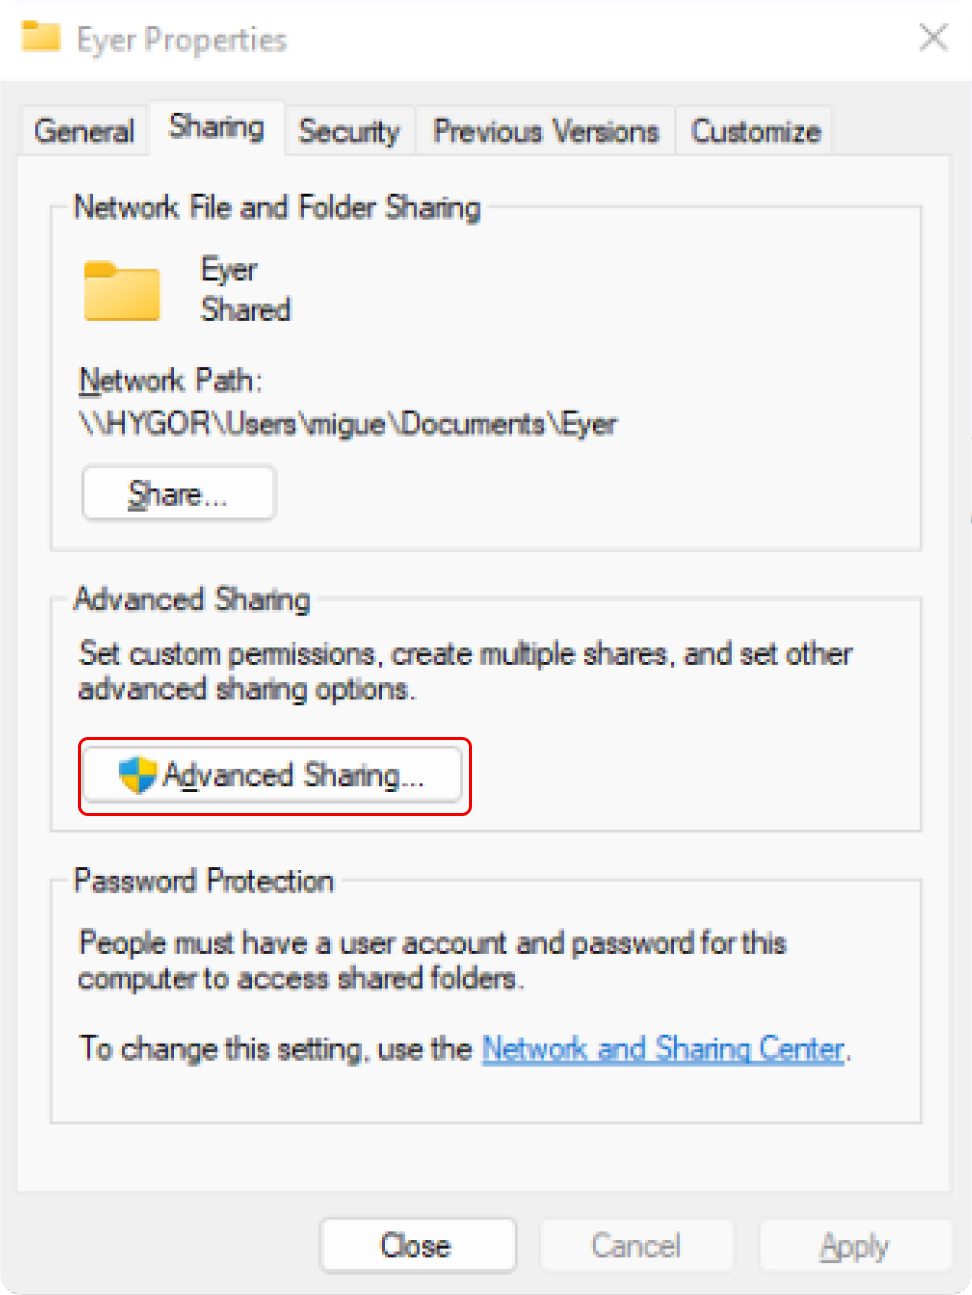
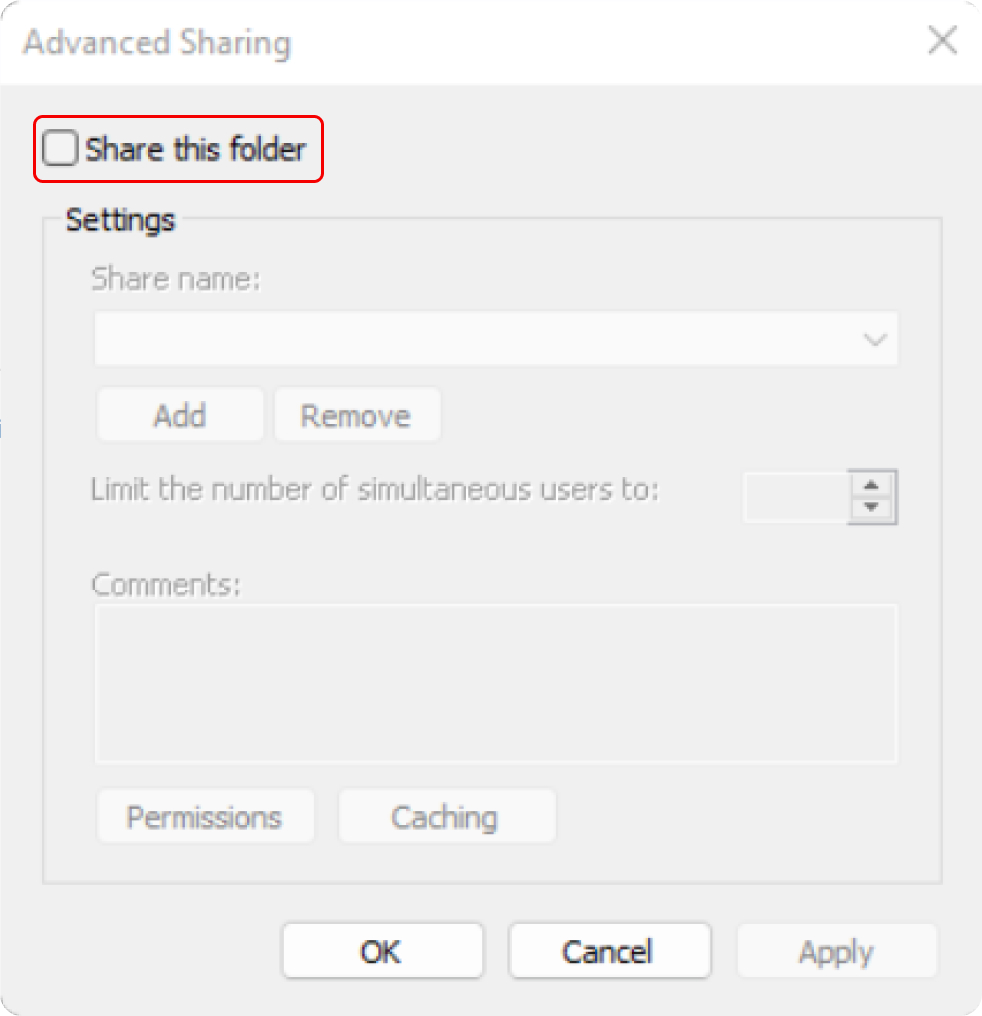
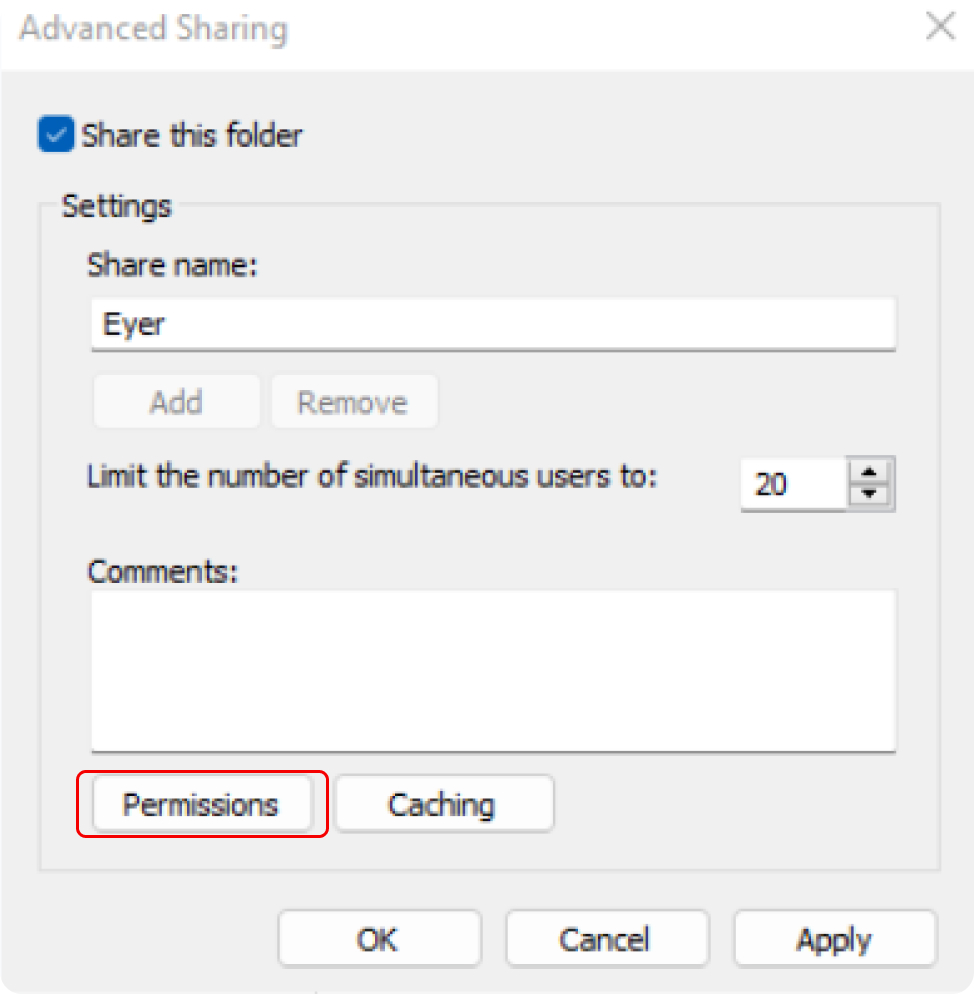
- Enter a name for the sharing operation in the “Share name” field.

- Next, navigate to “Permissions”, choose the user Everyone, and remove it.
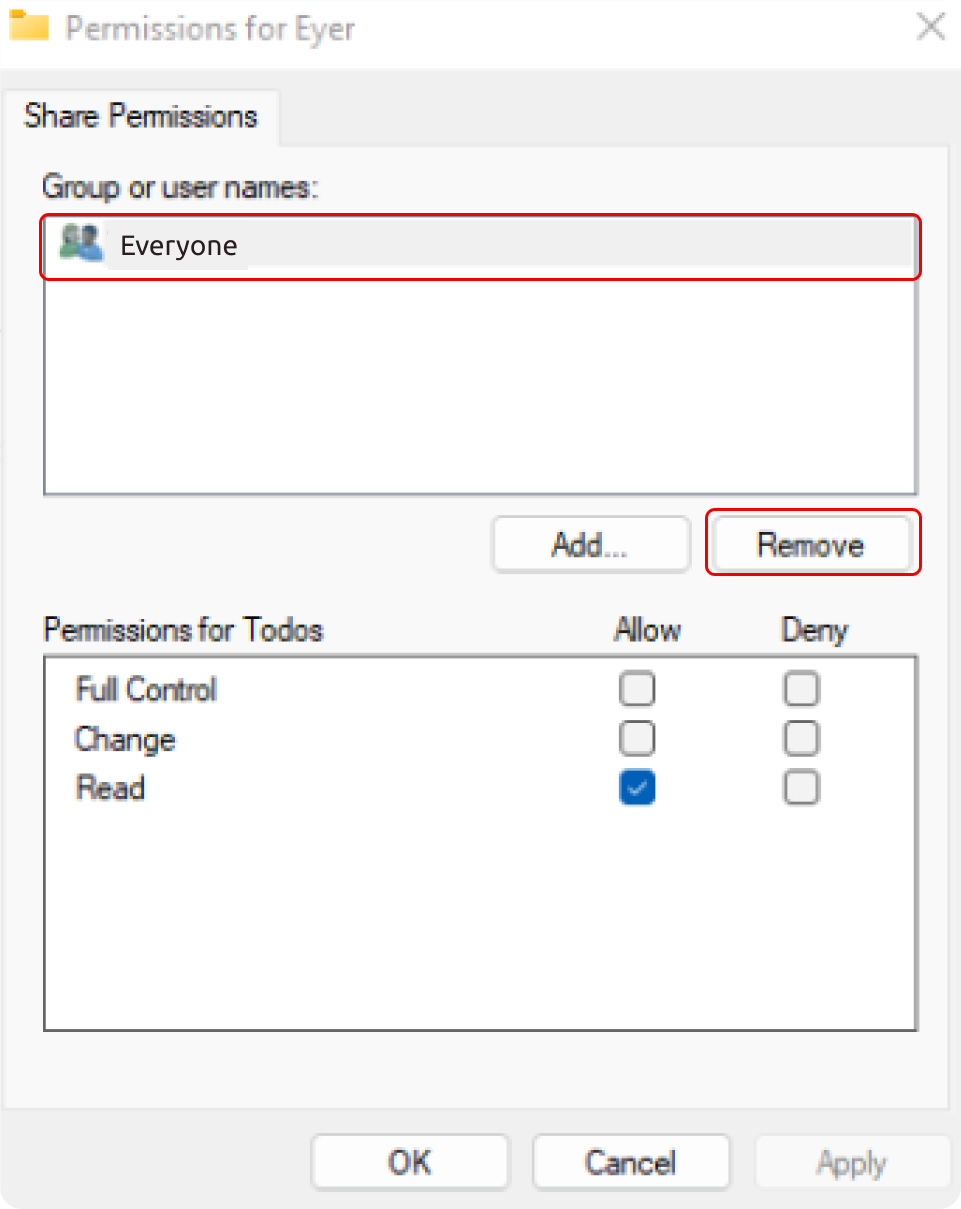
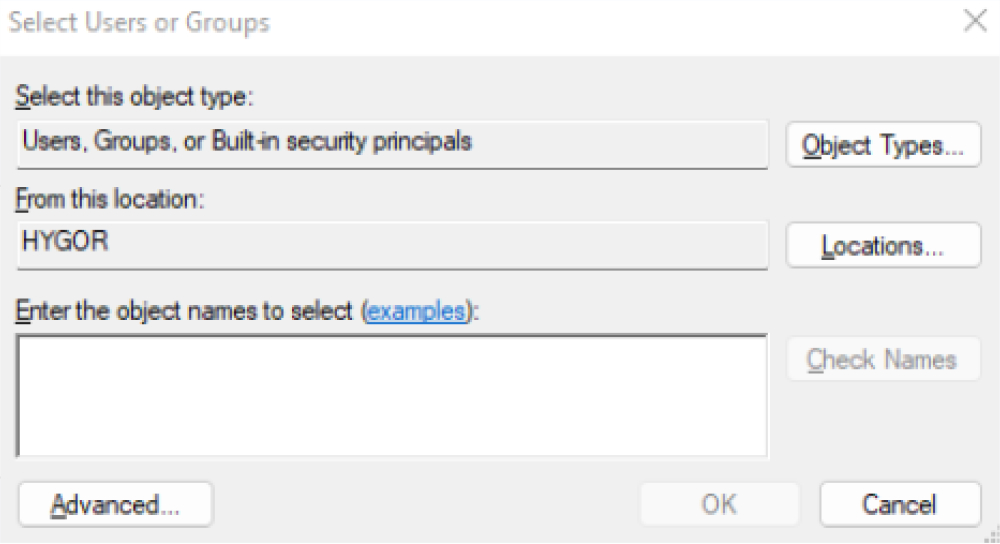
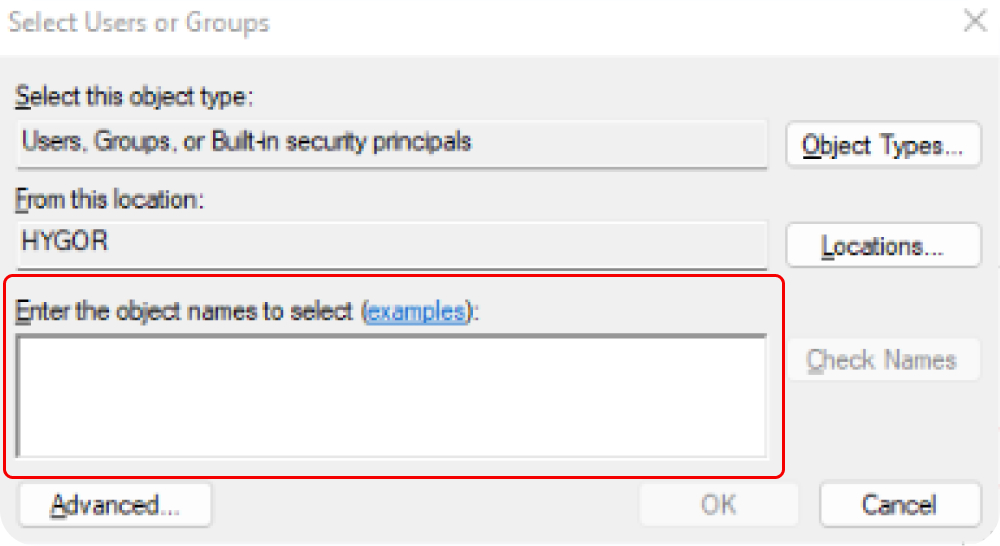
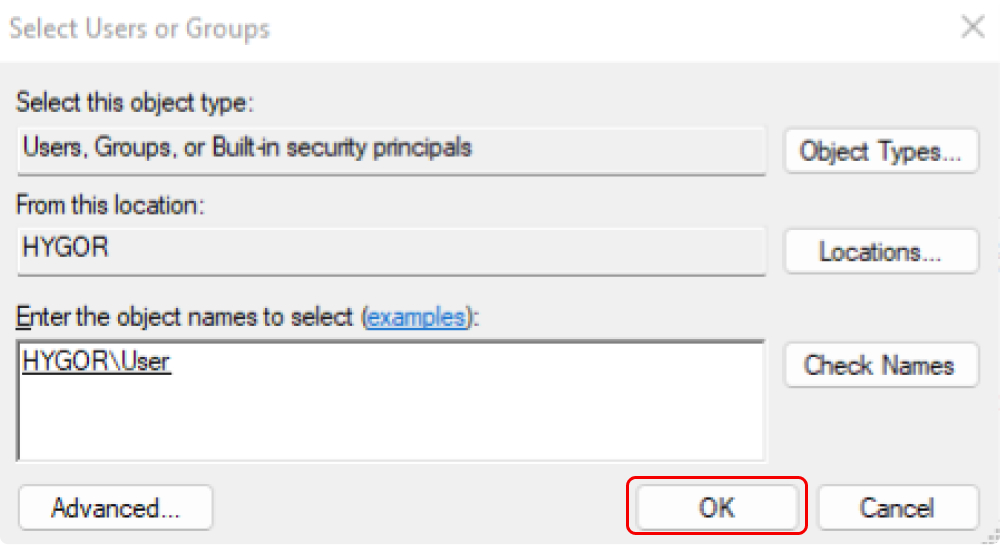
- Then, click “Add…” for all users who will access this folder.
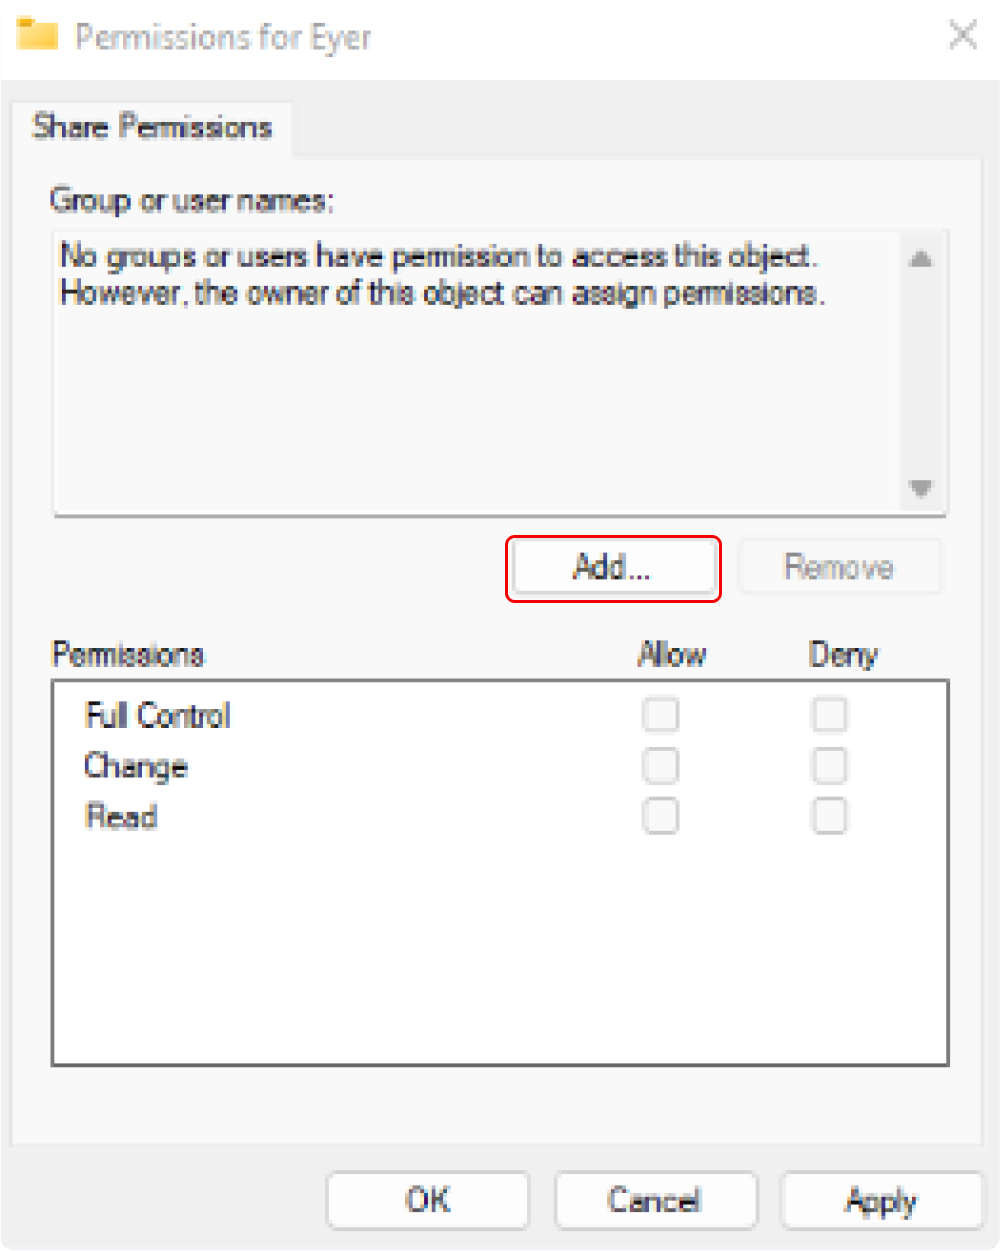
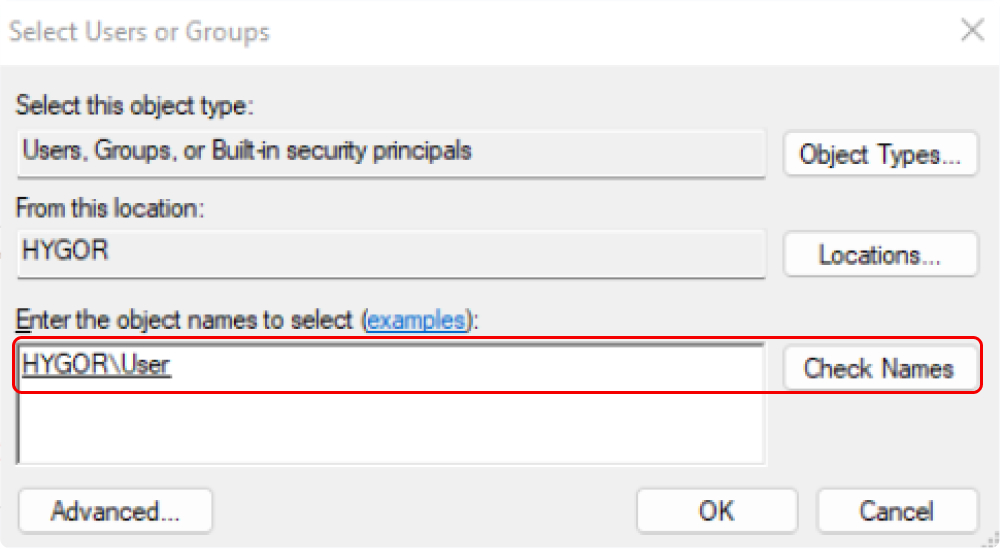
- When all the users who need access to the folder have been added, click “Ok”.
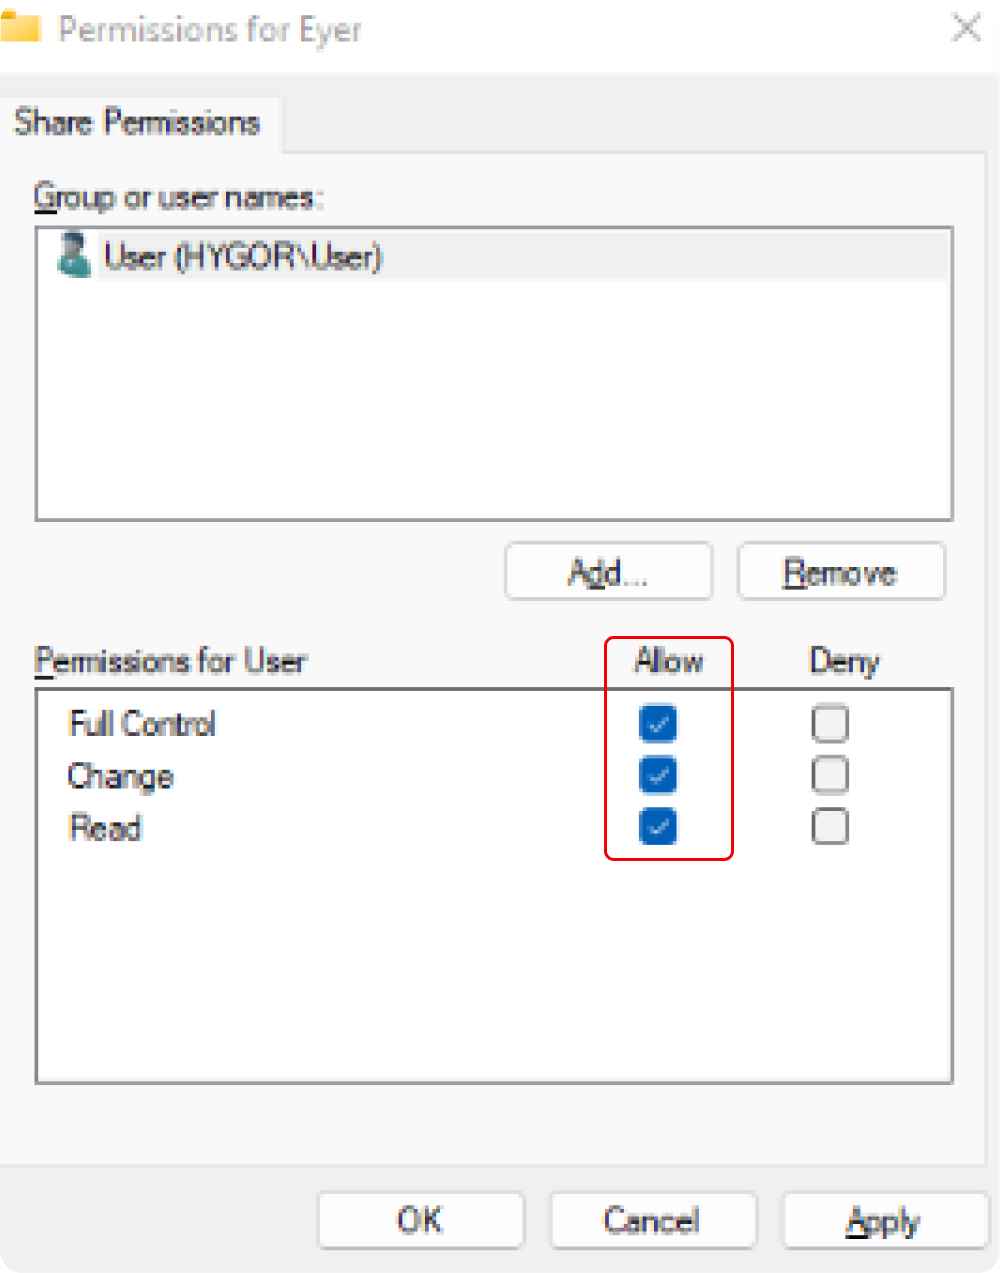
- Back on the Share Permissions window, individually select each user and grant them Full Control by clicking on the box in the Allow column.
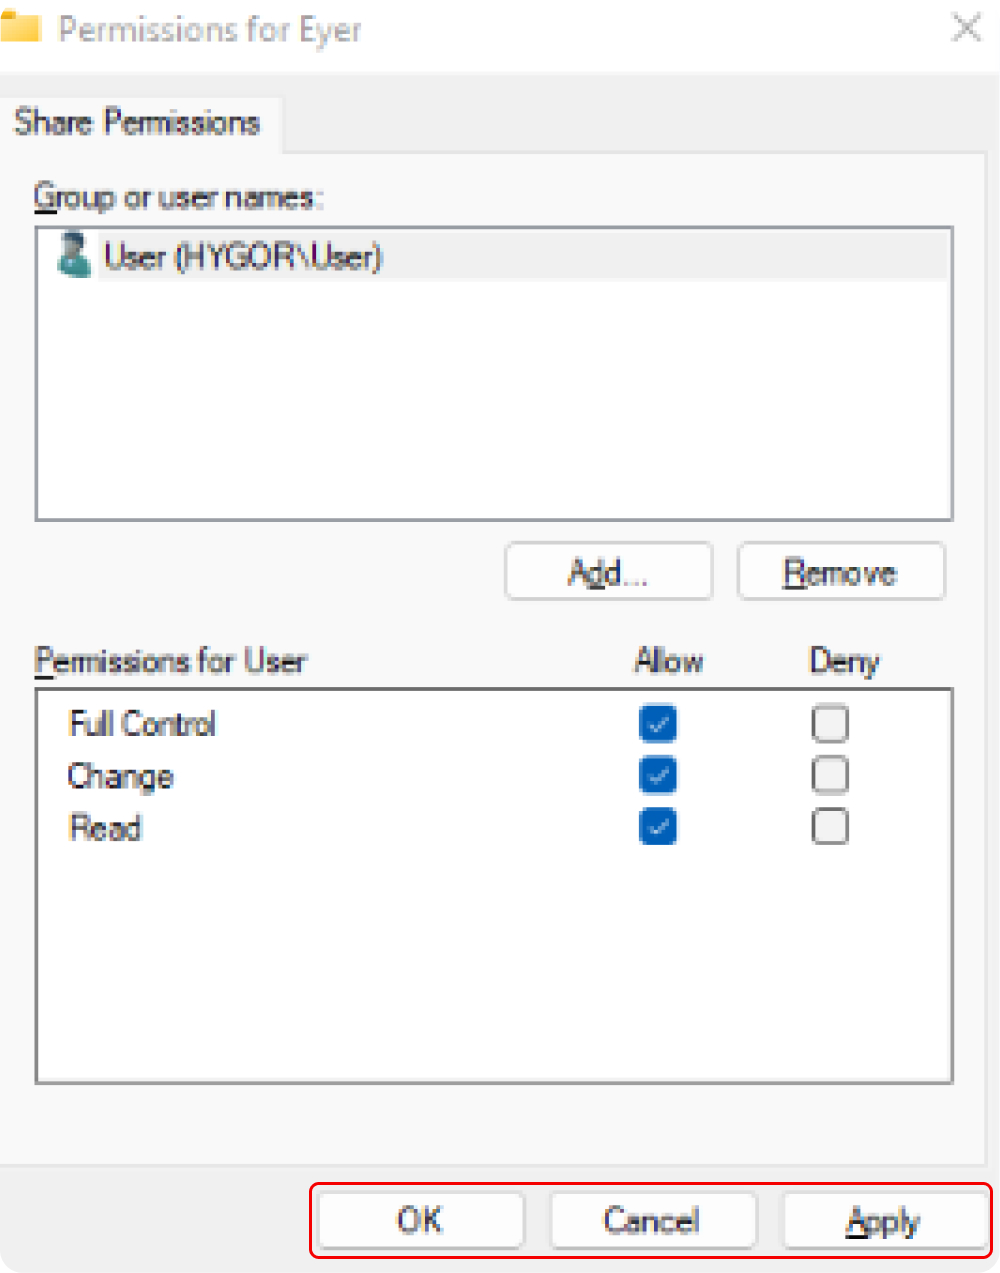
- Press “Ok”. Then press “Ok” again, and finally close the window.
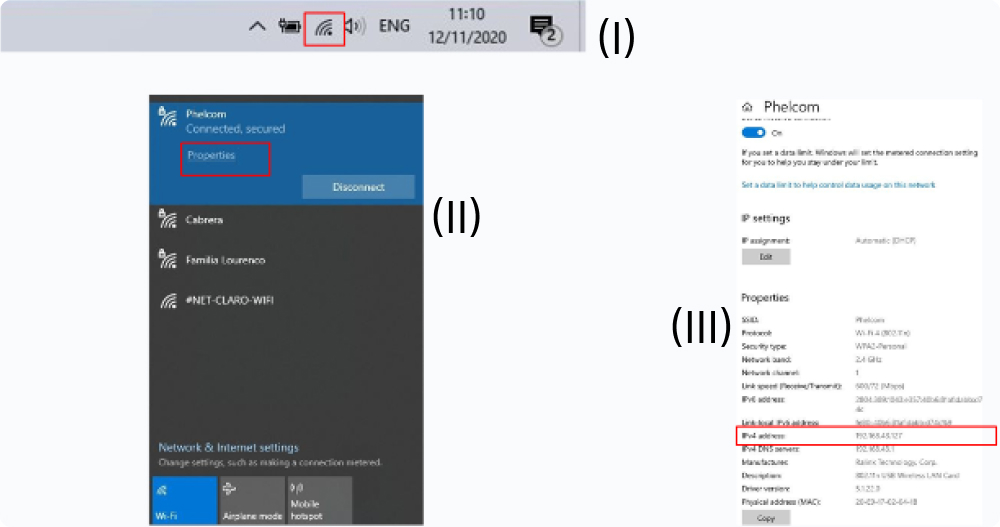
- In the bottom right corner of the Windows Toolbar, click on “Network & Internet Settings” (I). Click on “Properties” (II), and note the IPv4 address.
- On the server connection screen, fill in the information used to create the shared folder.
Create the shared folder automatically:
To download the executable, click here. Next, follow these steps to set up the shared folder on your computer:
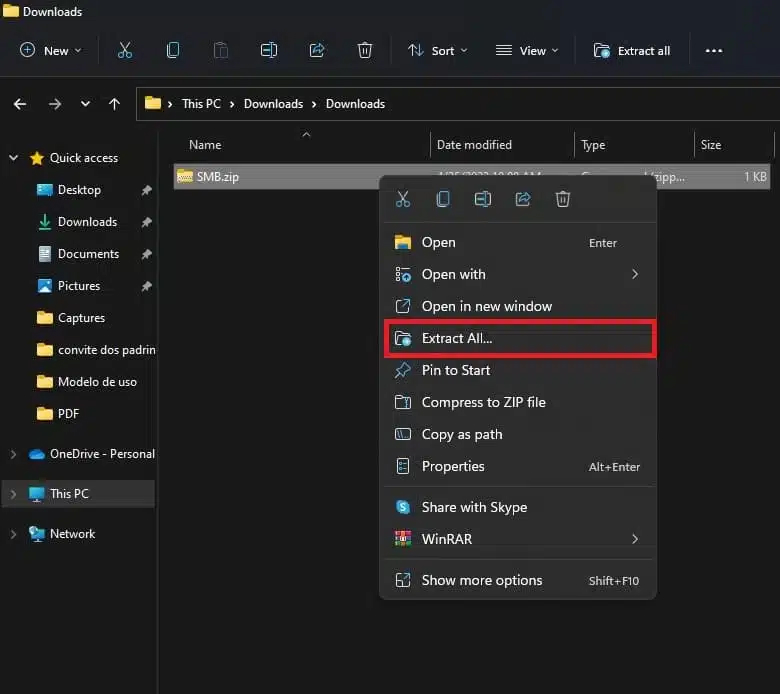
- Extract the contents of the folder to access the executable (right click on the file).
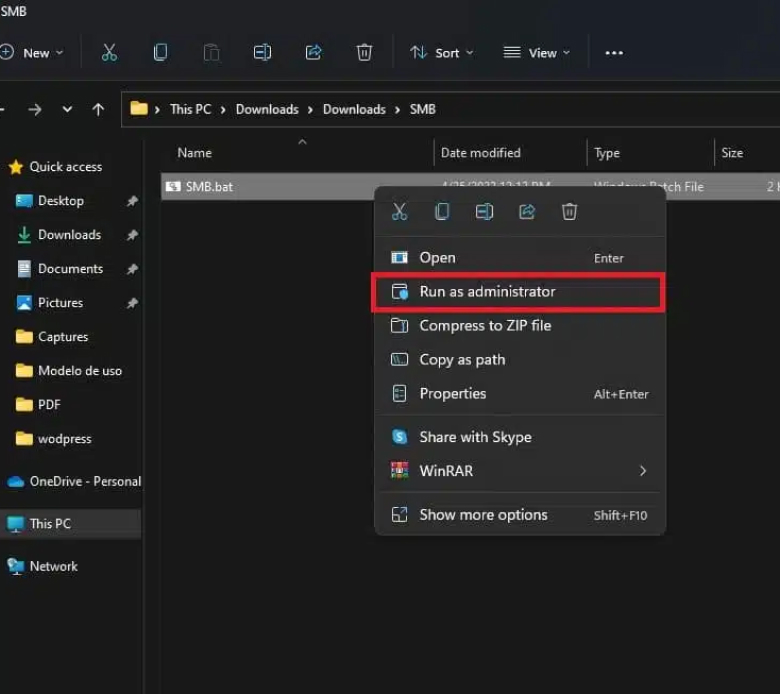
- Run the file “Eyer-Script” as administrator (right click on the file).
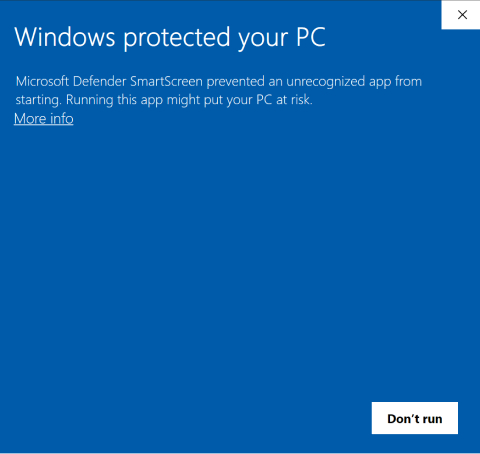
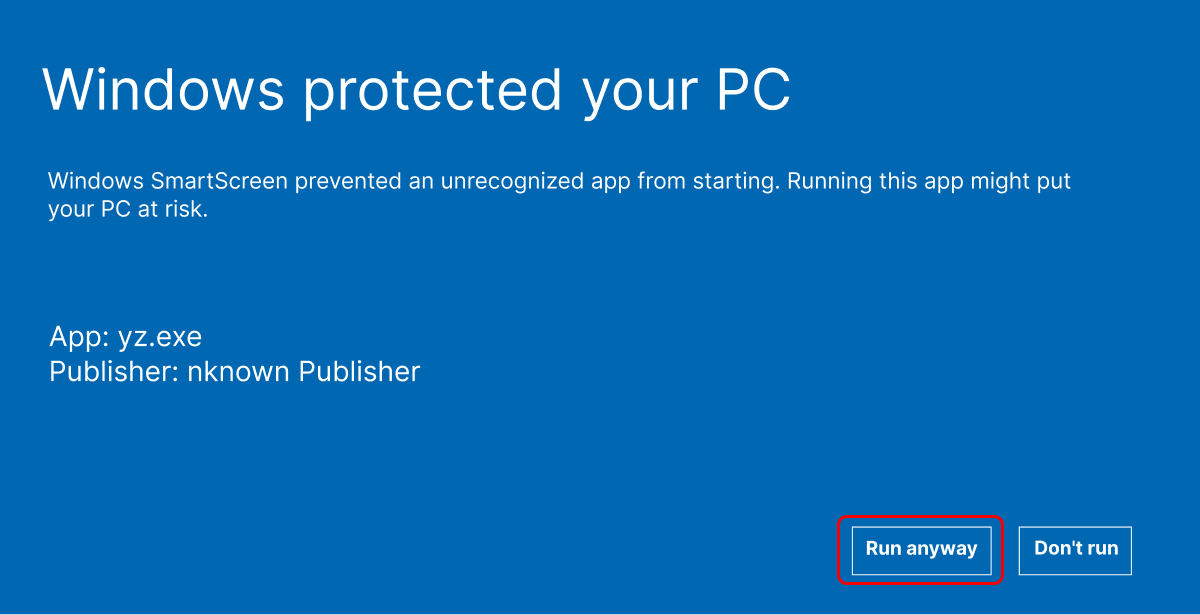
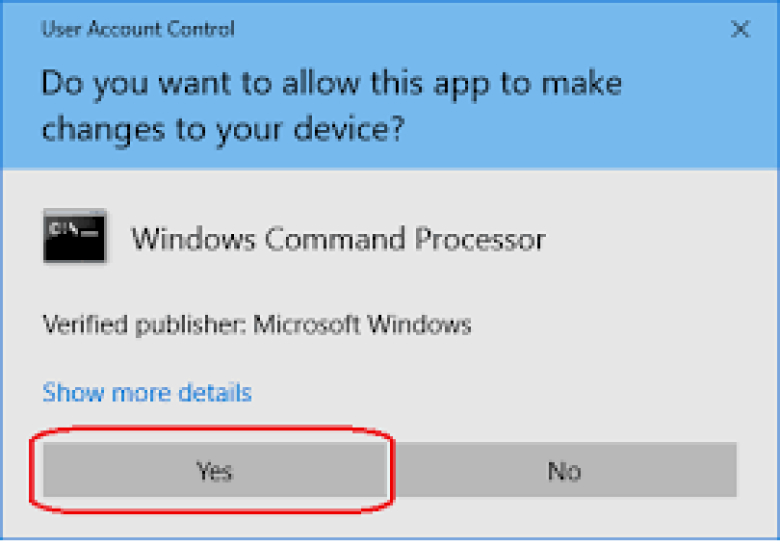
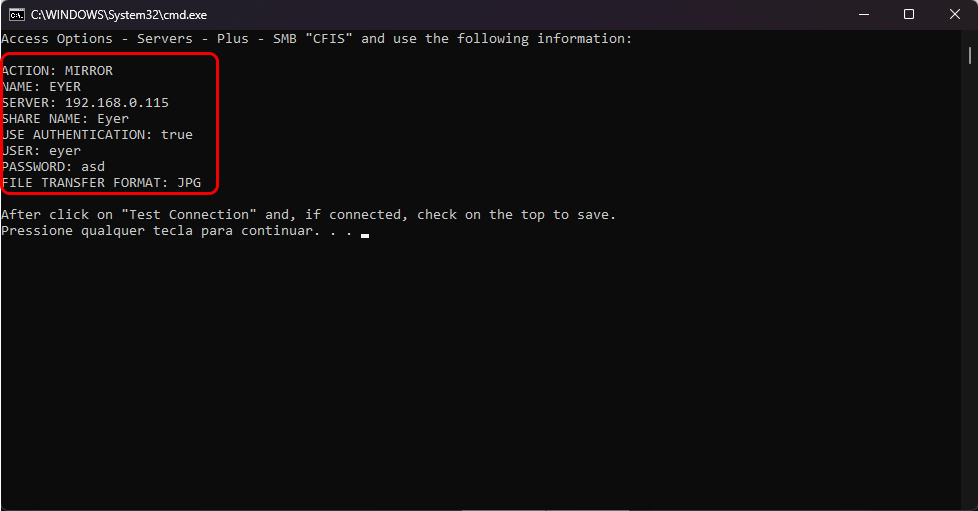
- The following window will open, follow the instructions.
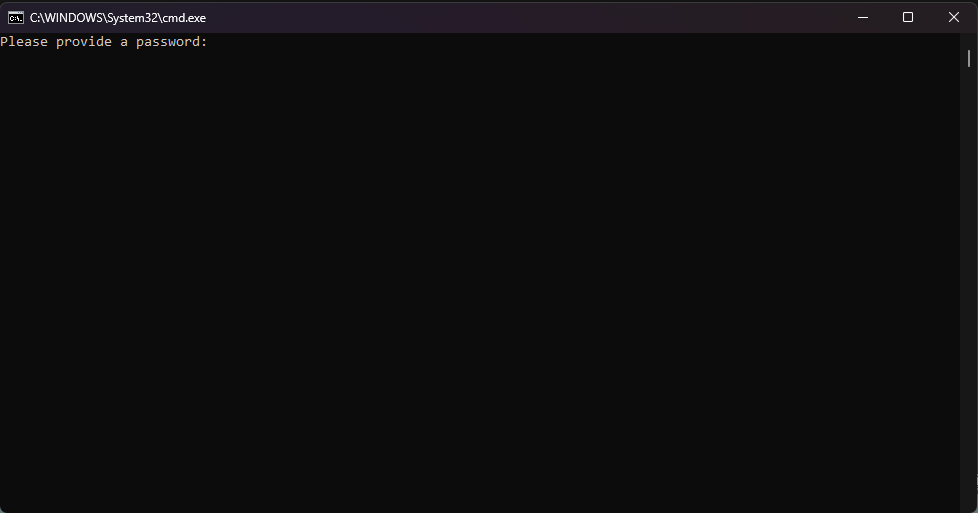
- Use the information on the command prompt to establish the connection with the device.