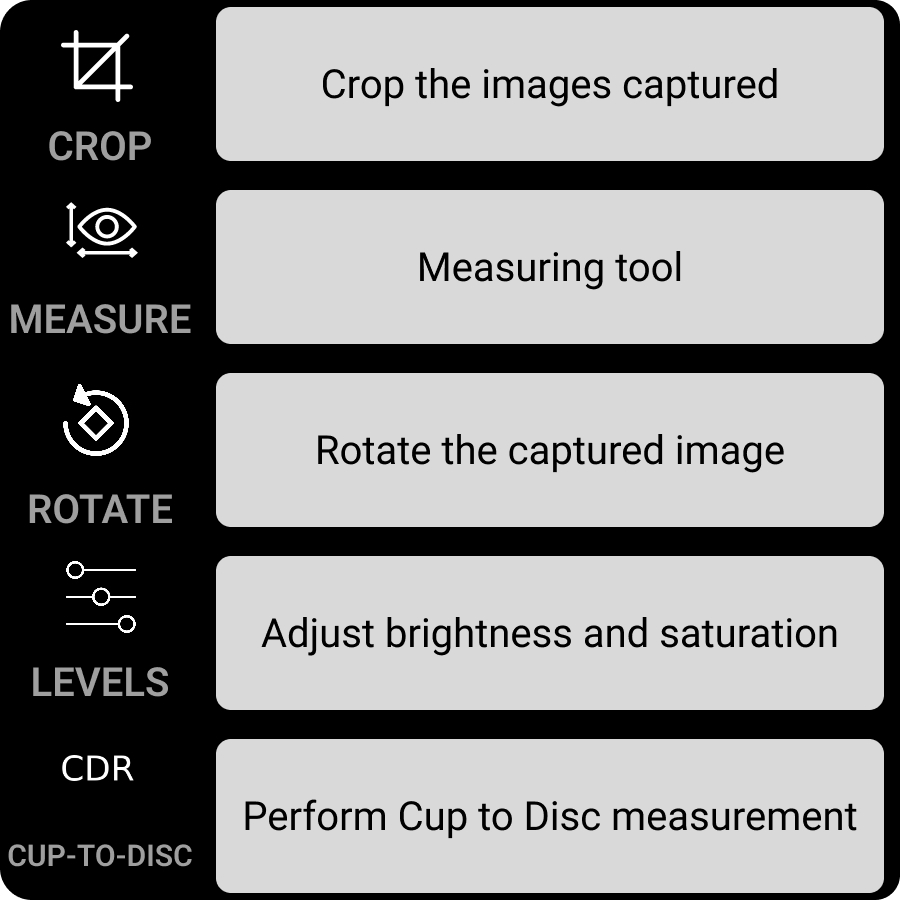
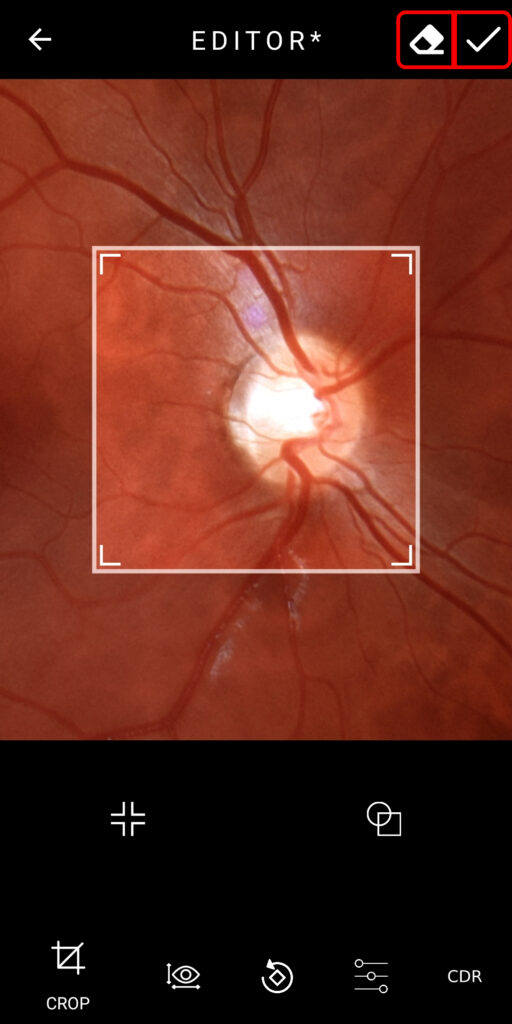
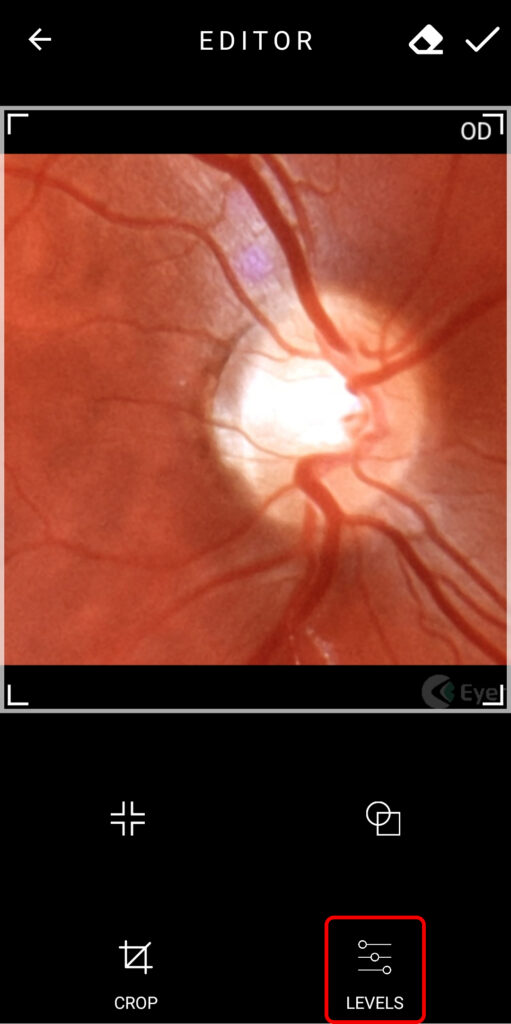
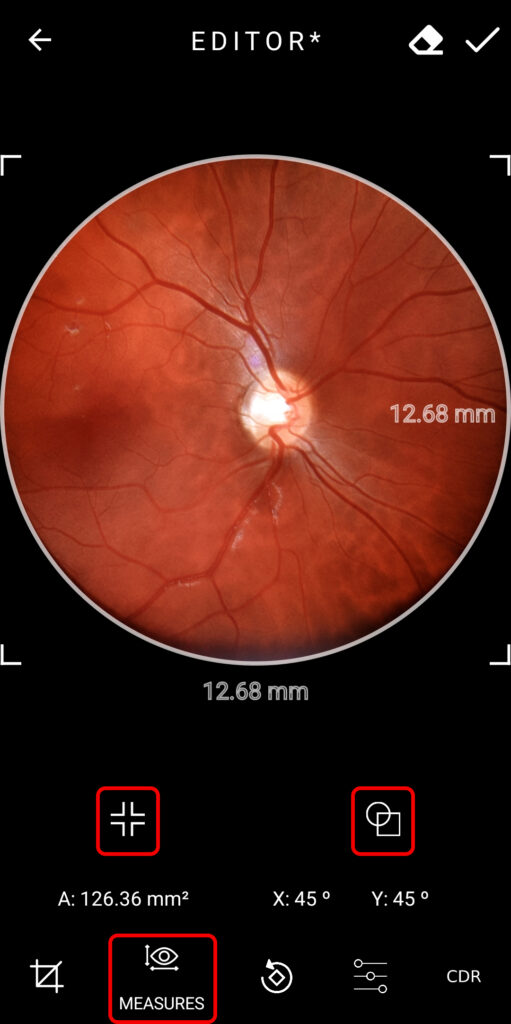
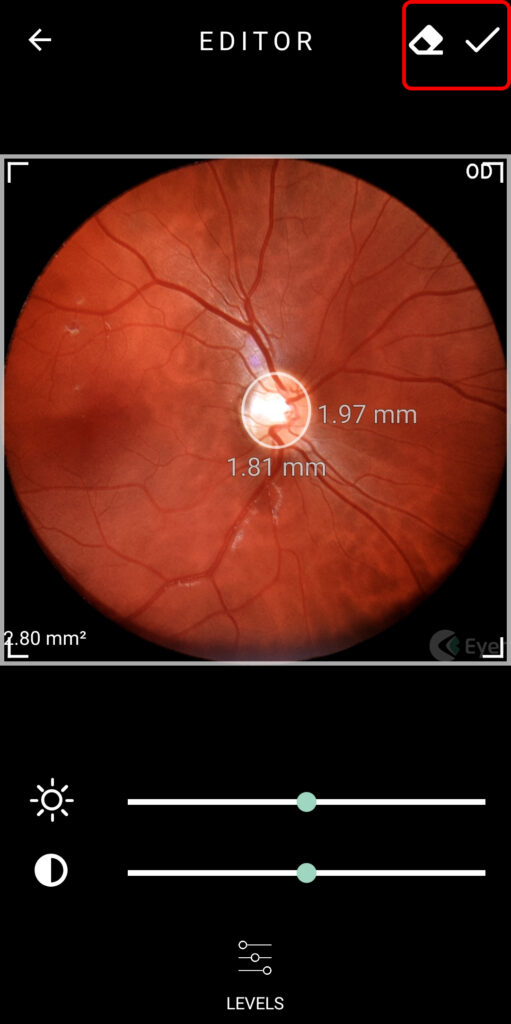
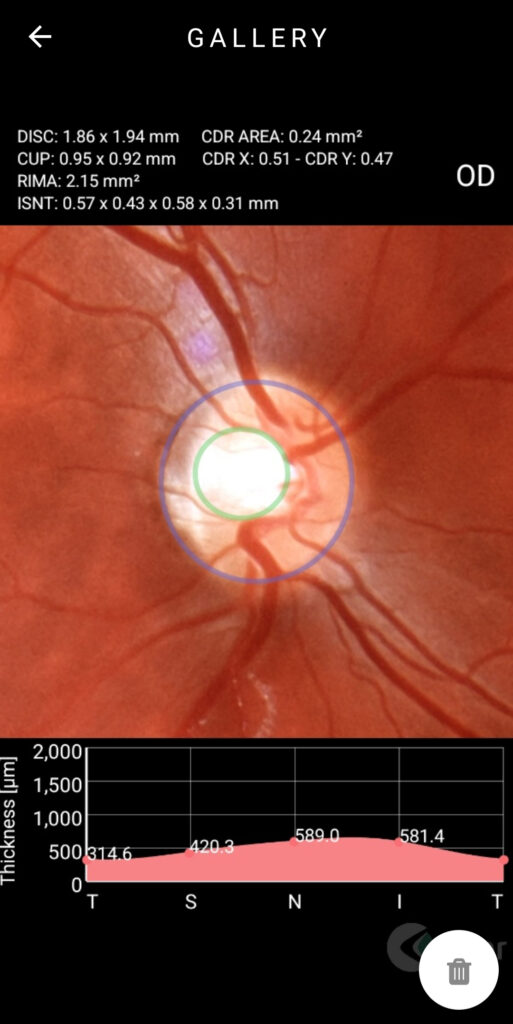
The editing options are:
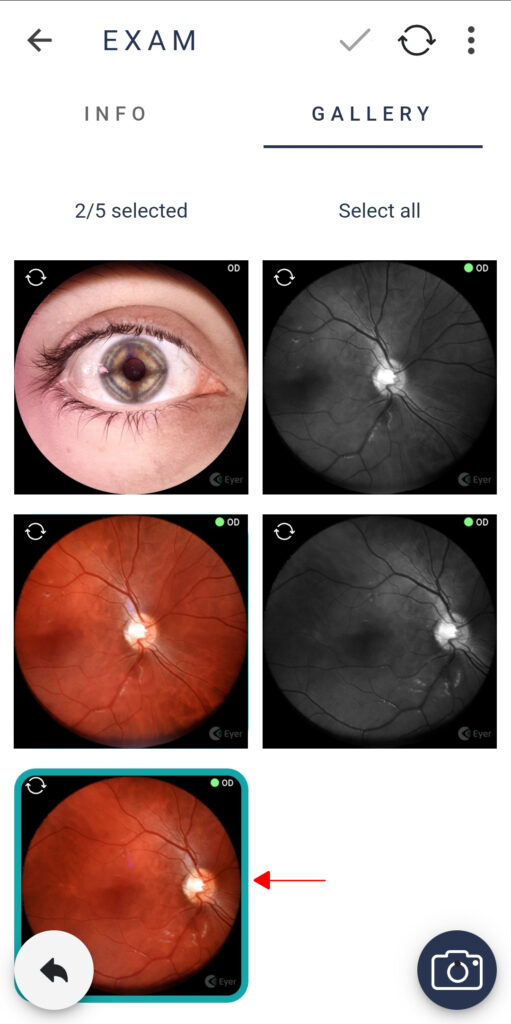
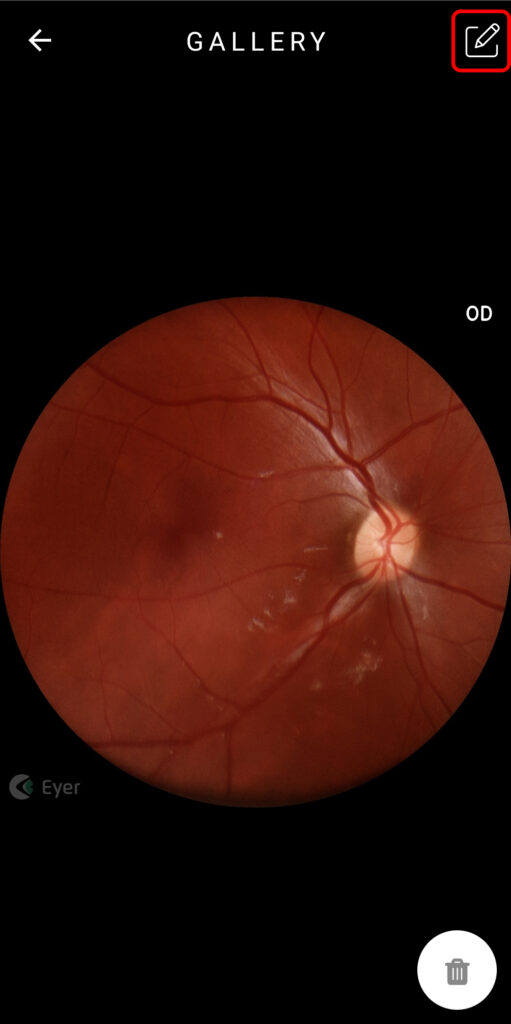
To start editing select the image you want to edit by tapping it, it will open in the gallery. Click on the icon to start.
Cropping
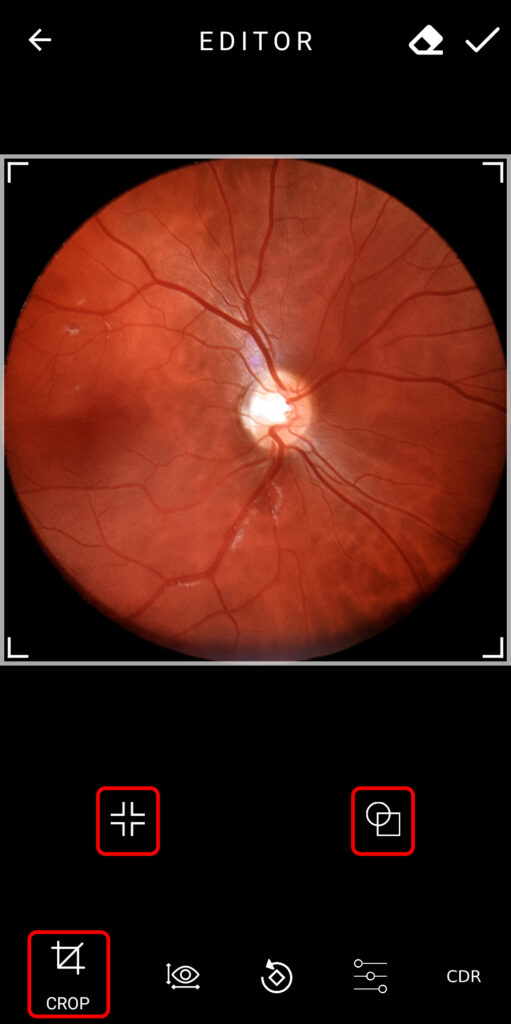
When cropping an image, you can select the shape of the new image (either a square or an ellipse) by clicking on the icon . You can resize the shape by dragging its edges, and move it by dragging it until it encompasses the area of interest.
Tap to automatically adjust the field of vision to the standard size of 15º x 15º.
When you are done, save the modifications by clicking on the icon. To delete your changes tap
.
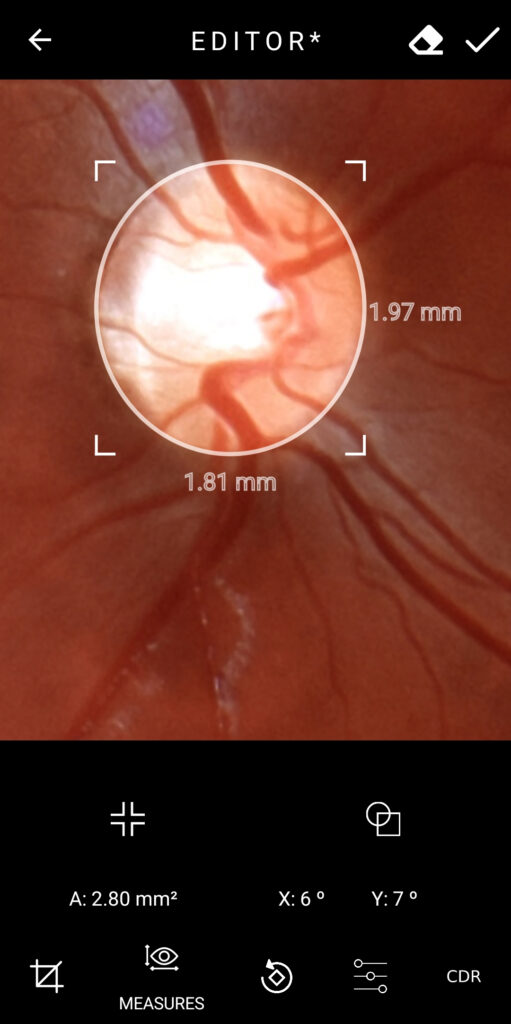
Measuring
Select the shape of the structure to be measured (square or ellipse) by tapping the icon.
You can resize the shape by dragging its edges, and move it by dragging it until it encompasses the area of interest.
Tap to automatically adjust the field of vision to the standard size of 15º x 15º.
When you are done, save the modifications by clicking on the icon. To delete your changes tap
.
You can only apply one measurement per image. To measure again repeat the process.
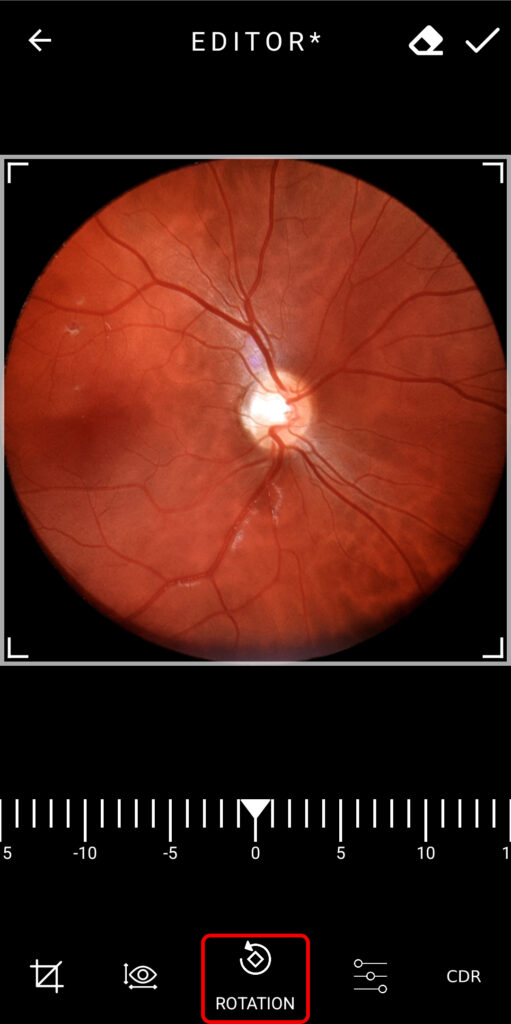
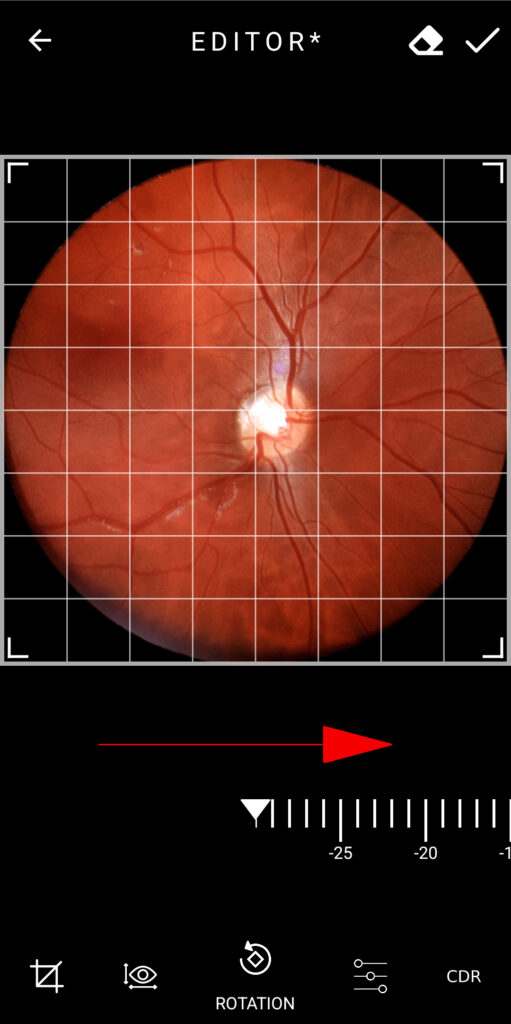
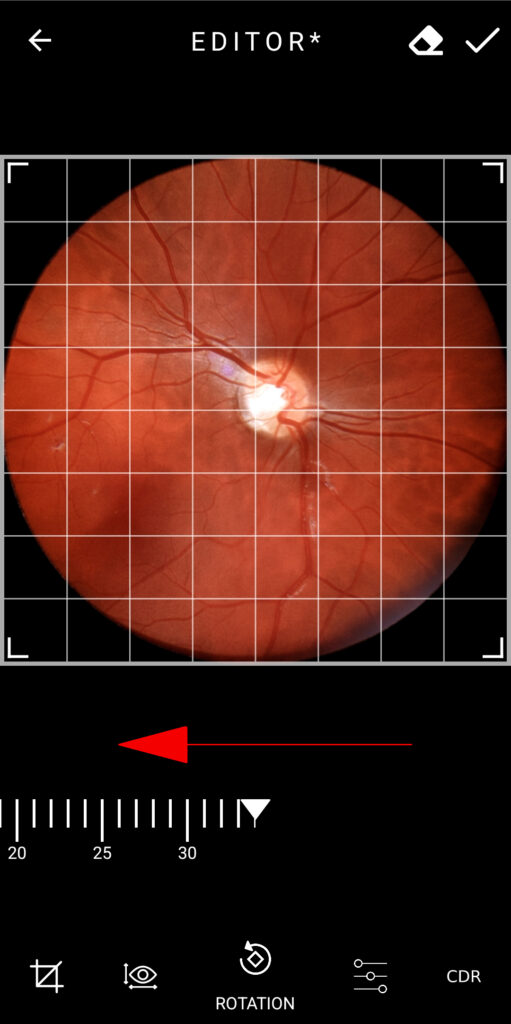
Rotating
Use the slider bar to rotate the image to the left/right. After rotating the user can still crop, measure, or adjust the lighting of the image.
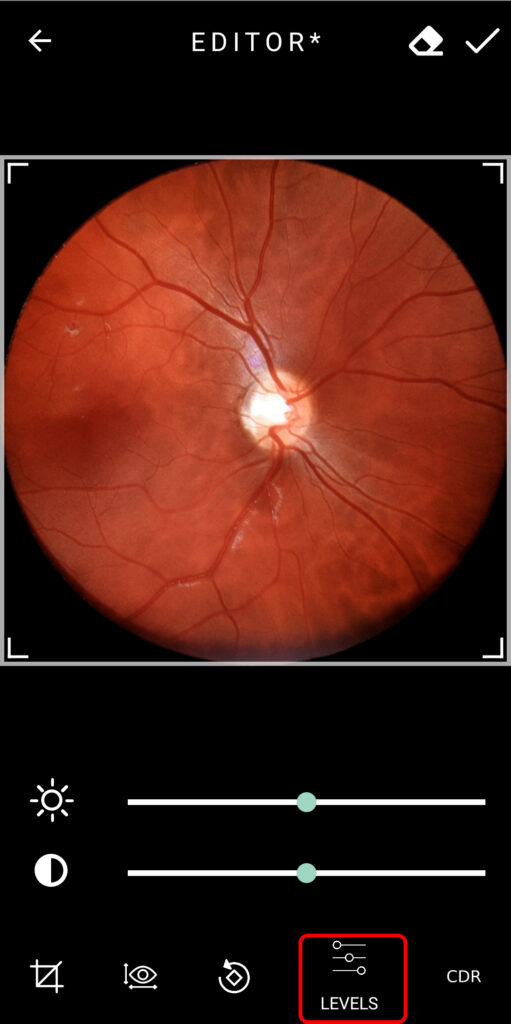
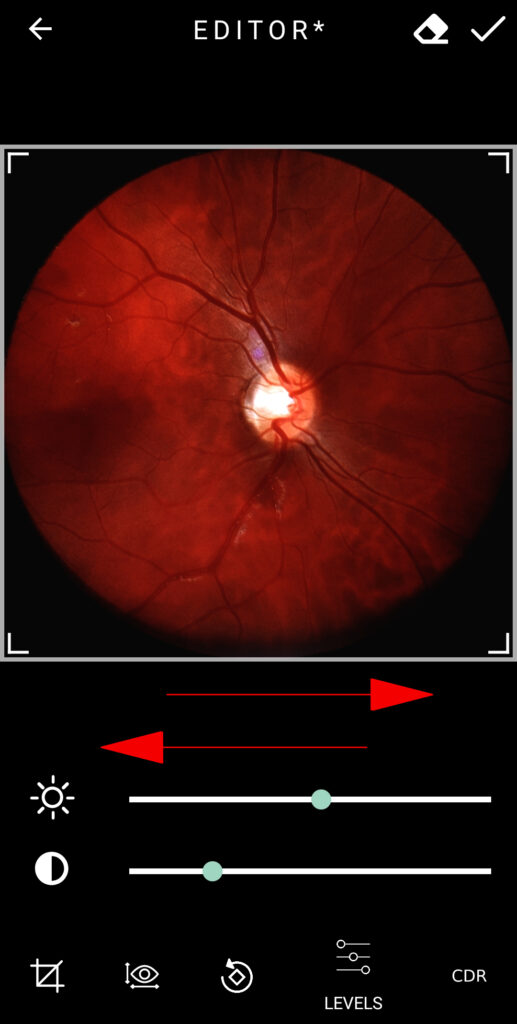
Levels
On the “Levels” tab you can change the lighting and saturation levels of the image by moving the slider bars left and right. After confirming it is possible to crop, measure, or rotate the image.
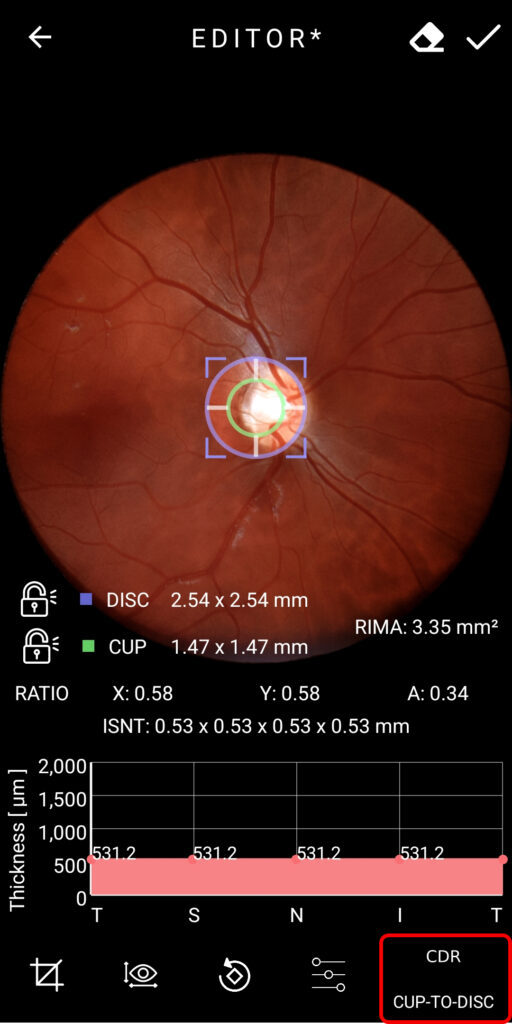
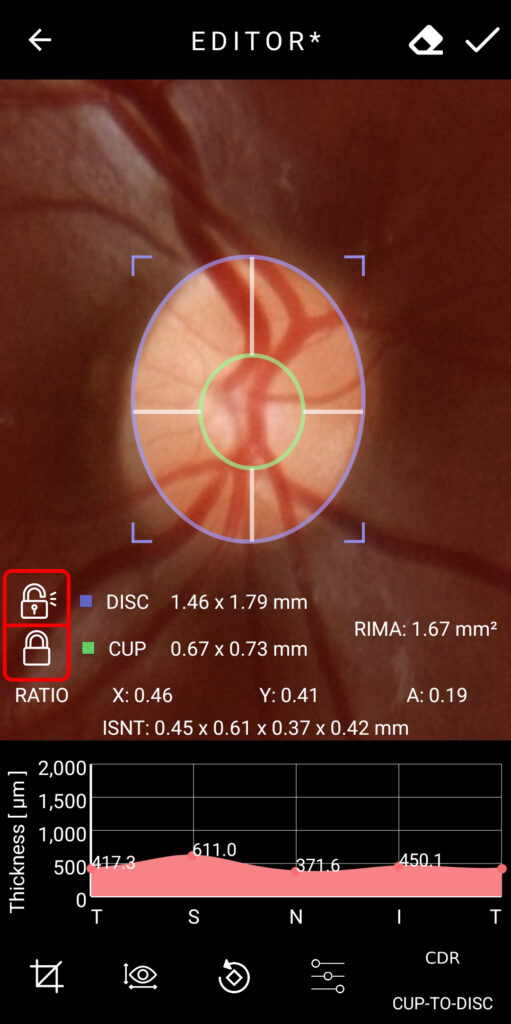
CDR
Feature to measure the Cup-to-Disc Ratio (CDR). Measures the ratio between the areas of the optic nerve and the excavation. Helps to detect glaucoma induced alterations. Move the circles to encompass the areas of interest and use the locks to keep their position while the other is altered.

