Português
  Español
  English
When capturing images it is important to follow our recommendations to ensure that you take highest quality pictures possible, and to avoid some common problems.
RETINA CAPTURES
Positioning
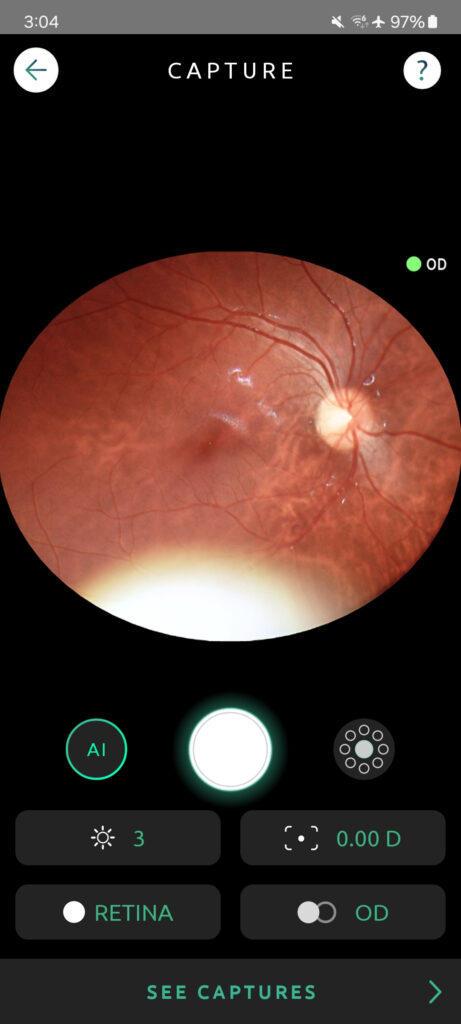
When capturing an image if the camera is not held perpendicular to the patient’s face, even if the image on the screen shows the retina properly focused, the capture will contain a glare where external light has entered the camera during capture.
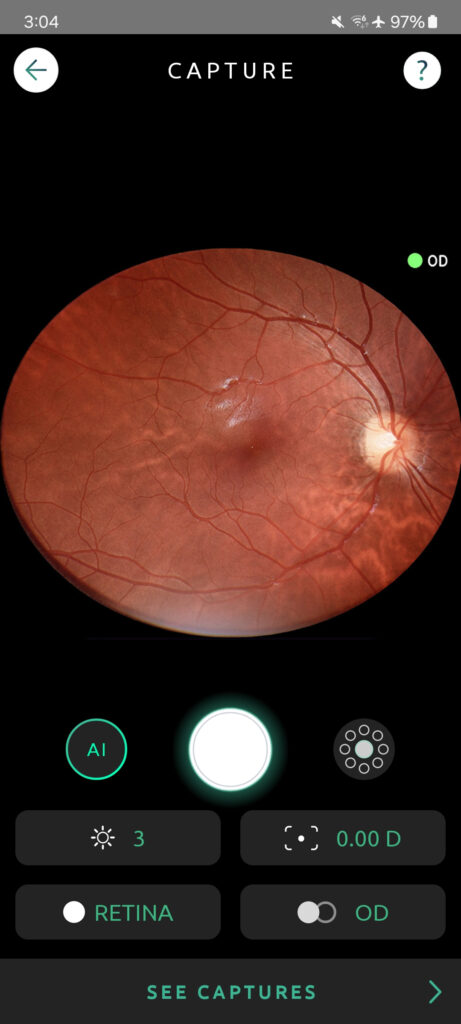
If you don’t position the device correctly, some external light can be captured. This can be identified by the white glare on the edges of the image, as shown below. To correct this mistake, ensure you are holding the device perpendicular to the patient’s face and try to stay at the same level as them, either both sitting down or standing up.
If your pictures contain black spots on the edges, bring the device closer to the patient’s face and before taking the picture ensure that the retina is evenly illuminated. Everything that appears dark before the photo will continue being dark in the photo.
Incorrect positioning
Correct positioning


Focus
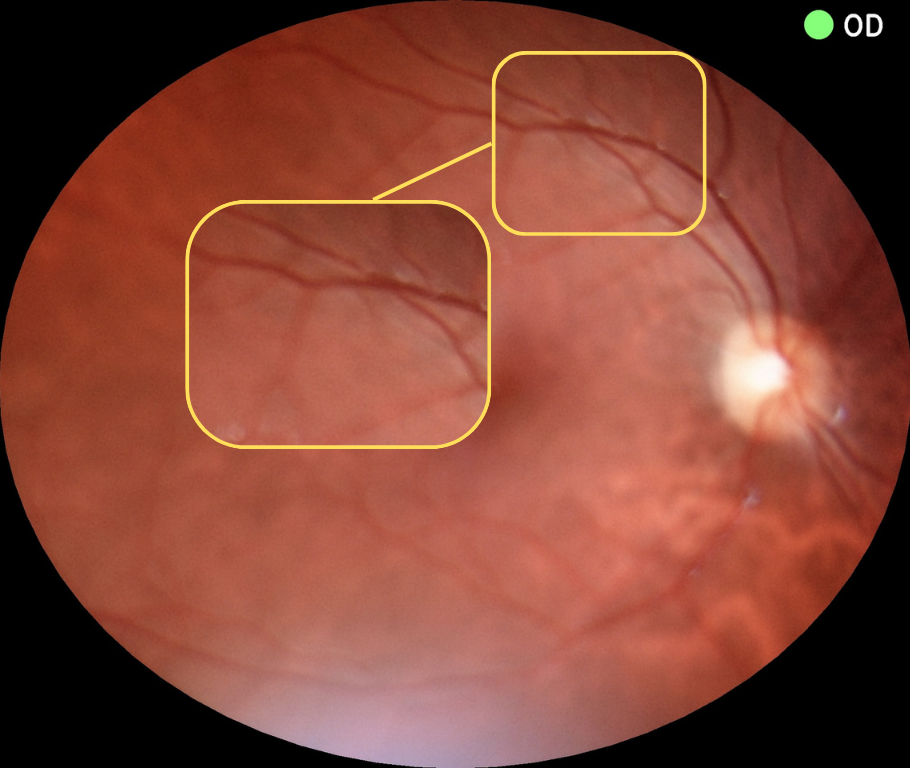
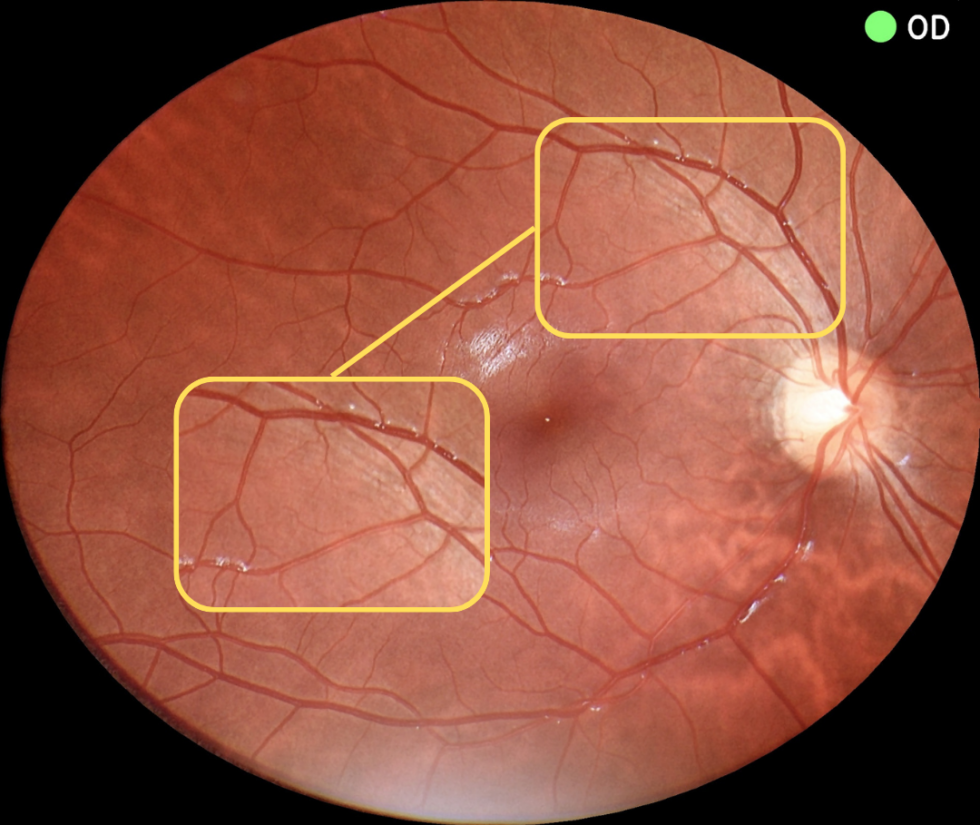
If the photo is blurry, like in the example on the left you need to adjust the patient’s diopter in the settings.
When taking pictures you should use the appropriate mode of capture (anterior for anterior pictures and retina for posterior segment pictures), otherwise the quality of the pictures will be affected.
Without focus
With focus
Distance
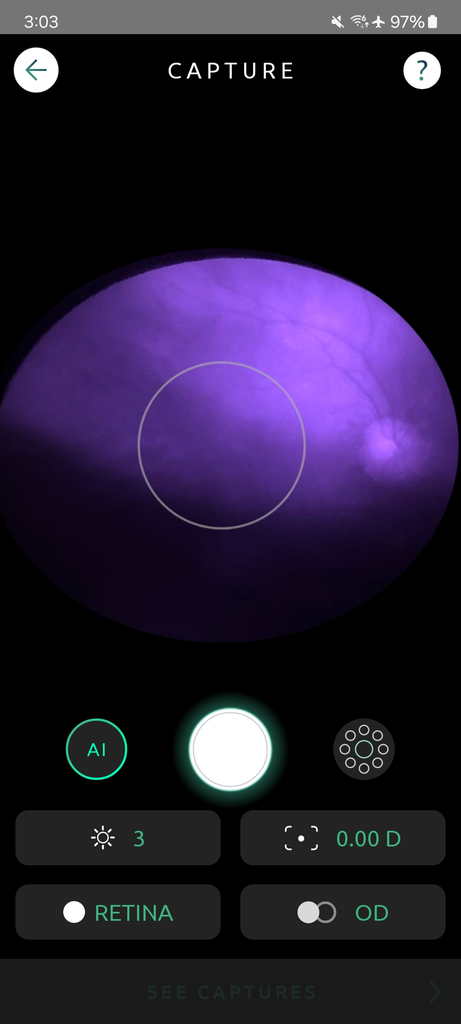
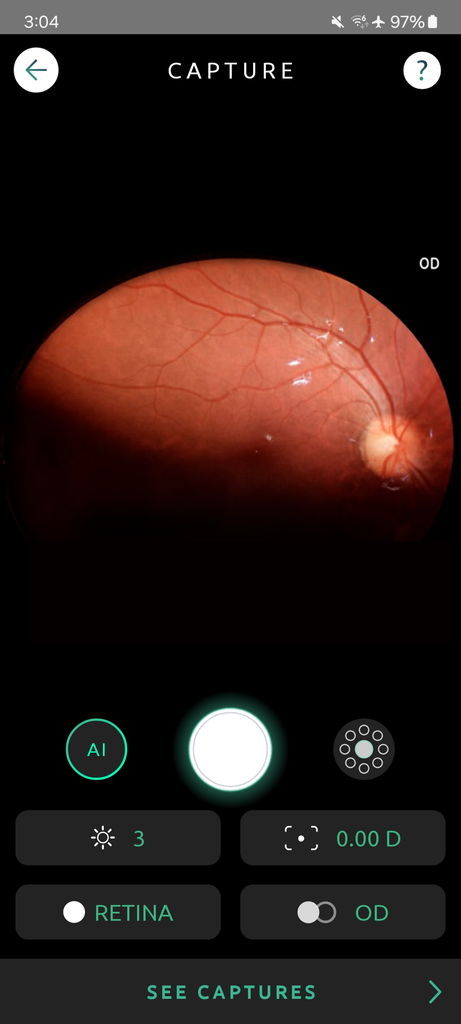
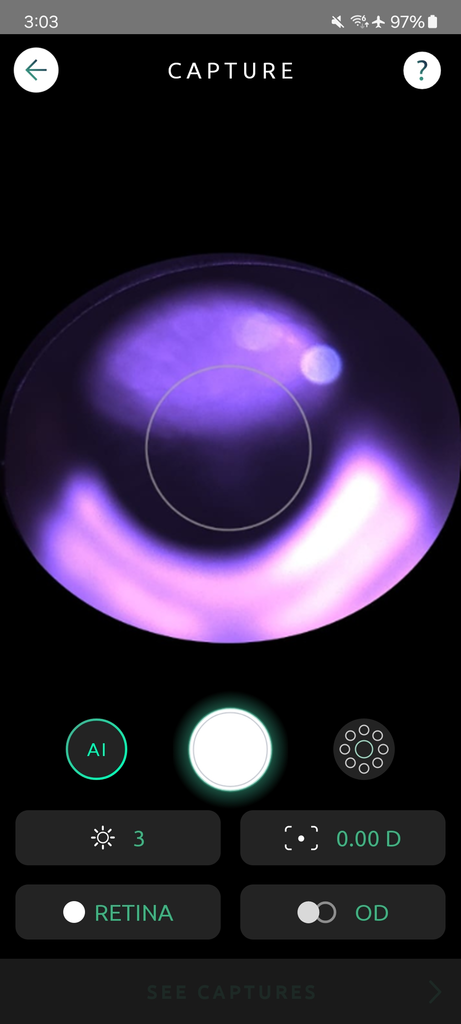
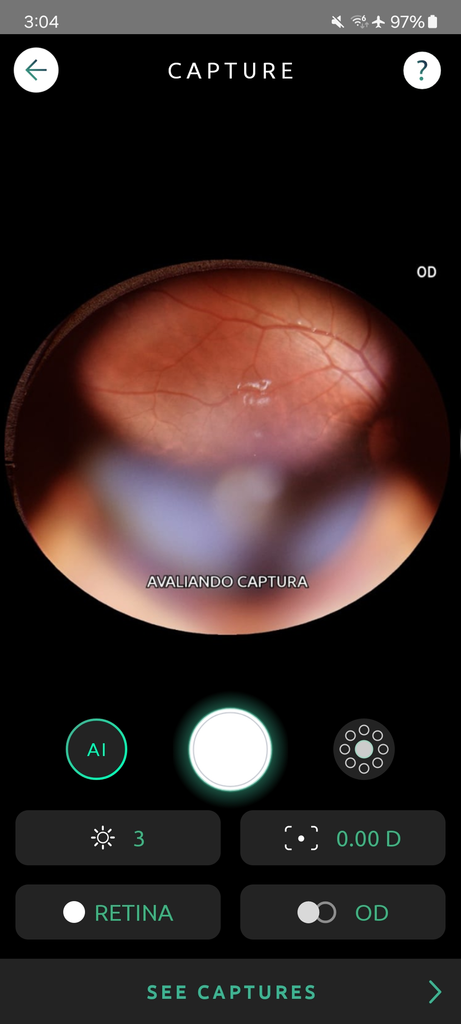
The camera can be too close to the patient’s retina, not allowing the light of the flash to illuminate it properly. Or your camera can be too far from the patient’s retina, and parts of the iris are captured instead the retina. The camera can be focused on the retina, however the retina (purple part) is not filling the whole image.
Too Close
Too Far
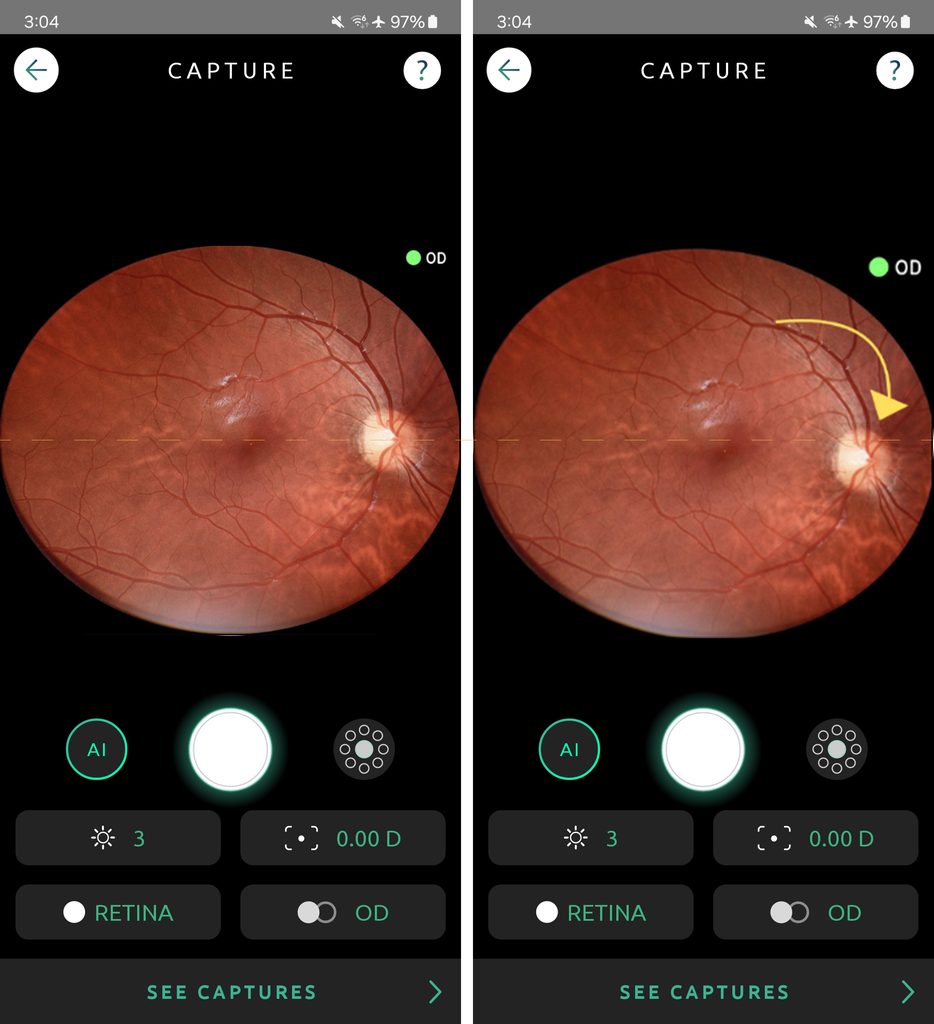
Orientation
The camera can be tilted, making it so that the patient’s optic nerve is not correctly positioned in the picture.
OCULAR SURFACE
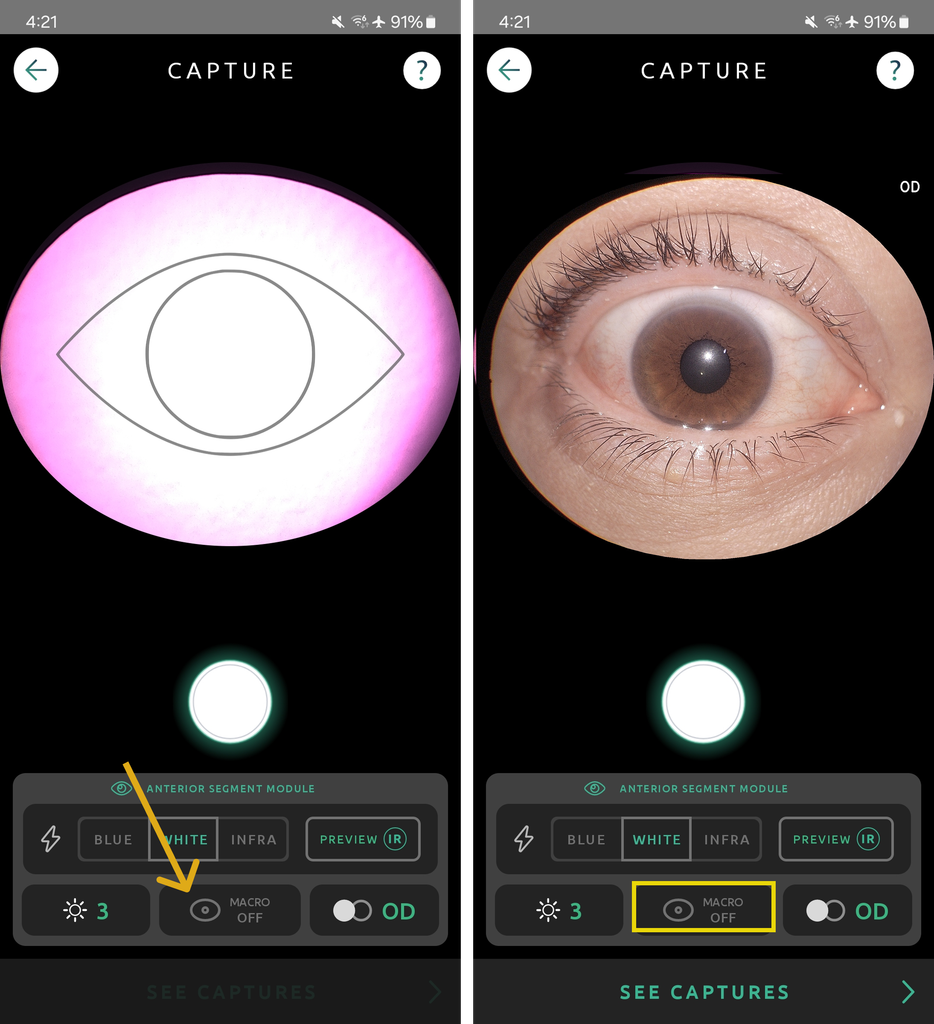
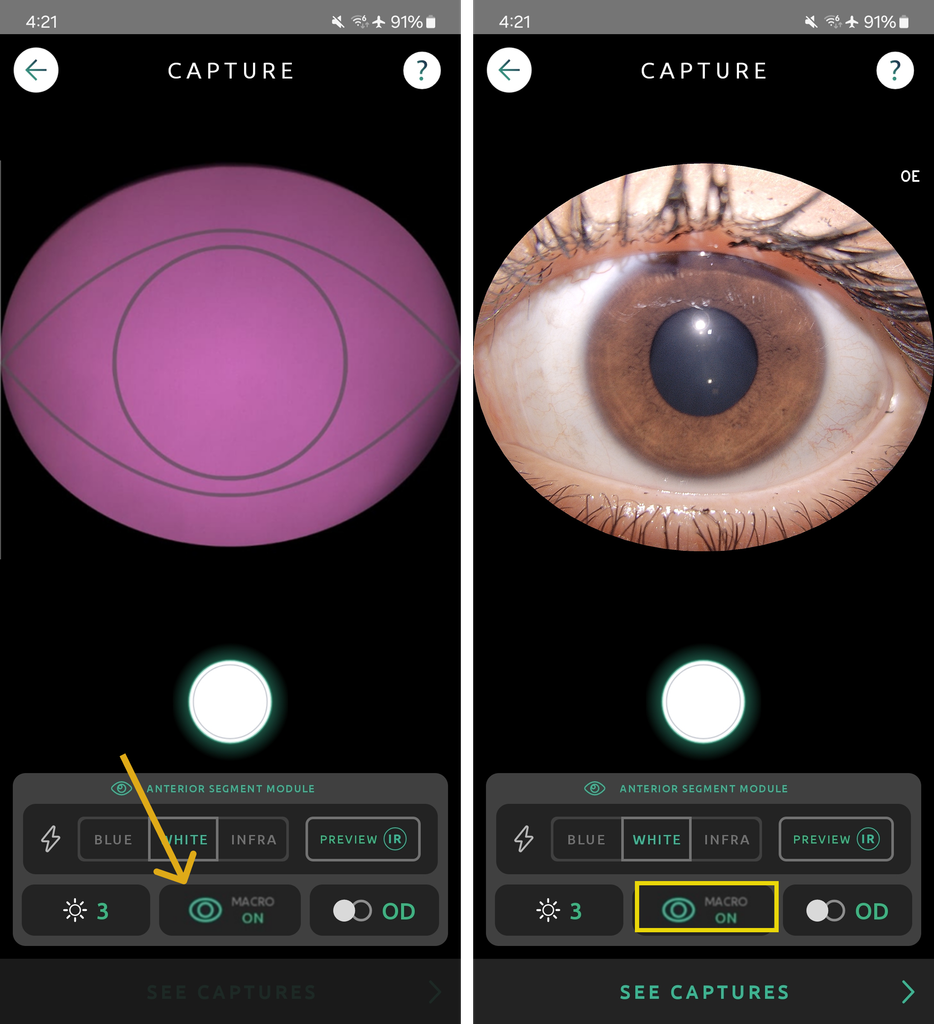
When using the Anterior Segment module, the key to obtaining the ideal image is to strictly respect the capture distance, ensuring the patient’s eye is always perfectly fitted inside the guide ellipse on the Eyer screen, regardless of the mode being used. Below are the specific instructions for each illumination type:
White Light
Ideal for general records of the ocular surface.
Macro OFF: Use this for external, wide-angle photos (general overview). Align the eye within the standard ellipse on the screen.
Macro ON: Use this for close-up photos requiring high-quality detail.
Operation Note: In Macro ON mode, the ellipse guide on the screen will appear larger. Consequently, you must move the device closer to the patient to fit the eye into the guide and maintain sharp focus.
Cobalt Blue Light
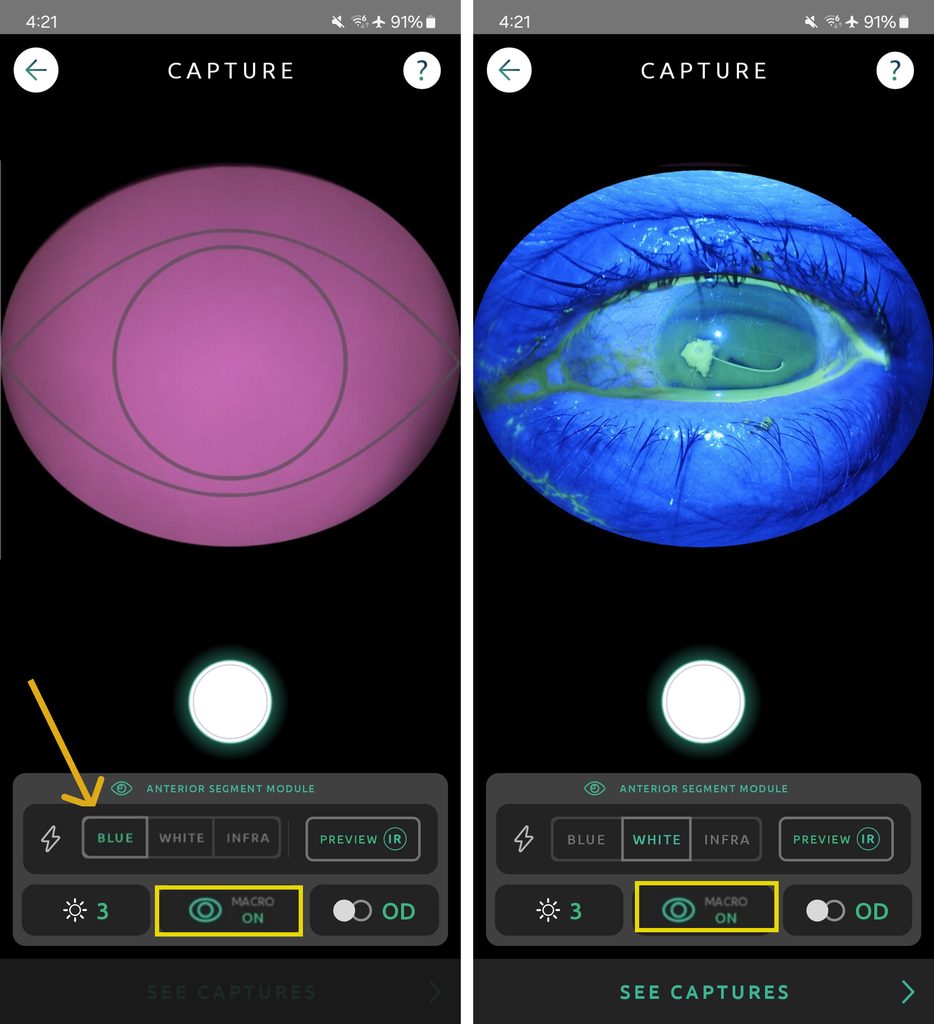
Mainly used for evaluating ocular surface integrity.
- Capture Method: Follows the same rule as White Light (can be done in either Macro OFF or Macro ON).
- Important Notice: The use of Fluorescein is required to highlight areas of interest. Without the stain, the image will result in just a blank blue photo with no diagnostic value.
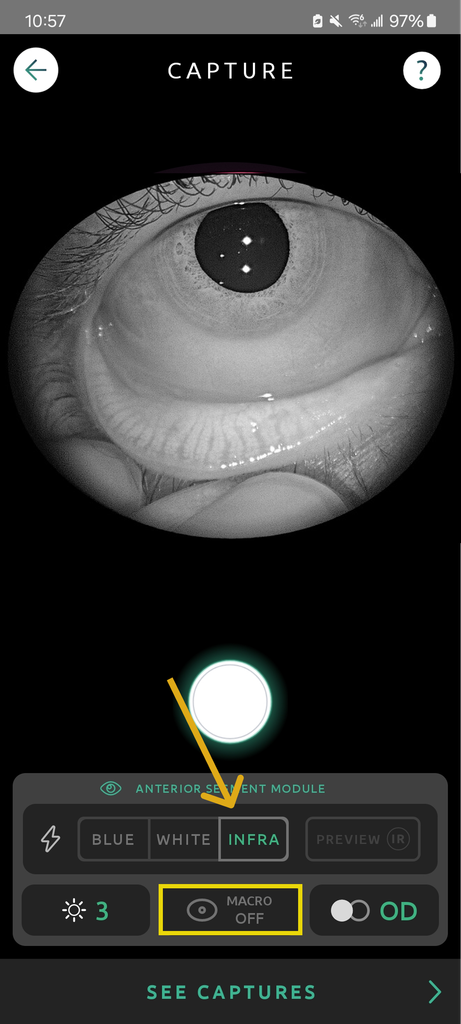
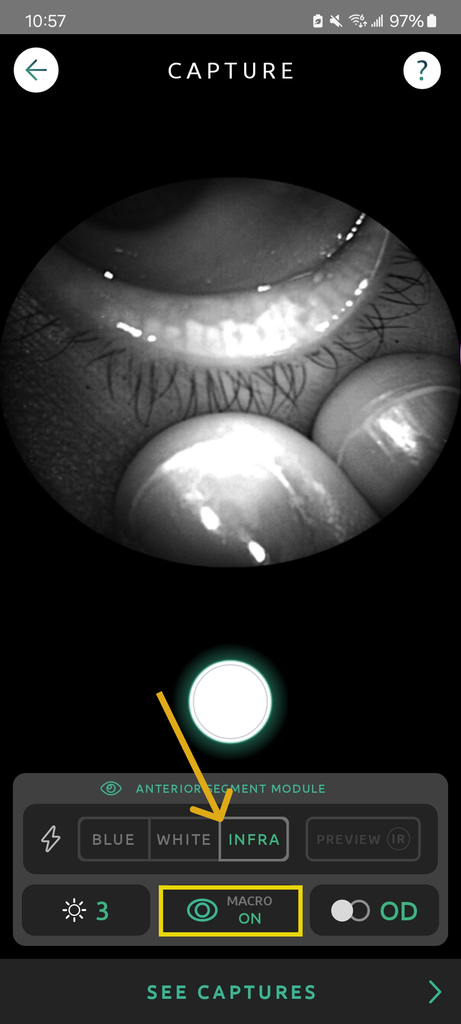
Infrared Light (Infra)
Indicated for dry eye assessment and meibography.
- Recommended Setting: Always use Macro OFF, framing the patient’s eye within the guide ellipse.
- Warning: Do not use Macro ON. If captured in Macro ON, the image will be “blown out” (overexposed), making it impossible to clearly visualize and analyze the Meibomian Glands.
MACRO OFF – Good quality
MACRO ON – Bad quality