All images captured by your Eyer device are securely managed, typically sent to either the Eyercloud system or a user-configured server. If you prefer to store your images on your own server, the Eyer device allows you to create a direct connection.
Here is how you can establish a connection with an external SFTP server:
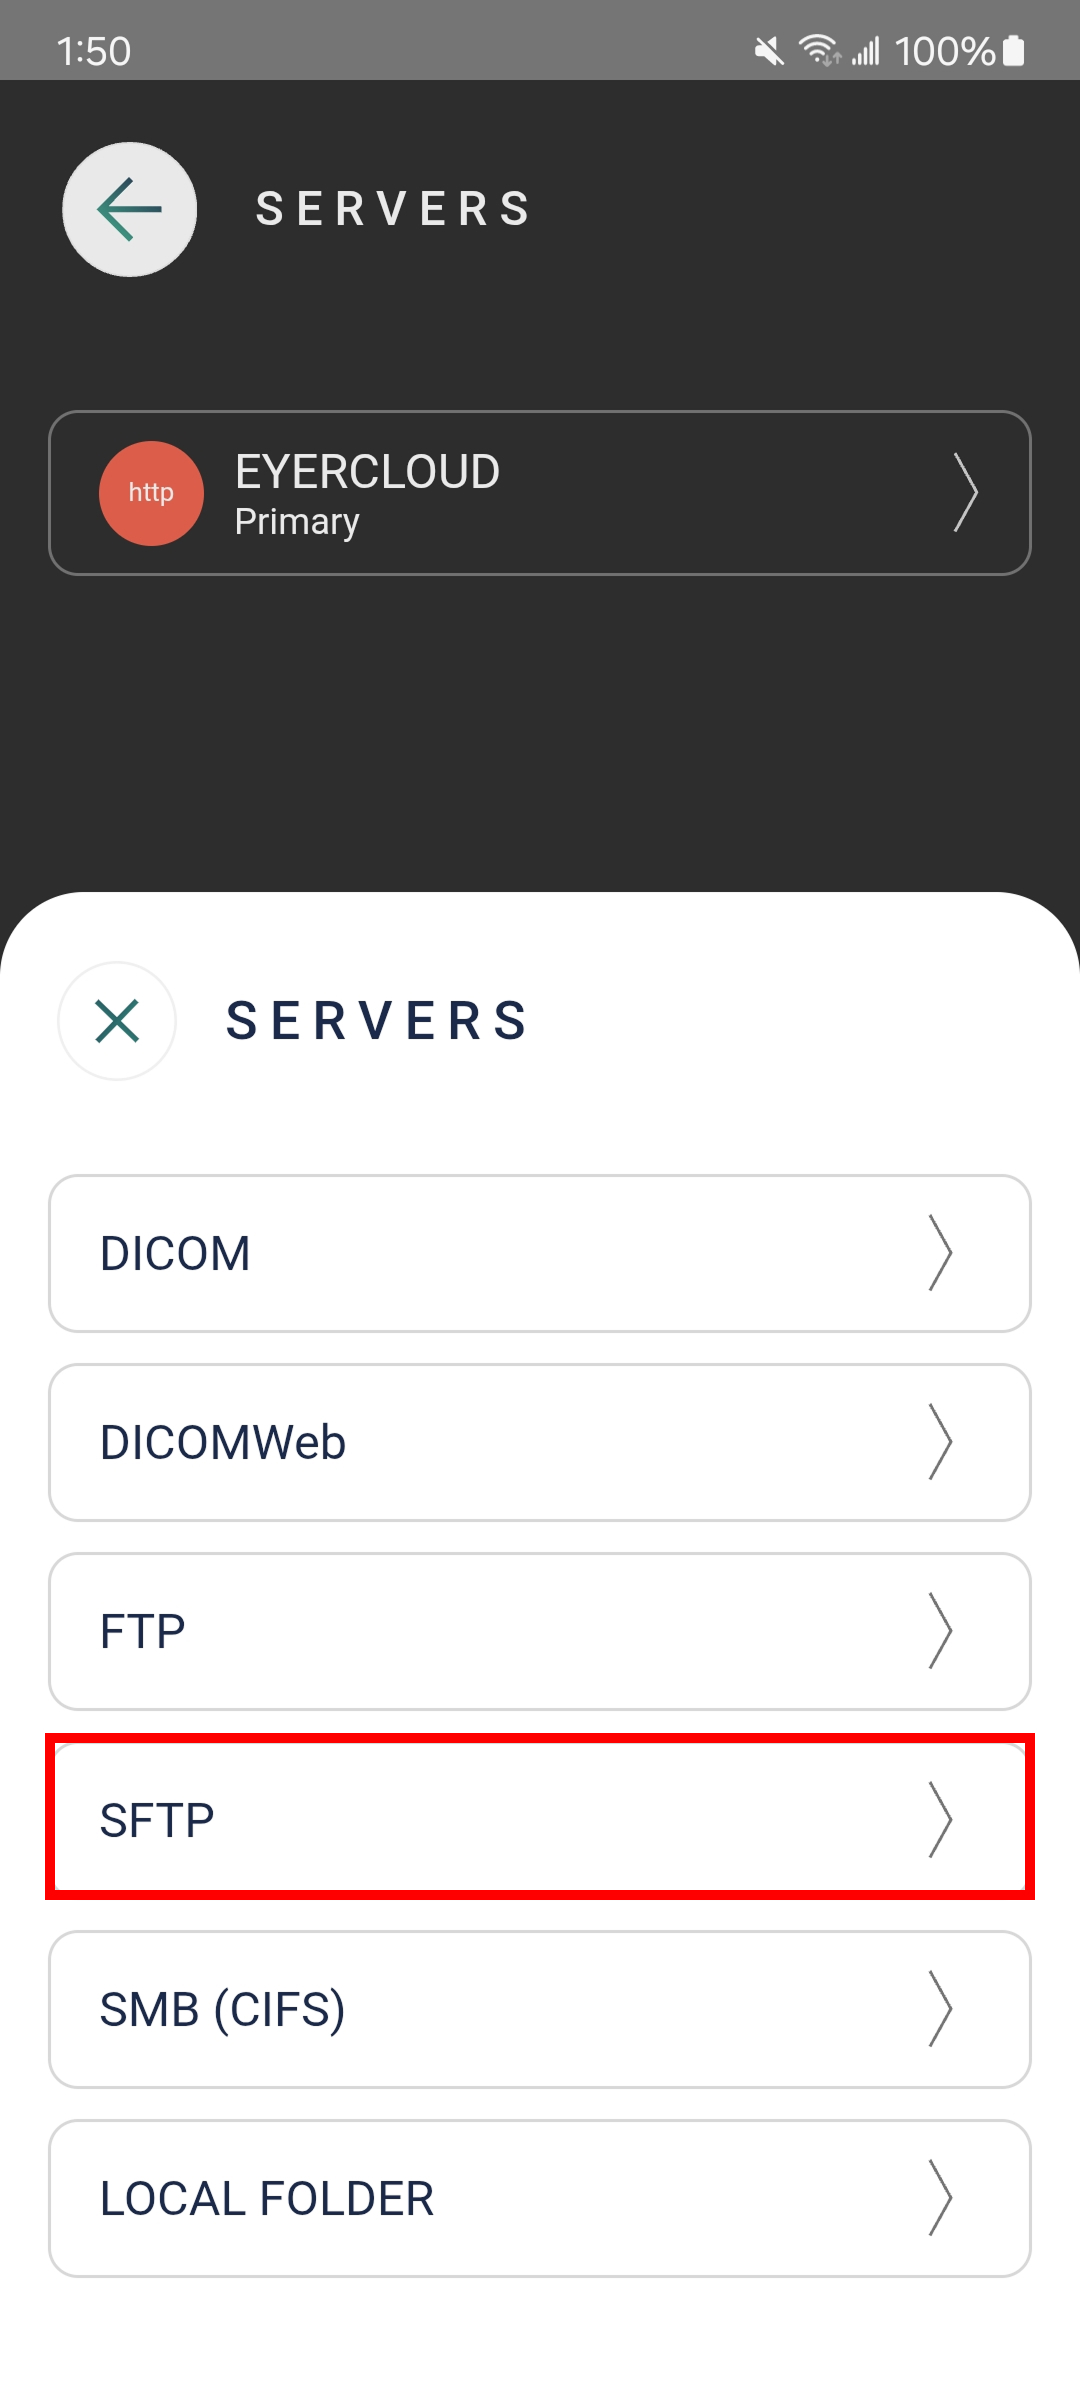
Setting Up the Server Connection
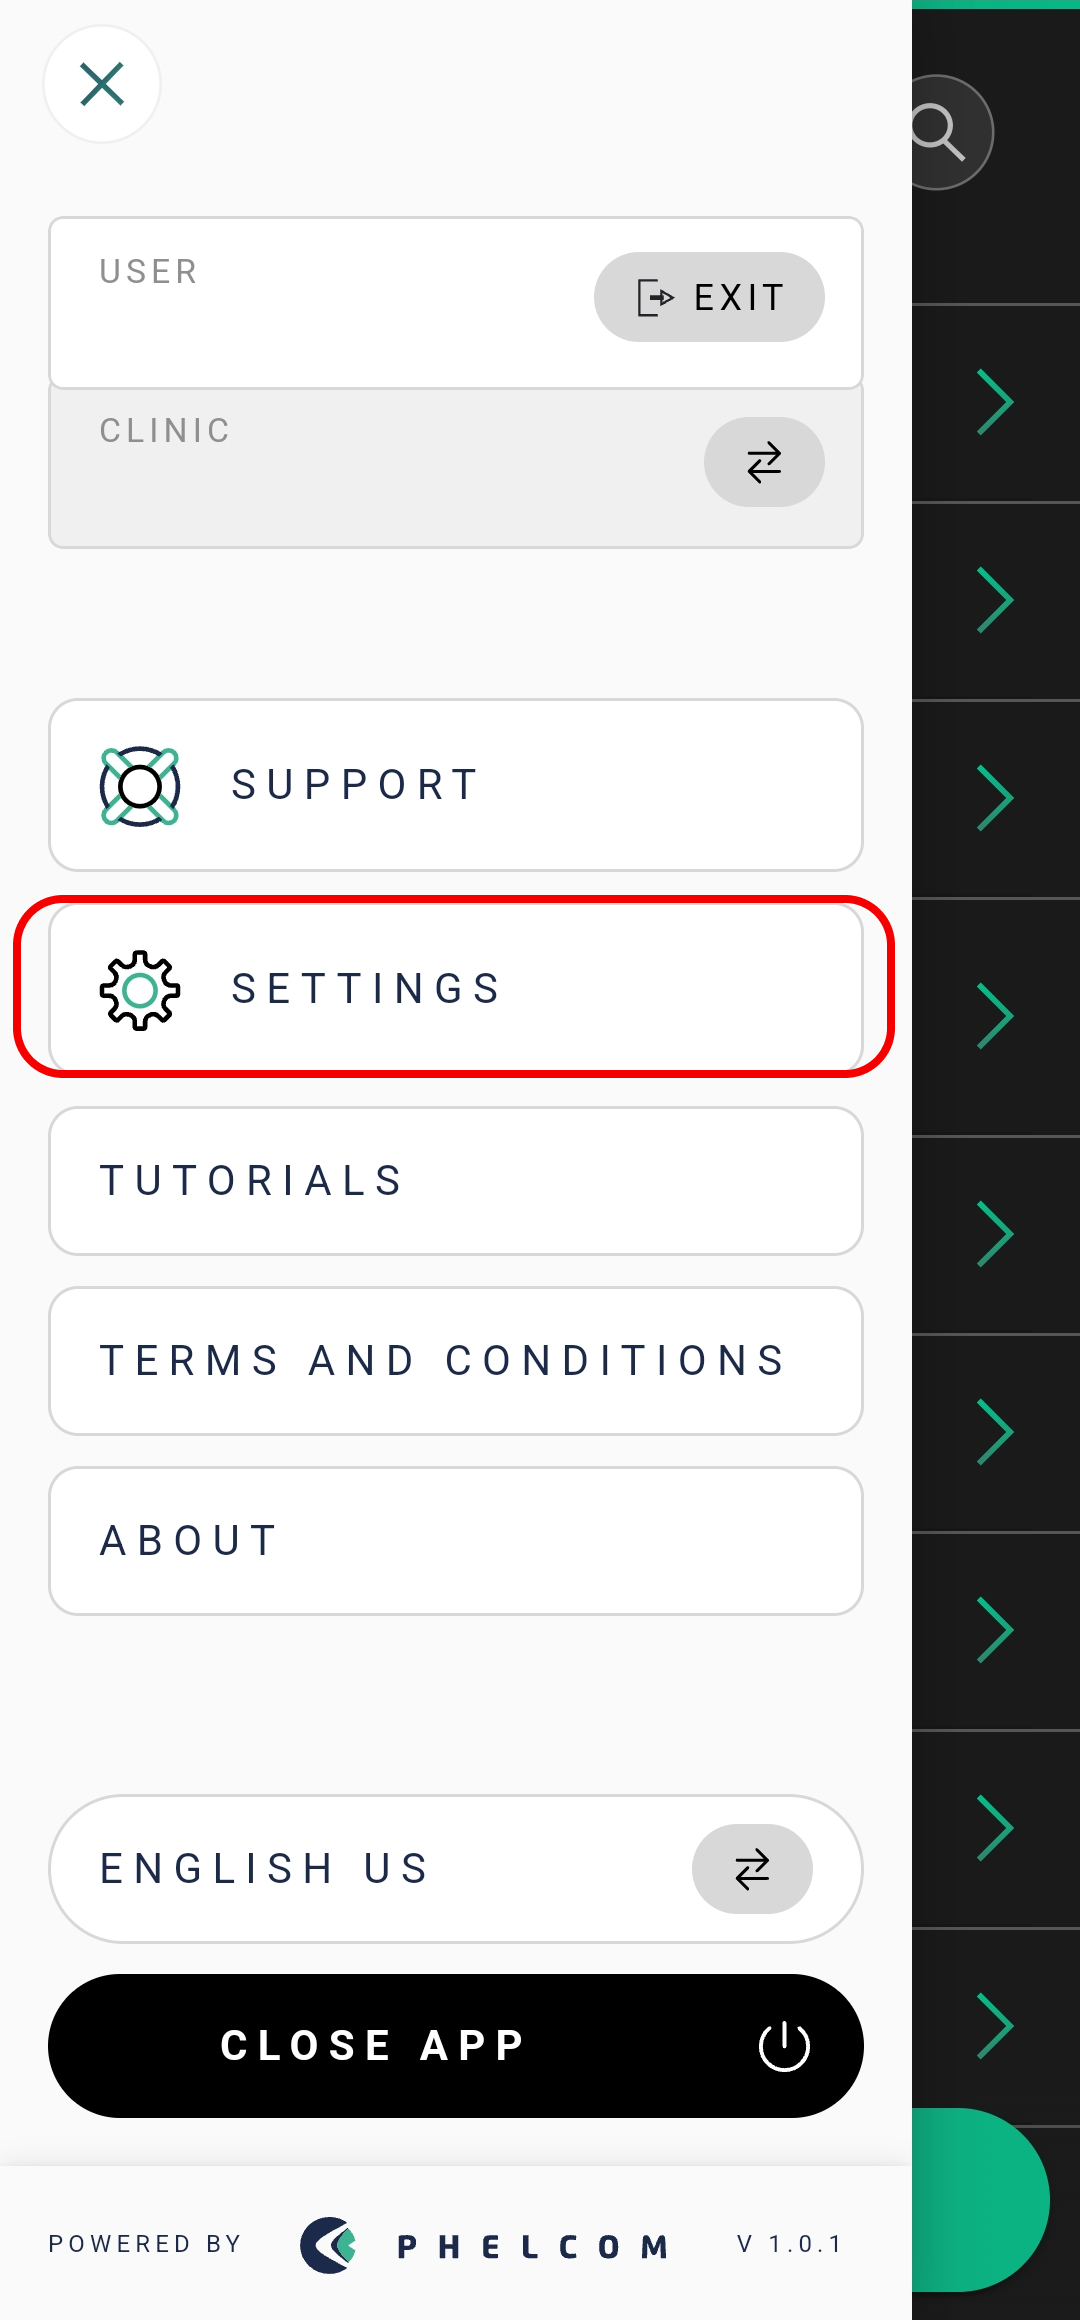
1. Click on “Settings”.
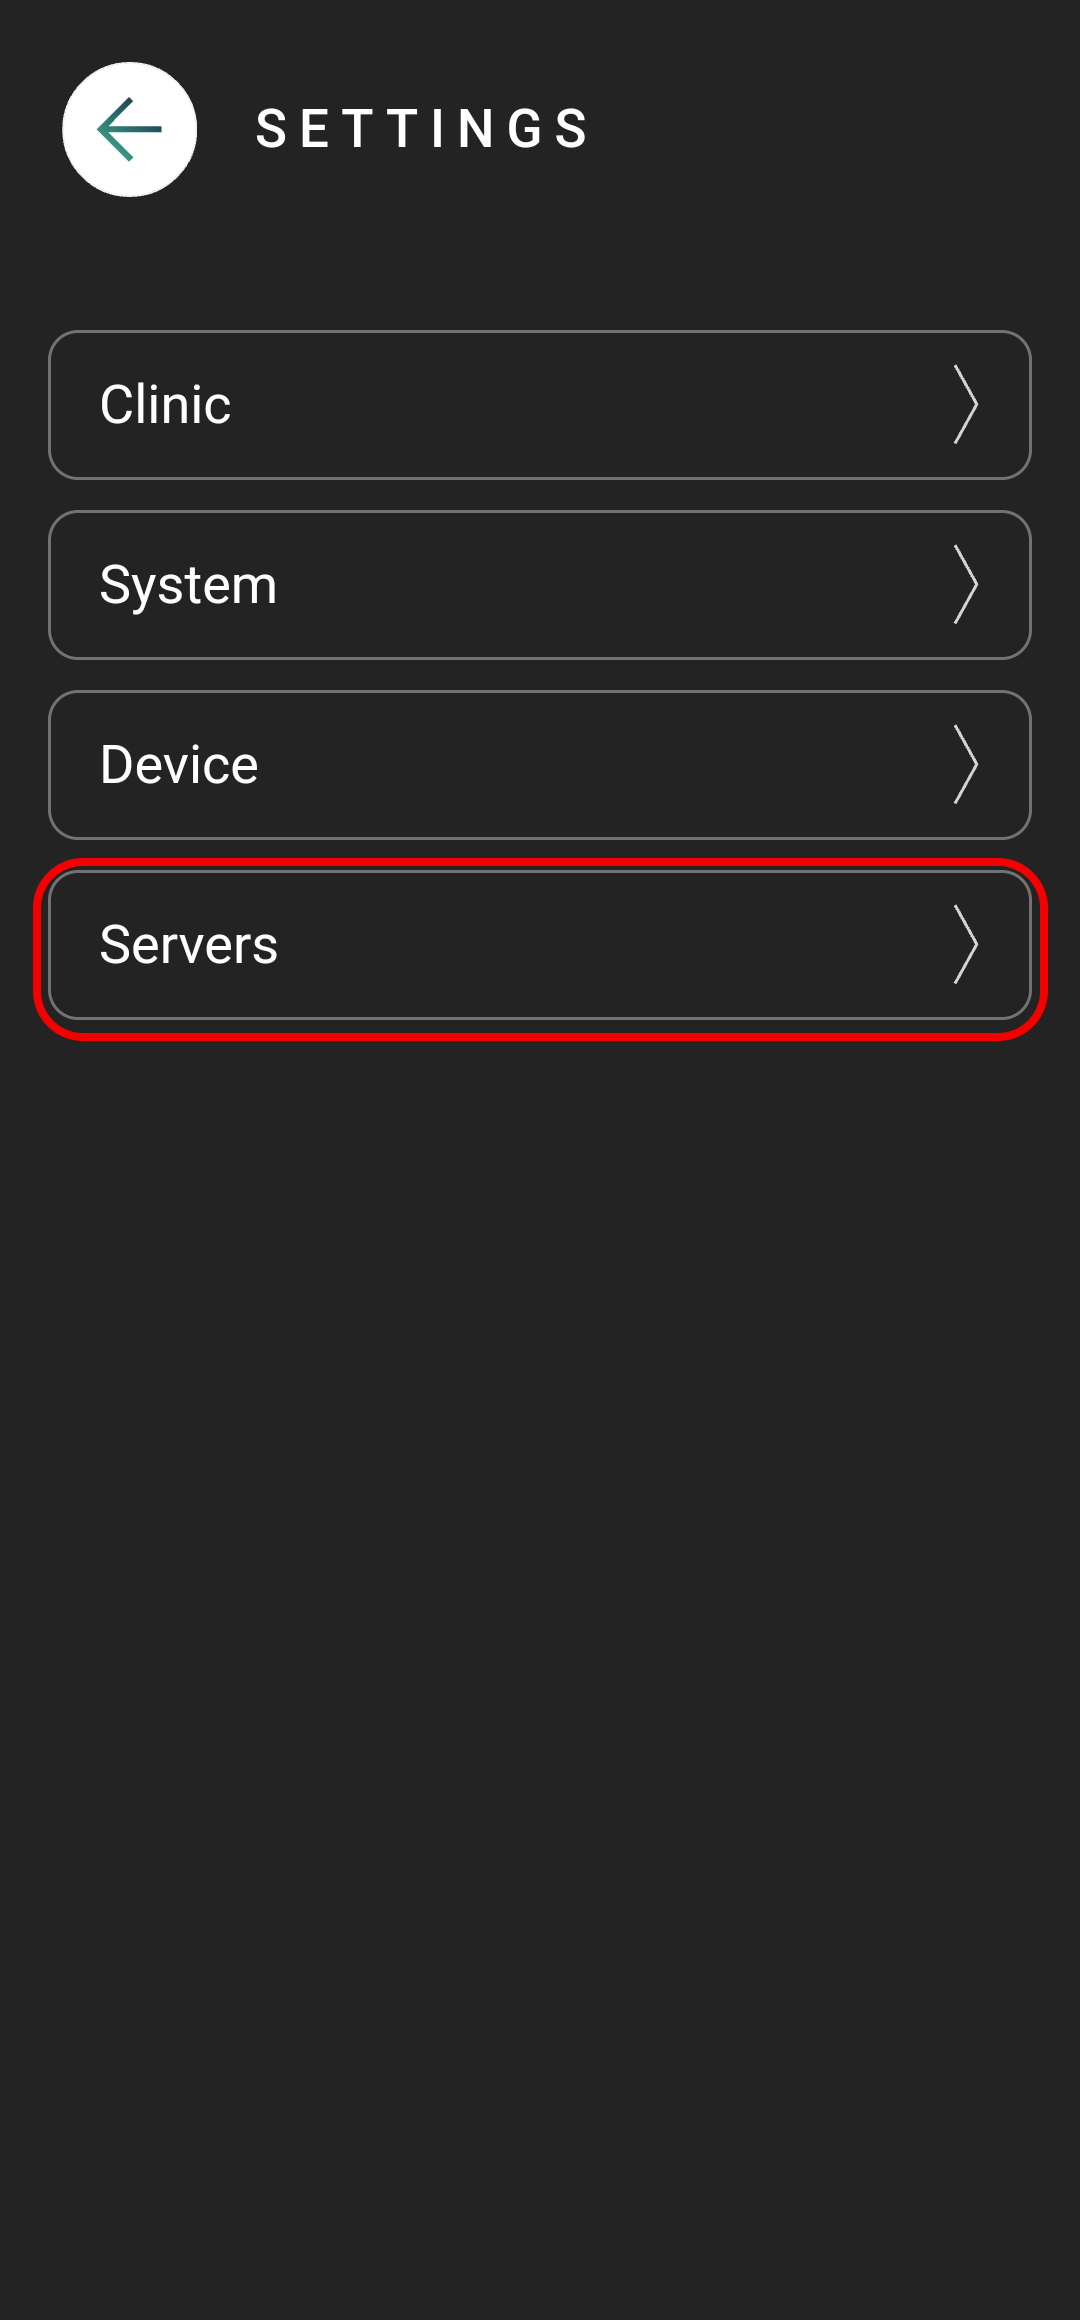
2. Then select “Servers”.
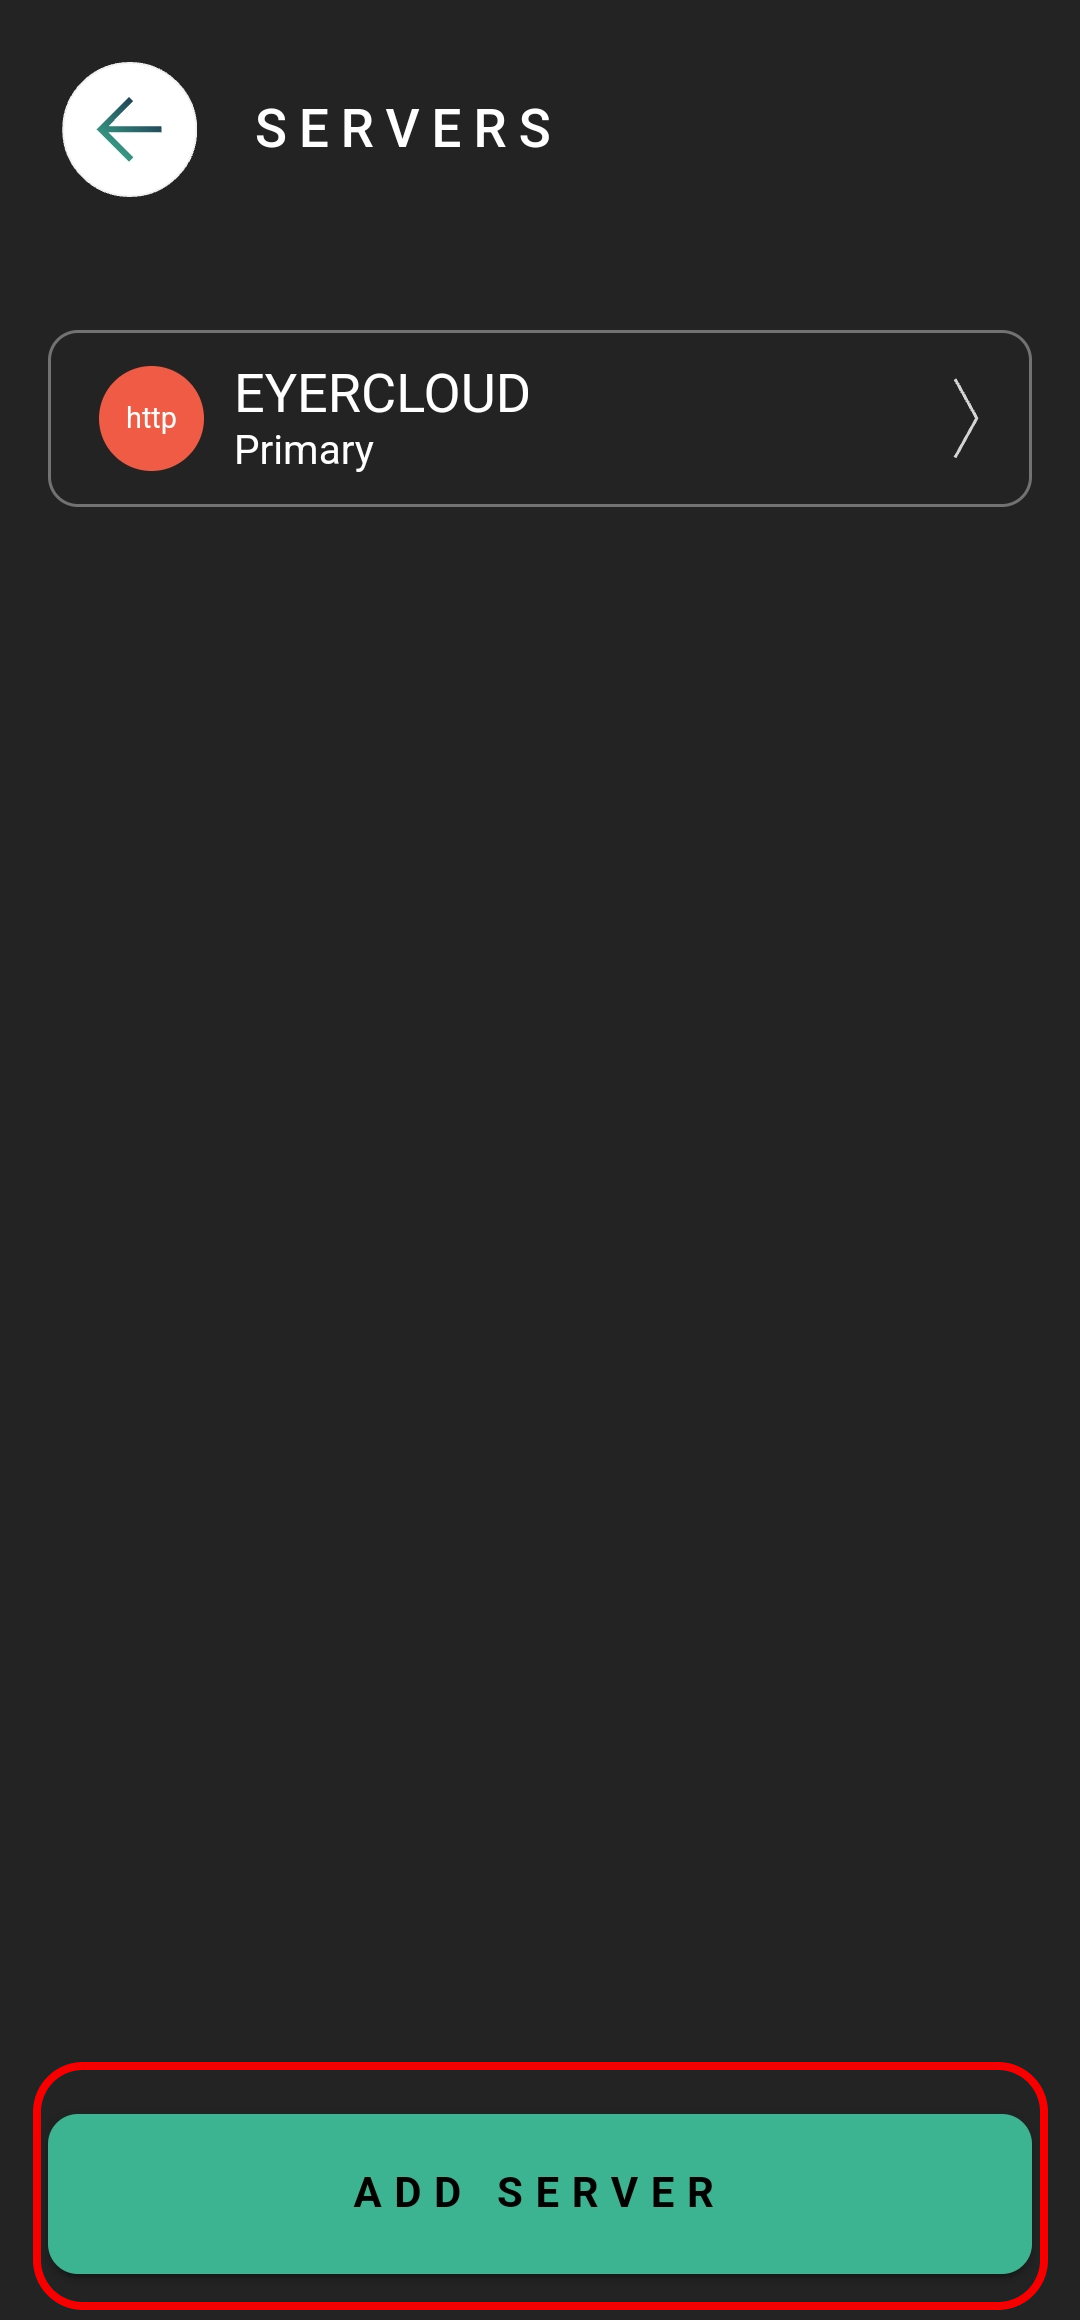
3. Press the “Add Server” button and choose the appropriate server type (e.g., SFTP).
4. Once you’ve selected SFTP, proceed with filling out the required fields.
Input Server information
ACTION: How the Eyer transfers images and choose the best option for you:
* Primary: Main server for your Eyer. EyerCloud is highly recommended.
* Mirror: Automatically sends all data to a second server in addition to the primary one, ensuring redundancy.
* Contingency: Backup server. Images are sent here if the primary server fails, preventing data loss.
* Manual: You must manually choose to send images to server.
* Disabled: The server is not active and won’t be used for any data transfers.
NAME: Insert a name for the server for your internal reference and control.
KEY: This is automatically generated based on the server name. It must be unique and in the format of three uppercase characters (A-Z) and three numbers (0-9).
Next, you need to configure the server’s INPUT and OUTPUT information. This means you must specify
where Eyer will receive data from the server and where it should send data to.
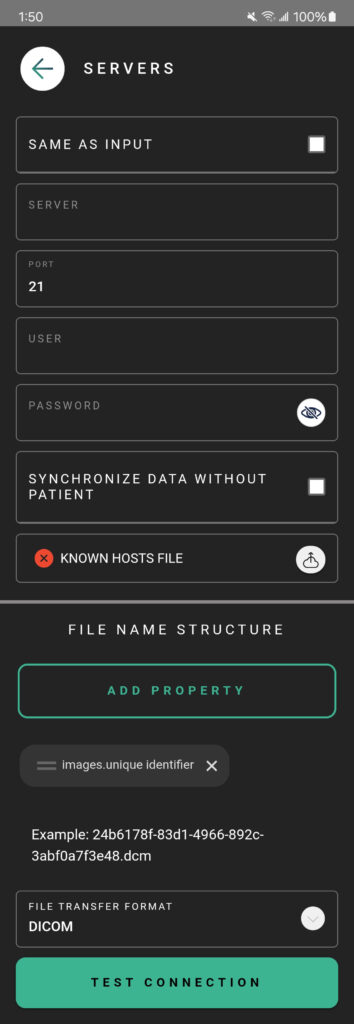
INPUT SFTP SERVER:
SERVER: Server’s IP address.
PORT: Server’s access port.
INPUT DIRECTORY: Enter the full path of the folder on your server where Eyer will send the data/images.
USER: related to server directory.
PASSWORD: related to server directory.
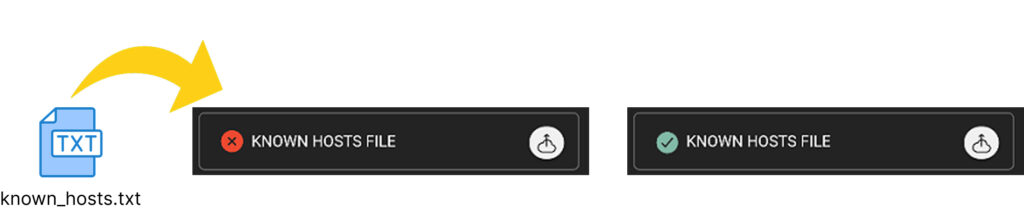
KNOWN HOSTS FILE: It’s necessary attach the Known hosts file in the Eyer app when we are doing a SFTP connection.
This file must be in .txt format. Ideally, the customer’s IT department should provide file to attach.
It’s a “digital fingerprint” or an “ID card” of server, consists of three main information:
- Host Identifier: It shows the IP address of the server and the specific port (2202) used for the connection.
- Encryption Algorithm: It tells the device which method was used to generate the key.
- Public Key: It is a unique identifier for that specific server.
Example of a known hosts:
[4.111.95.191]:2202 ssh-rsa AAAAB3NzaC1yc2EAAAADAQABAAABgQC5vR8zK9Xp2mL1aW9qYmD4nR7vXkP9z8mQ8w
X9zLp2vX8qN9mP5zL9vX8qN9mP5zL9vX8qN9mP5zL9vX8qN9mP5zL9vX8qN9mP5zL9vX8qN9mP5zL9vX8qN9mP5zL
9vX8qN9mP5zL9
OUTPUT SFTP SERVER:
If the images will be transferred to the same as input check the box “SAME AS INPUT” or insert
the information related to where the images should be sent:
SERVER: Server’s IP address.
PORT: Server’s access port.
INPUT DIRECTORY: Enter the full path of the folder on your server where Eyer will send the data.
USER: related to server directory.
PASSWORD: related to server directory.
KNOWN HOSTS FILE: It’s necessary attach the Known hosts file in the Eyer app when
we are doing a SFTP connection. Attach in .txt file.
Specify your desired file structure in “FILE NAME STRUCTURE”
Choose the data transfer format DICOM or JPG.
Finally, Test the Connection!