
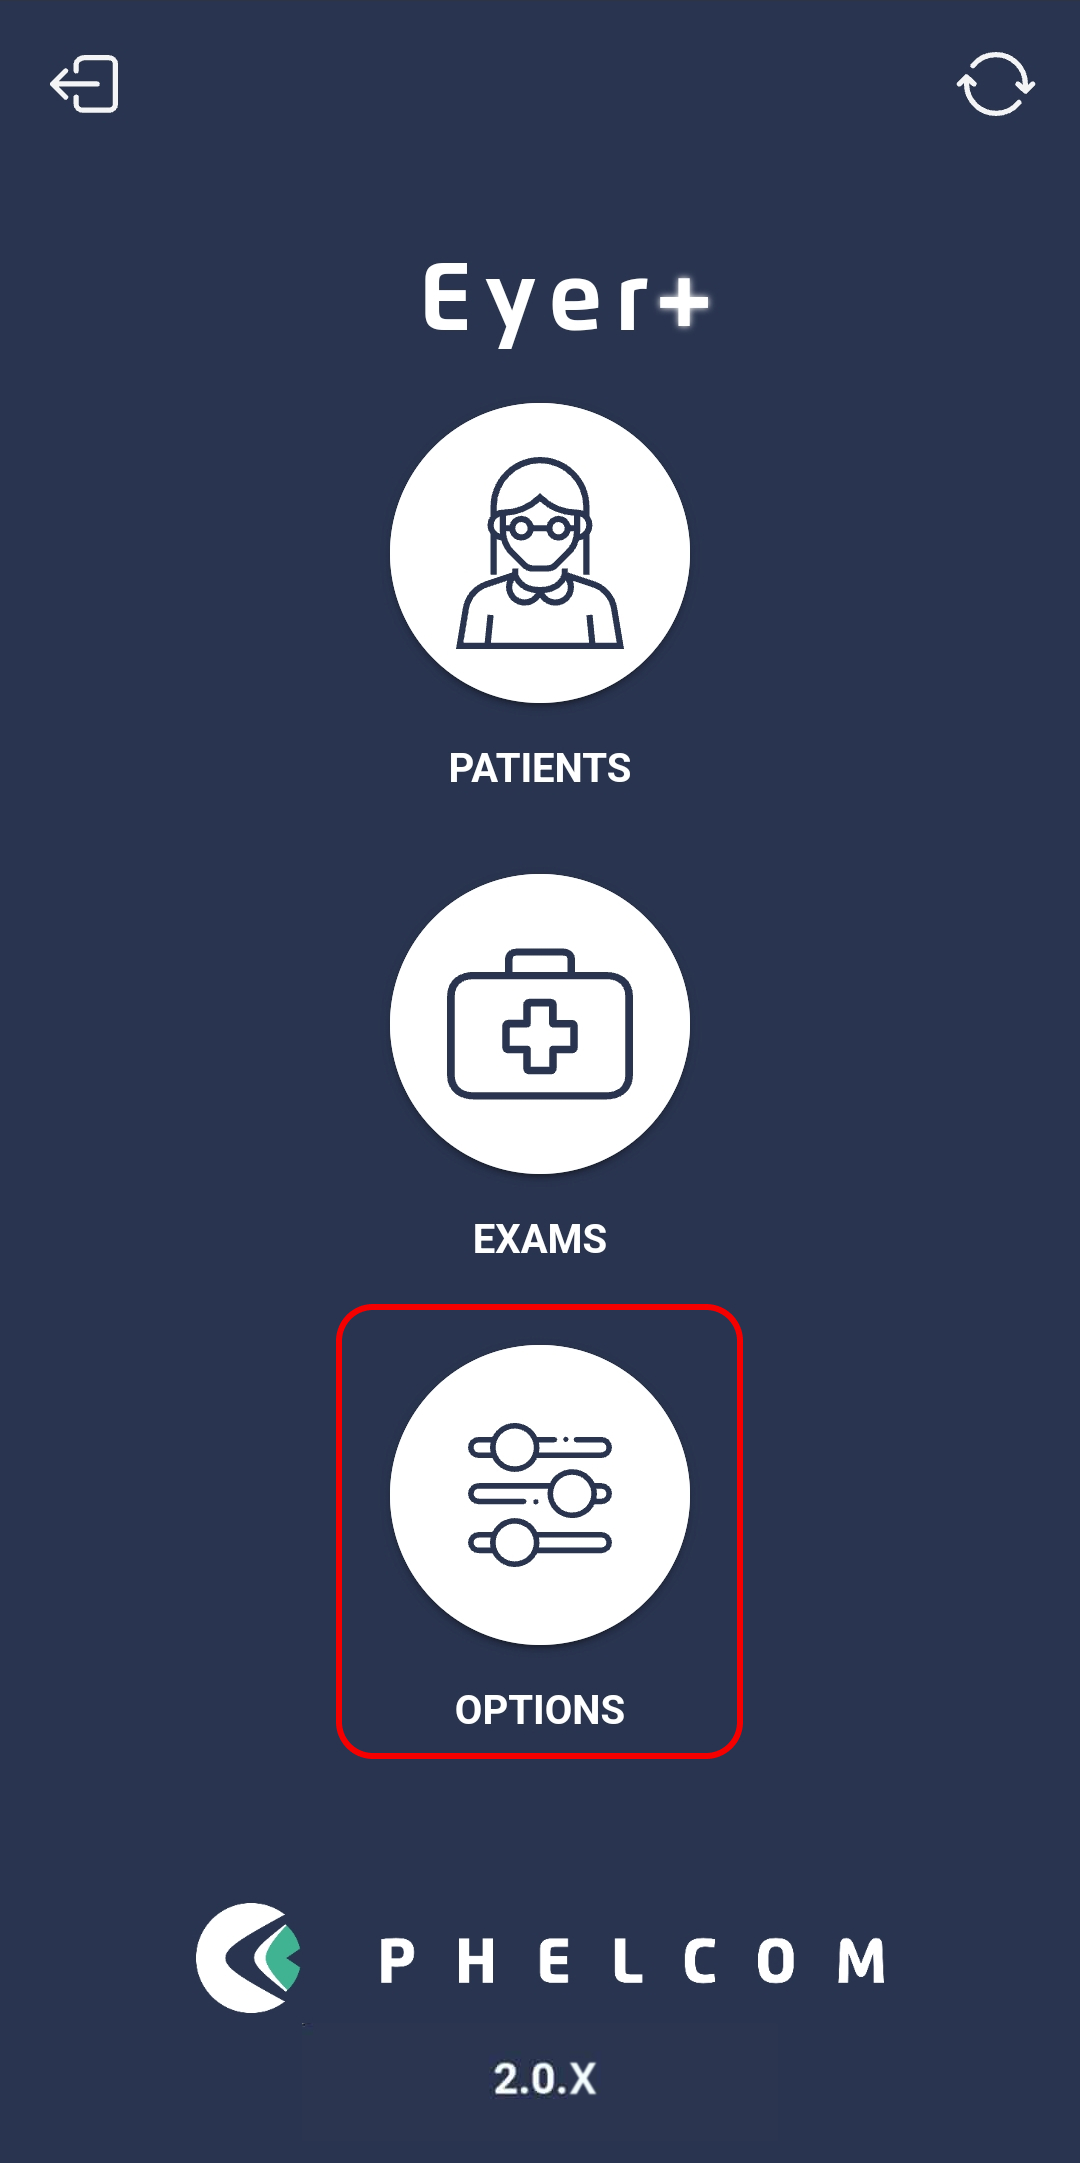
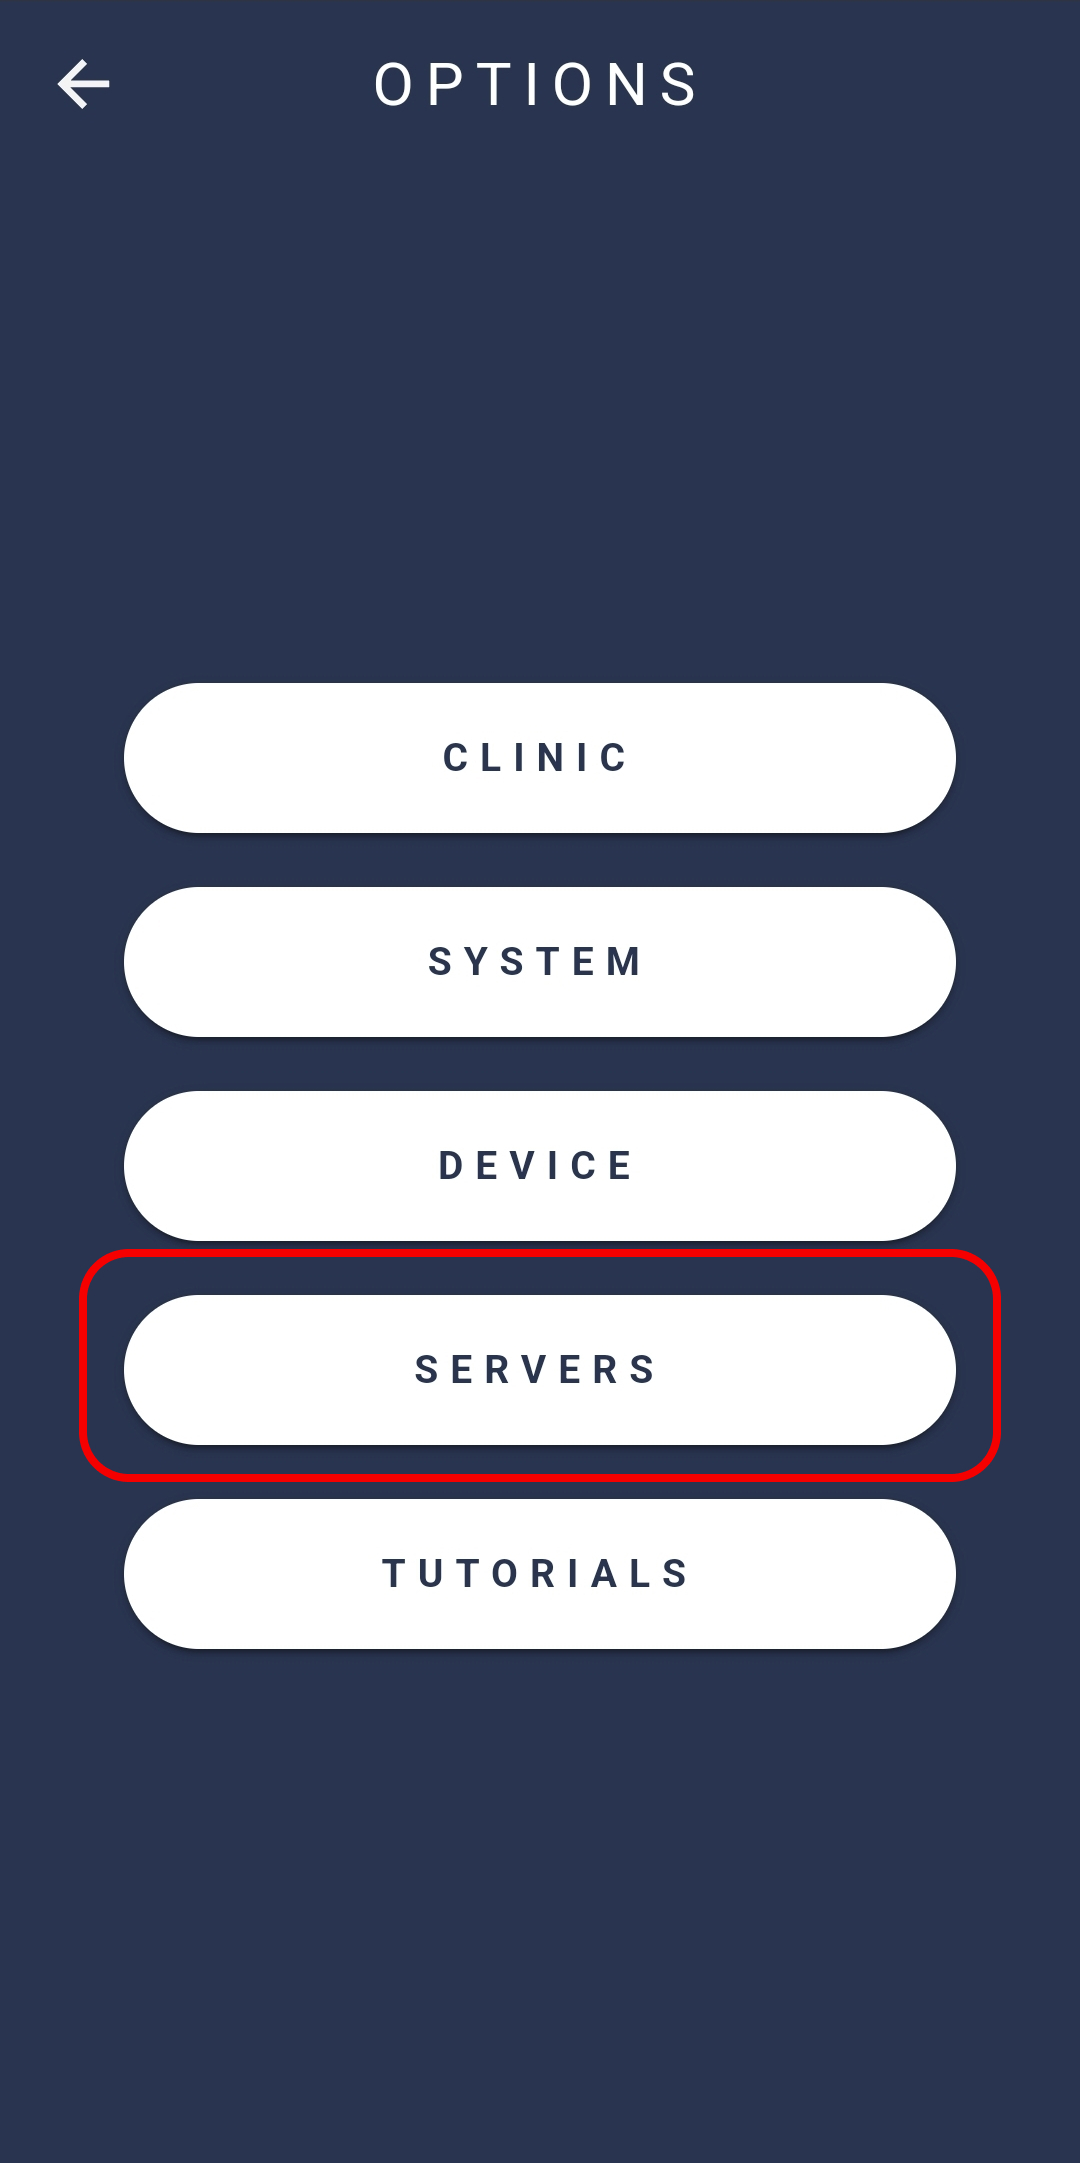
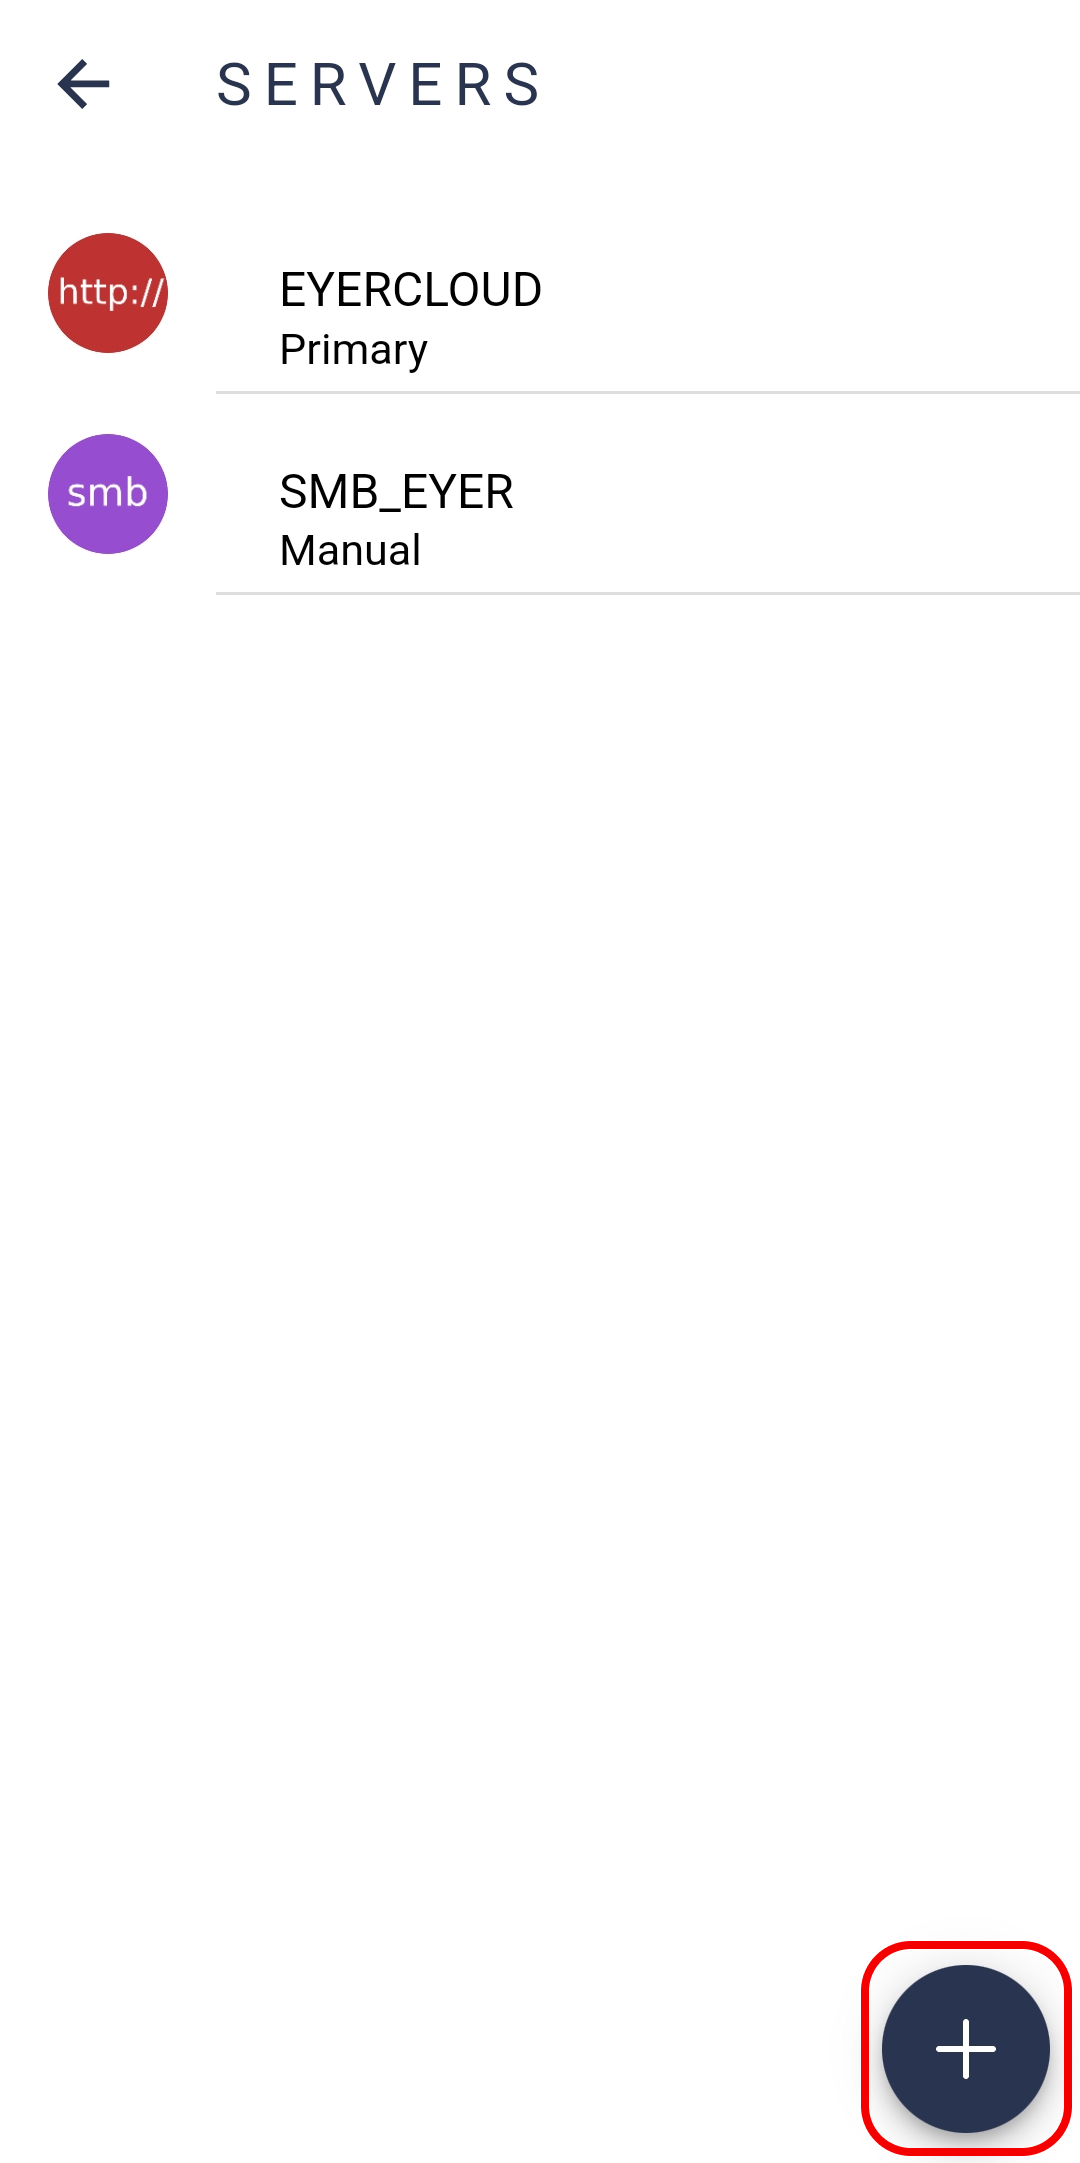
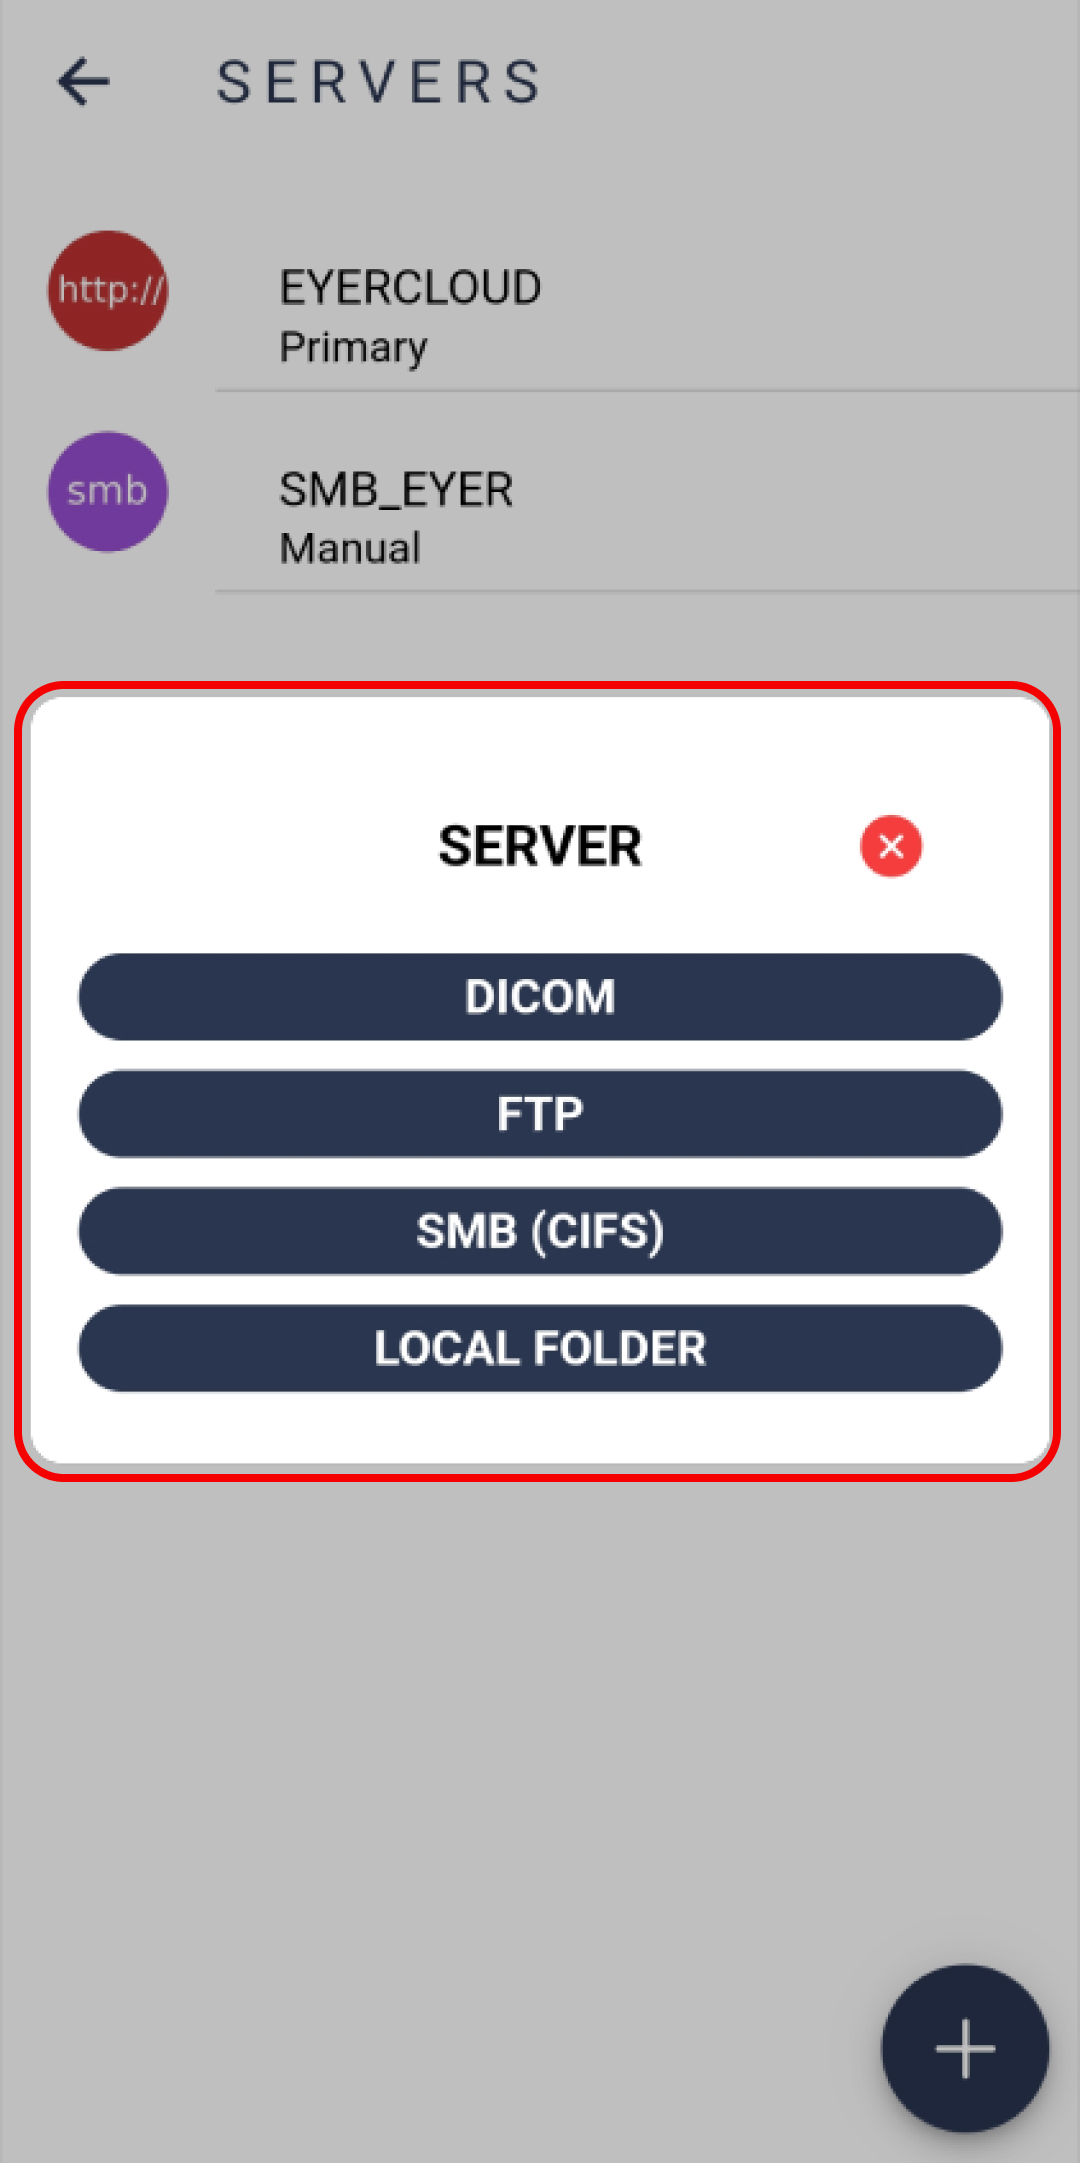
All images are sent to either the Eyercloud system or a user configured server. To establish a connection to a server, click on “Options”, then “Servers”, followed by selecting the icon and choosing the appropriate server type.
These settings are required regardless of the type of server being configured:
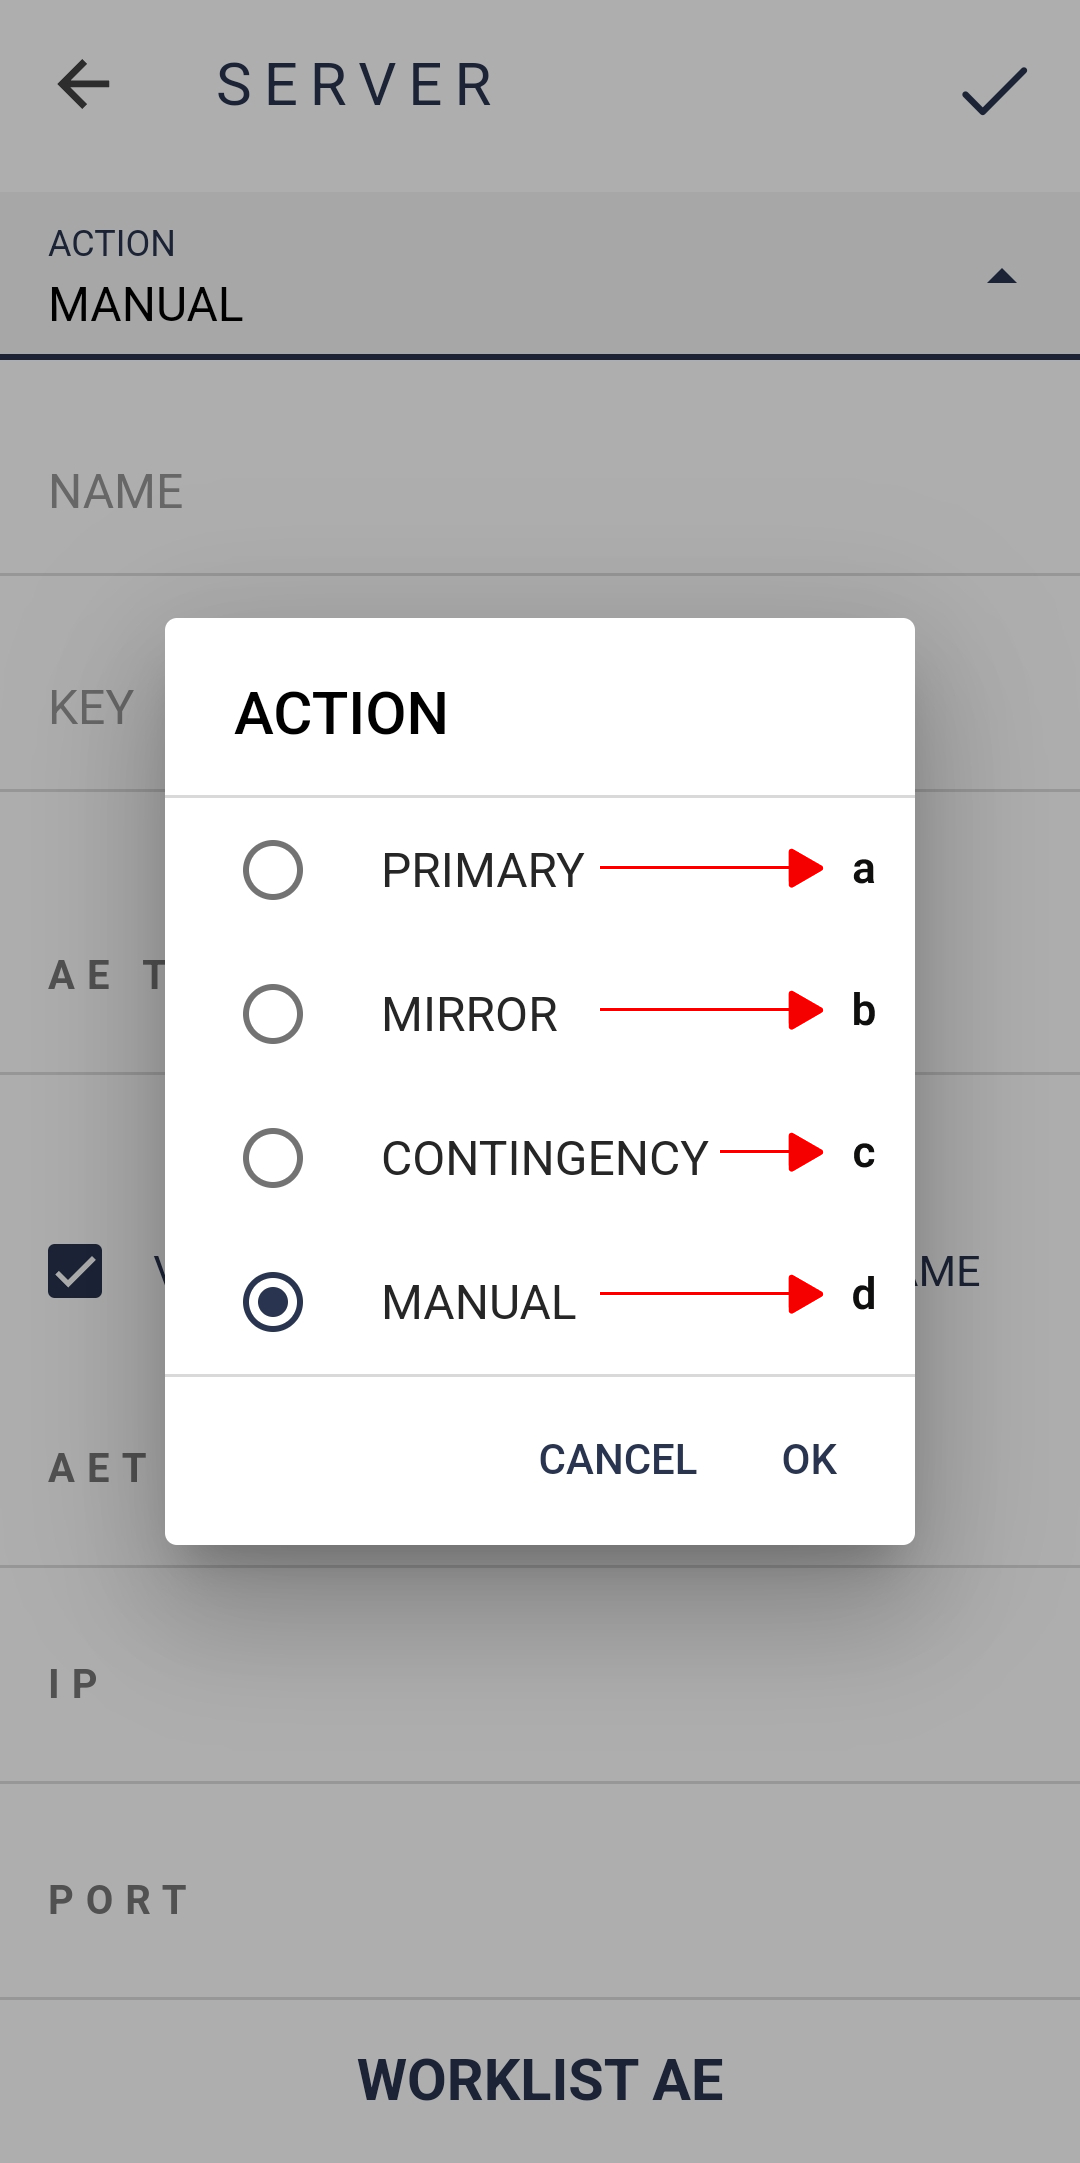
1. Action: Defines the behaviour of the server (when to share the data):Primary: Default server used by Eyercloud. Cannot be removed, only disabled.
Mirror: All the data generated by the device will be sent to the primary server and any mirror(s) configured.
Contingency: Used only in case of Primary server failure.
Manual: not used automatically, but is available for manual transfer.
2. Name: server identifier, is NOT unique.
3. Key: Generated automatically based o nthe server name. Unique and follow the format of three upper case letters (A to Z), followed by a dash (-), followed by three numbers (0 to 9)..
If there are any issues when creating the connection check our troubleshoot post.
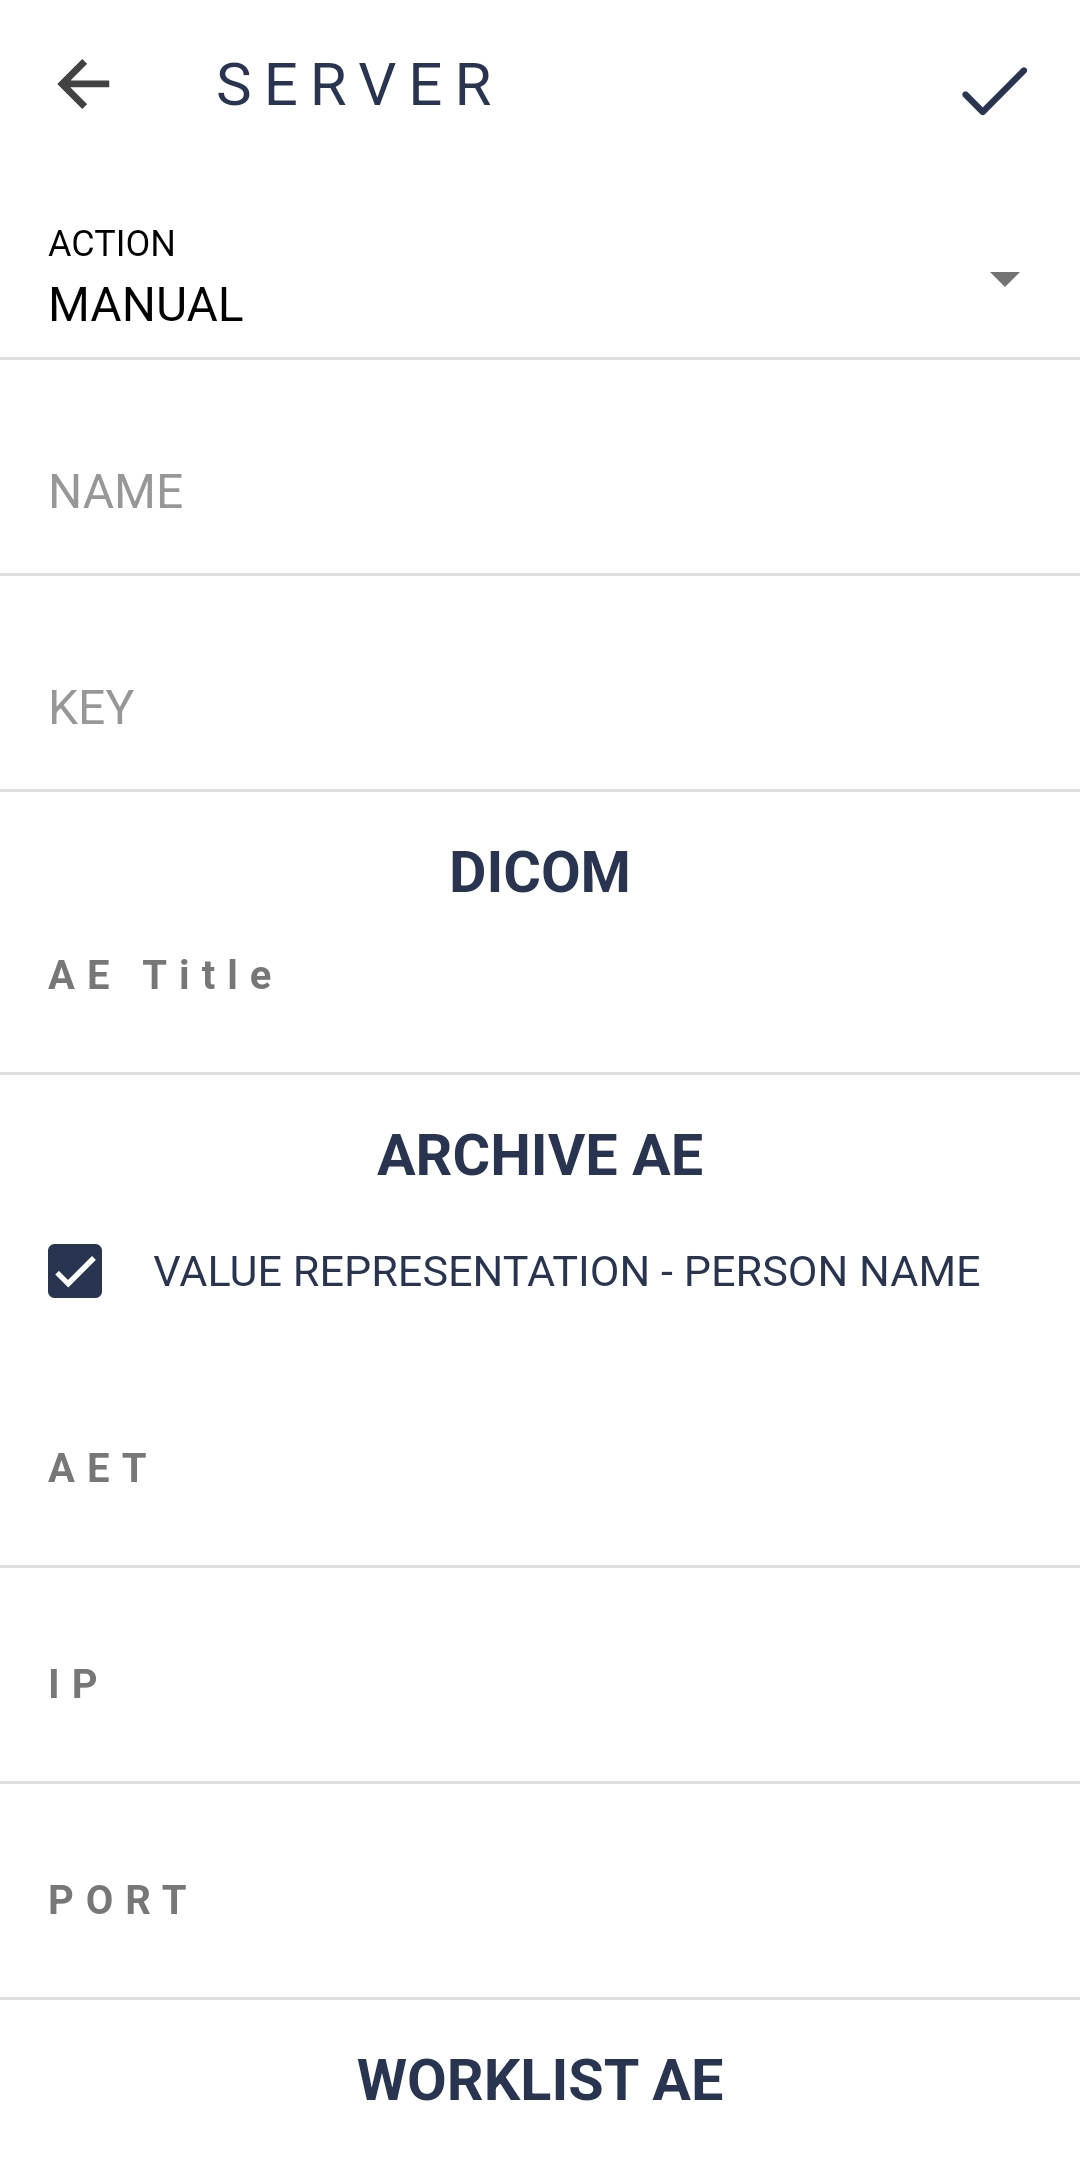
To utilize a DICOM server add the storage server information (Archive AE), or the Worklist server information.
ACTION: How the Eyer transfers images and choose the best option for you:
* Primary: Main server for your Eyer. EyerCloud is highly recommended.
* Mirror: Automatically sends all data to a second server in addition to the primary one, ensuring redundancy.
* Contingency: Backup server. Images are sent here if the primary server fails, preventing data loss.
* Manual: You must manually choose to send images to server.
* Disabled: The server is not active and won’t be used for any data transfers.
NAME: Insert a name for the server for your internal reference and control.
KEY: This is automatically generated based on the server name. It must be unique and in the format of three uppercase characters (A-Z) and three numbers (0-9).
AE TITLE: This is how the Eyer device will be identified on your server. This information must also be configured on your server so it recognizes that the Eyer will be sending images to it.
Next, you will enter the details for your server, which is where the Eyer device will perform archiving tasks. This is the address where the Eyer will: query, retrive and store images and information.
VALUE REPRESENTATION – PERSON NAME: If you mark “Yes,” you will see the patient name as Last_name^First_name. If you don’t, you will see it as First_name^Last_name.
AET: Insert the AET (Application Entity Title), which is the name used to identify a DICOM server or application on a network.
IP: Insert the Server IP Address.
PORT: Insert the Server Port.
The Worklist is the schedule of exams ready for your Eyer device. To import this data from your server, specify the Worklist source or check the box if the source is the same as your ARCHIVE AE server.
MODALITY: If you plan to use the Worklist feature, you must fill this field with OP (Ophthalmic Photography). This code identifies the specific type of exam; in the case of the Eyer device, the Modality will always be the same.
Finally, Test the Connection!

Understanding Your .dcm File
Every exam can be converted to DICOM standard, generating a .dcm file. The file generated contains the following tags:
- PatientID → Generated using the clinic mandatory document, using the “DICOM Prefix” in the Eyer system screen. Example: for a clinic registered with a CNS medical record, a DICOM file with PatientID value “phelcom_cnsPatient” will be generated.
- PatientComments → Has a JSON structure with patient anamnesis and diopter information.
Example:
{ “anamnesis”:{ “hypertension”:true, ”smoker”:true, ”glaucoma”:true, ”cataract”:true }, ”diopter”:{ “right”:{ “spherical”:”-3.25”, “cylindrical”:”-0.75”, “axis”: “90”}, ”left”:{ “spherical”:”-3.25”, “cylindrical”:”-0.75”, “axis”: “90”}, }, ”email”:”contato@email.com” }
- PatientSex → Always in the format M (male), F (female) or O (other);
- PatientBirthDate → Patient Birth Date ( YYYYMMDD);
- PupilDilated → Dilated Pupil “YES” or “NO”;
- ImageLaterality → Image Laterality “R” (right) or “L” (left);
- Manufacturer → Fixed value “Phelcom Technologies”;
- ManufacturerModelName → Fixed value “Eyer”;
- DeviceSerialNumber → Device serial number used in the exam;
- SoftwareVersions → Software version number used in the exam;
- InstitutionName → Clinic name;
- SeriesDescription → Exam type (color redfree, texture, stereo or panoramic);
- SeriesDate → Capture date (YYYYMMDD);
- SeriesTime → Capture time (HHmmss);
- SeriesNumber → Exam sequential number;
- Modality → Fixed value “OP” (Ophthalmic Photography);
- StudyID → Study identification (YYYYMMDDHHmmss);


