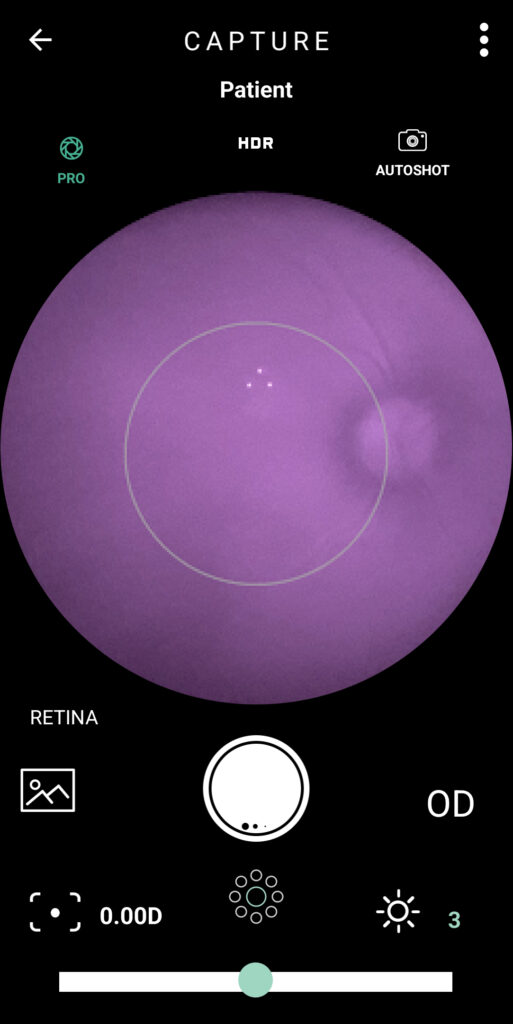
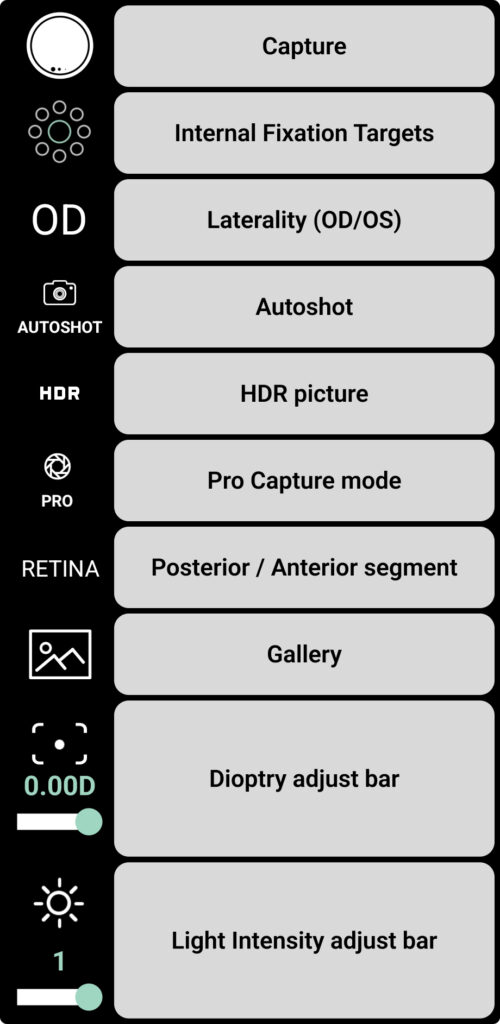
The camera provides numerous settings to capture the highest quality photos.
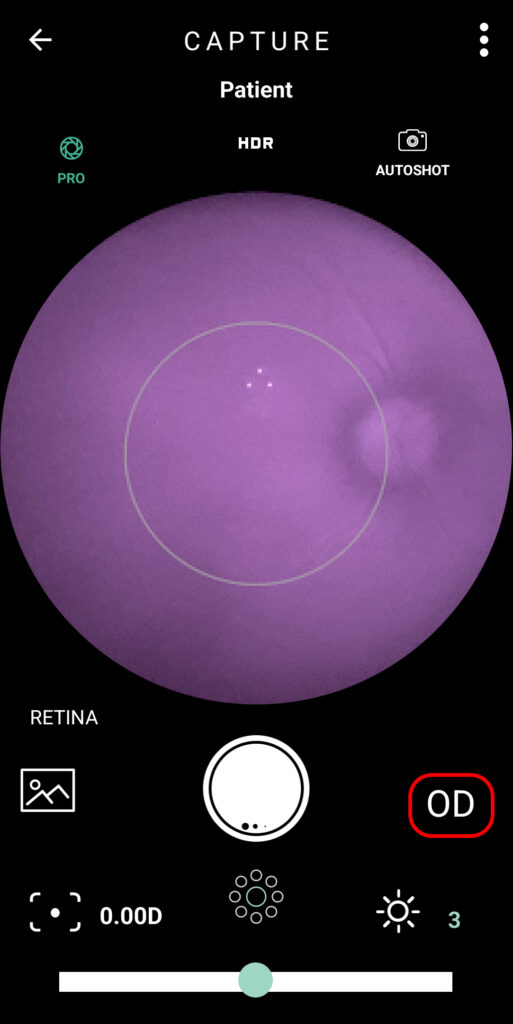
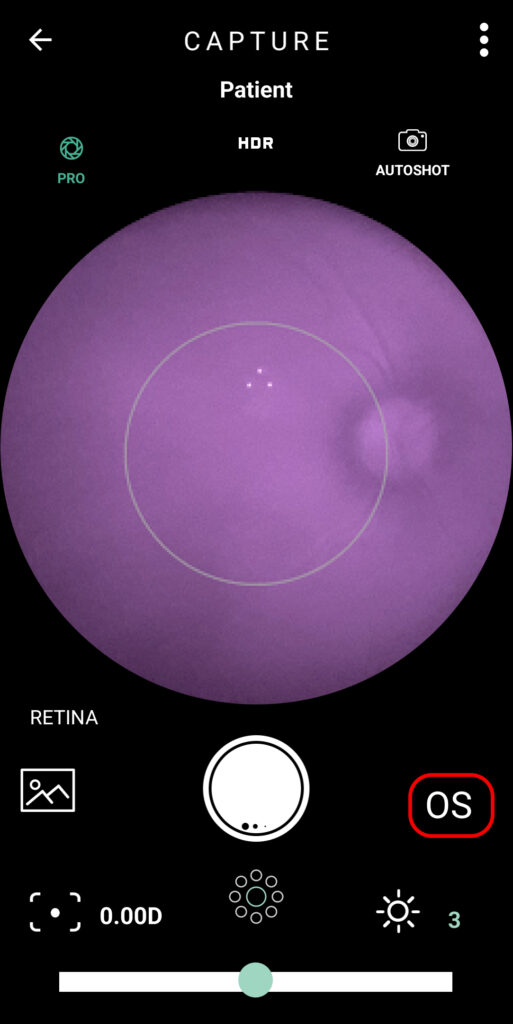
Eye Selection
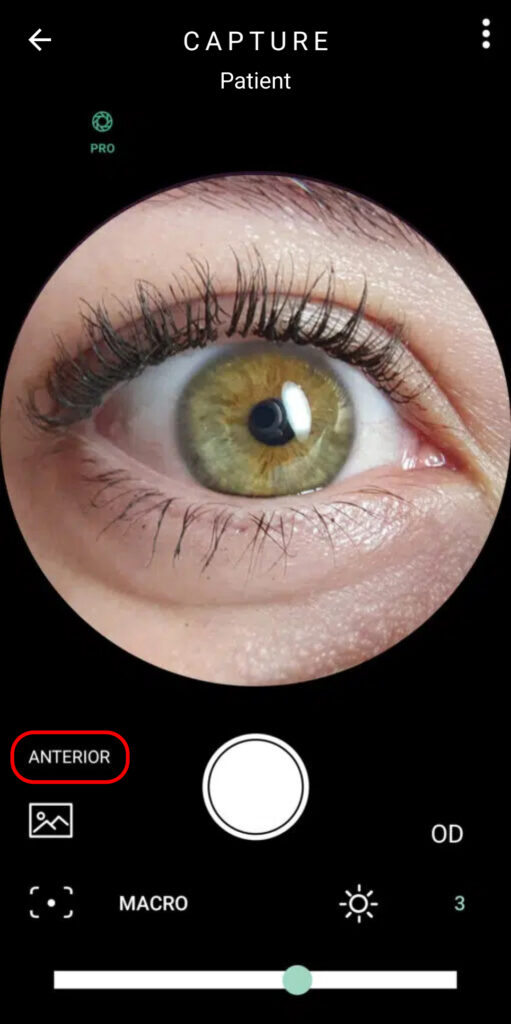
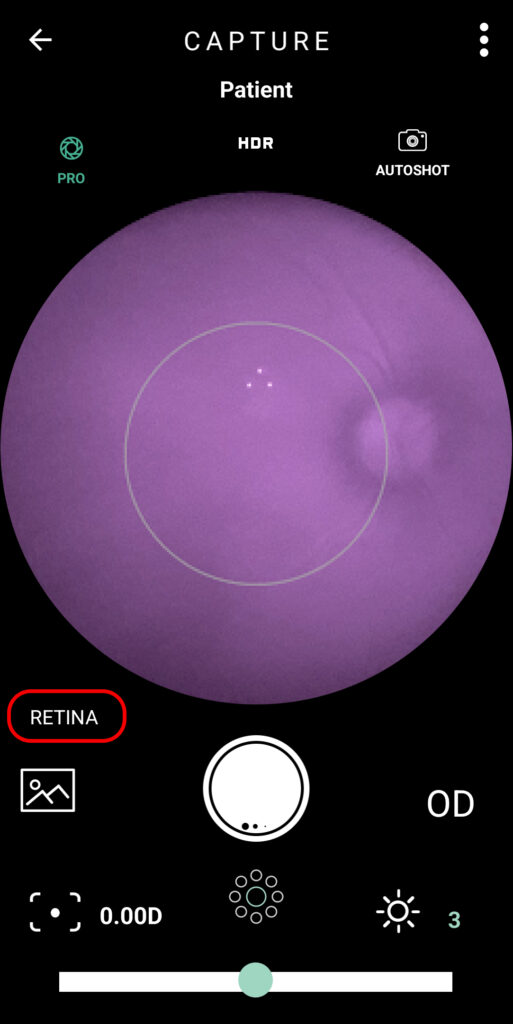
Change the eye being examined. OD: Oculus Dexter (right eye); OS: Oculus Sinister (left eye).
Segment Selection
You can change which segment of the eye is being captured. Retina for the posterior segment, and Anterior for the anterior segment.
Manual Capture
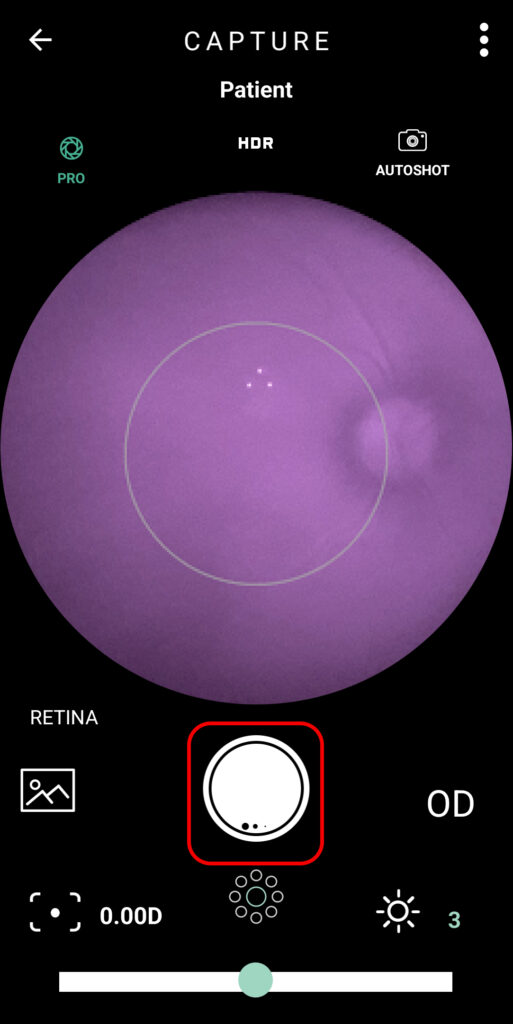
You can manually capture an image by clicking on the capture button.
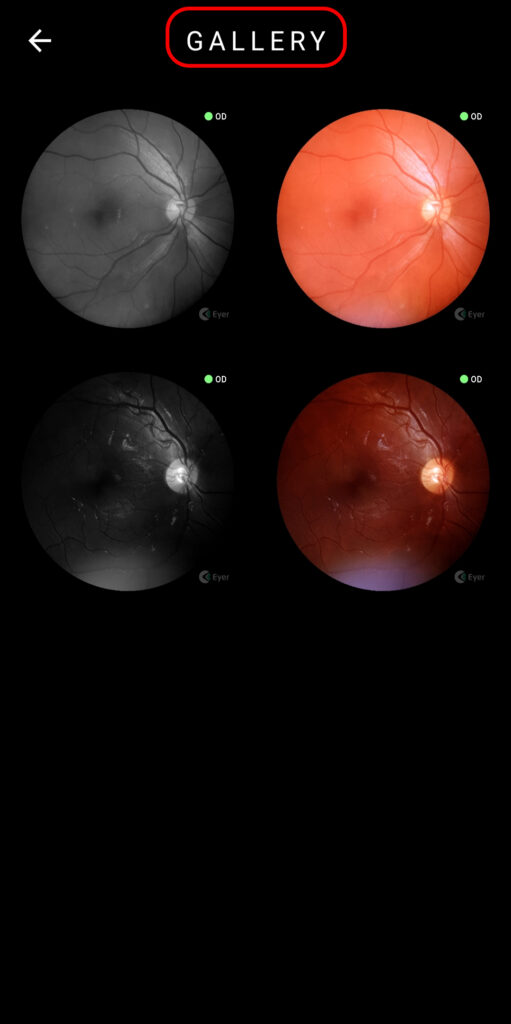
Gallery
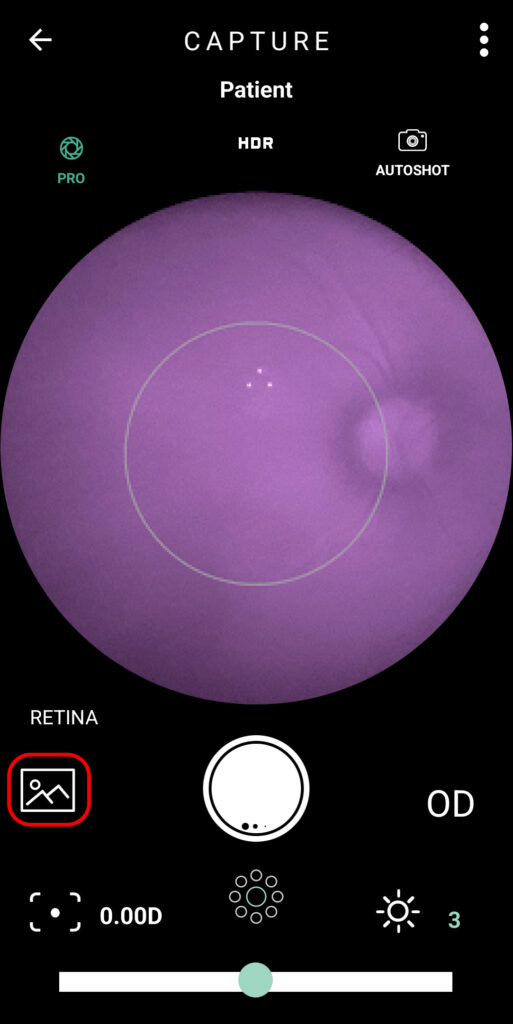
The icon opens the exam gallery, where you can check all the pictures taken during an exam.
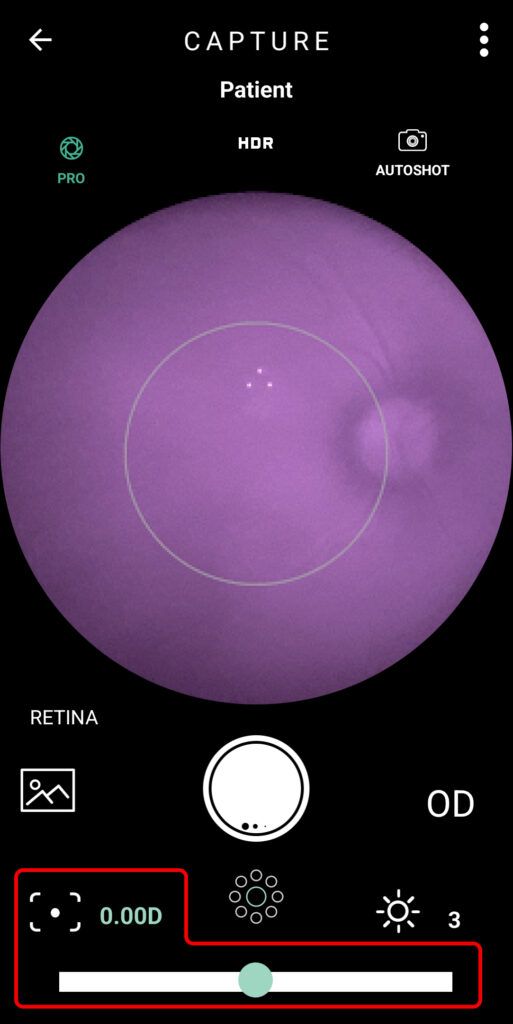
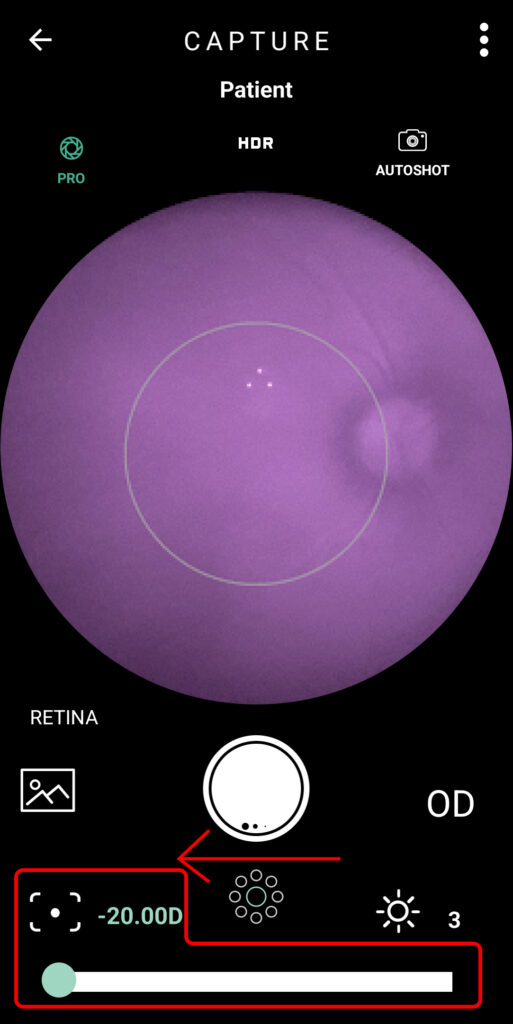
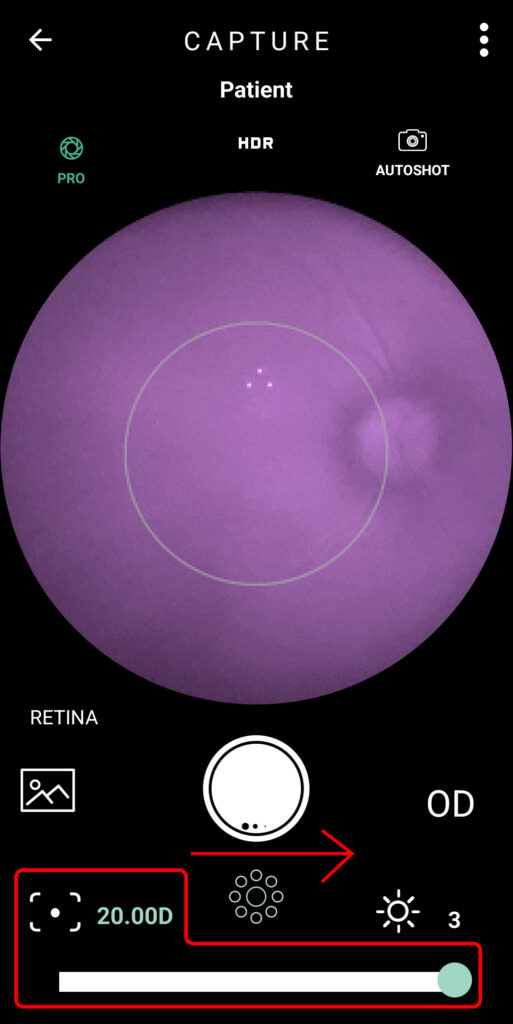
Diopter
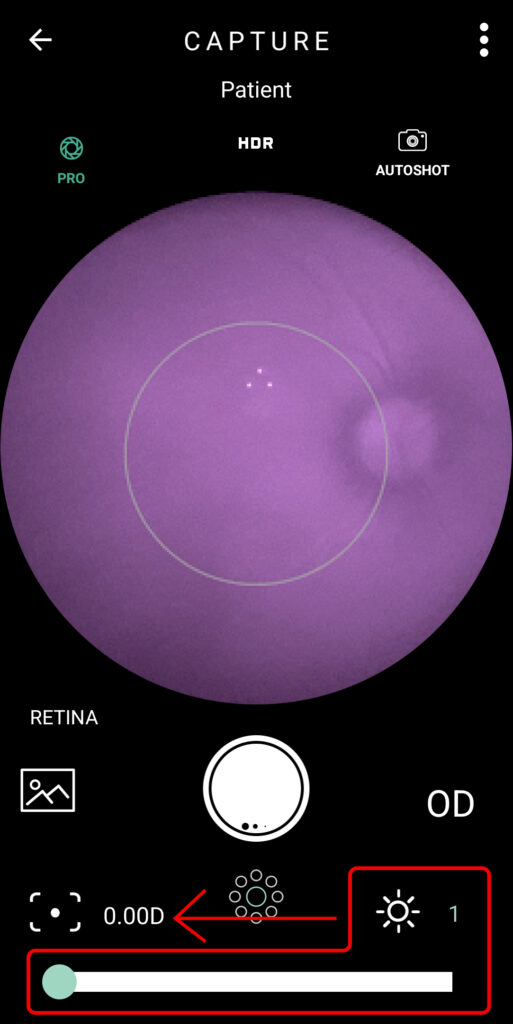
Click on the icon , and drag the slider to adjust the patient’s spherical equivalent.
Light Intensity
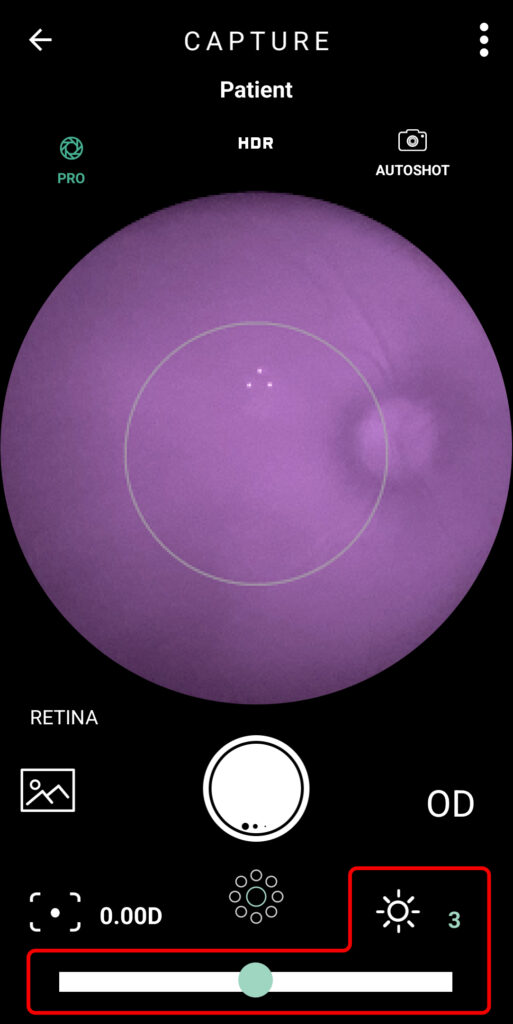
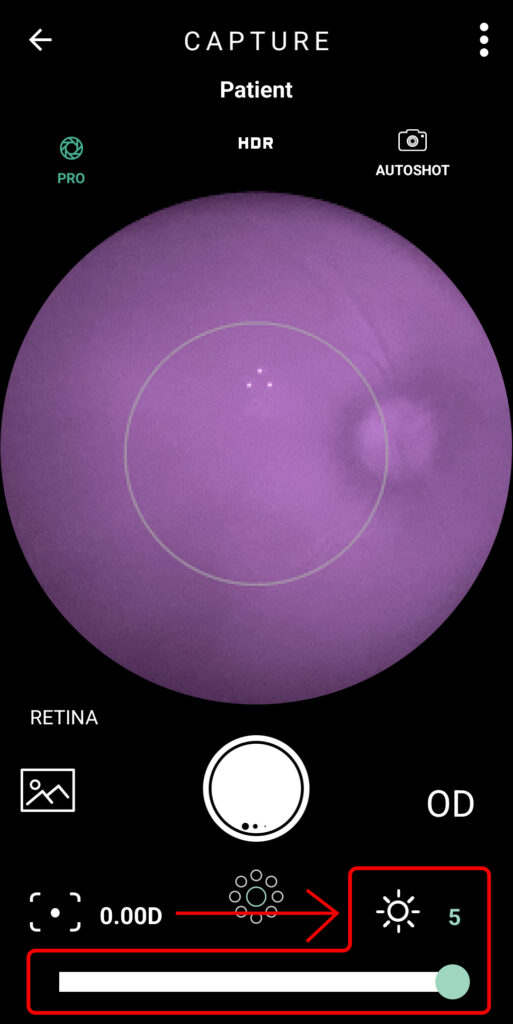
You can adjust the illumination of the flash by clicking on the icon and sliding the bar.
Internal Fixation Targets
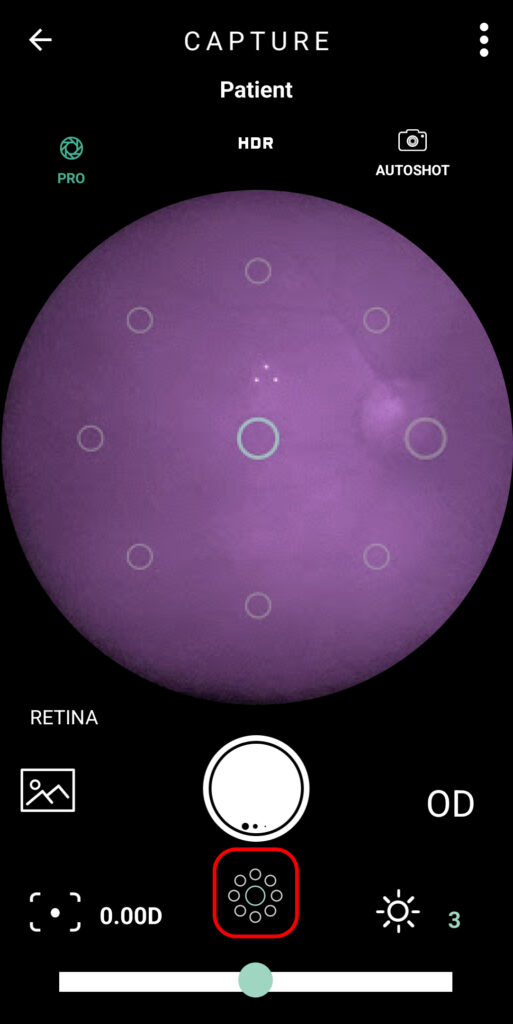
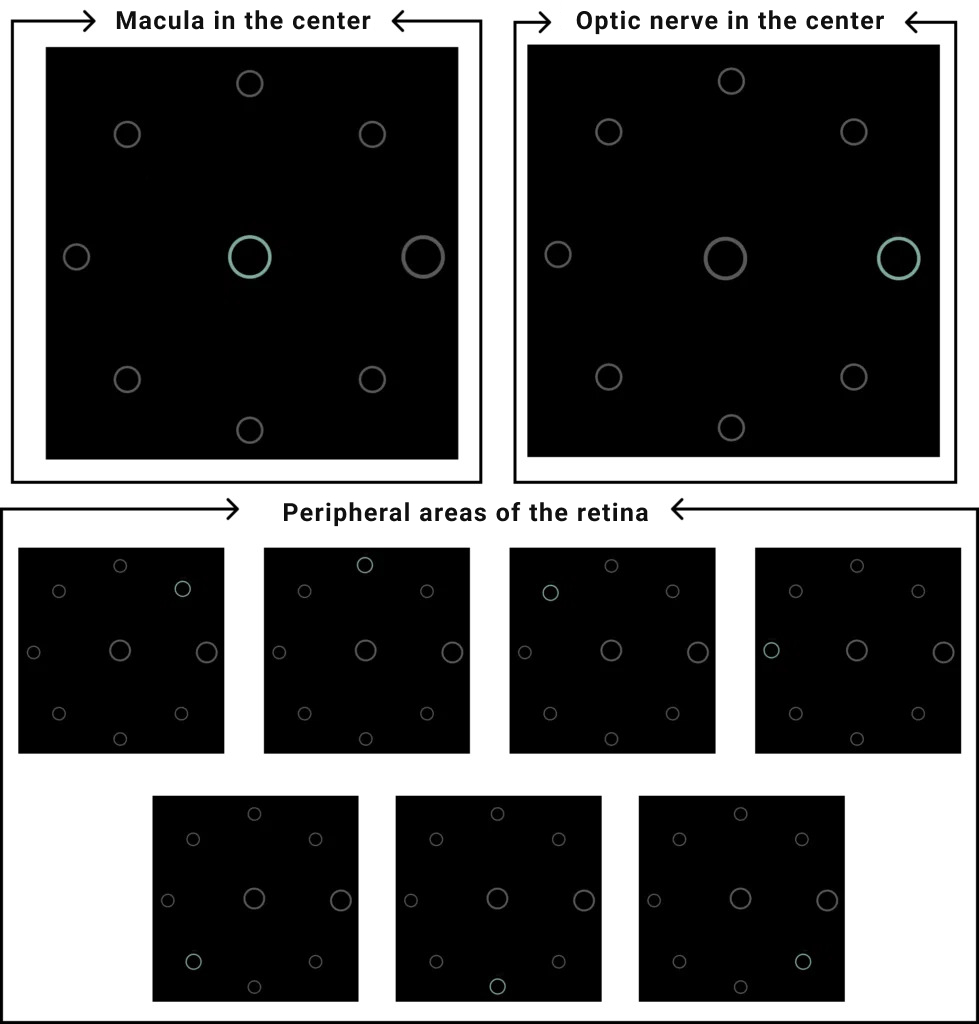
With the icon you can choose which part of the eye will be in the center of the picture. There are two bigger circles, one in the center, representing the macula, and the other is either on the left or the right, indicating the optic nerve, depending on the eye being examined.
HDR / Autoshot / Pro
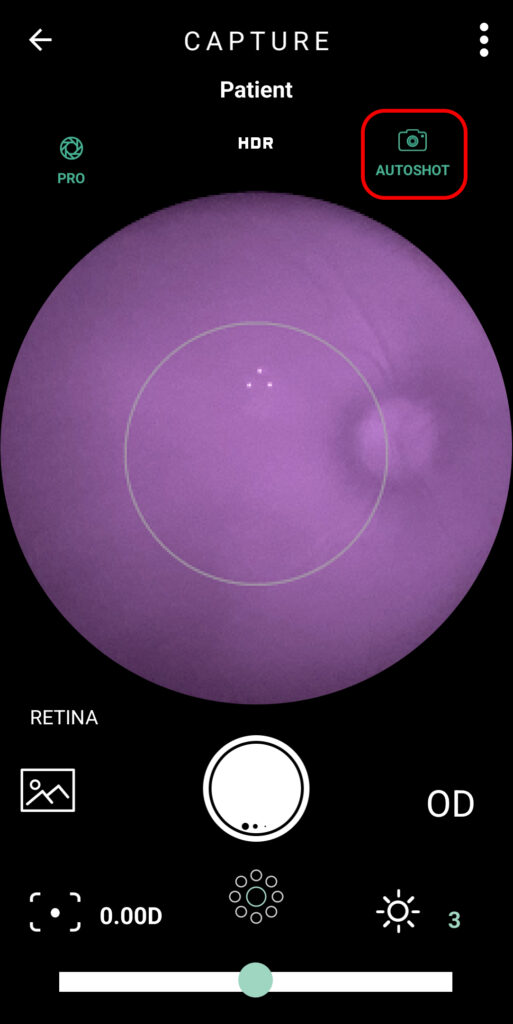
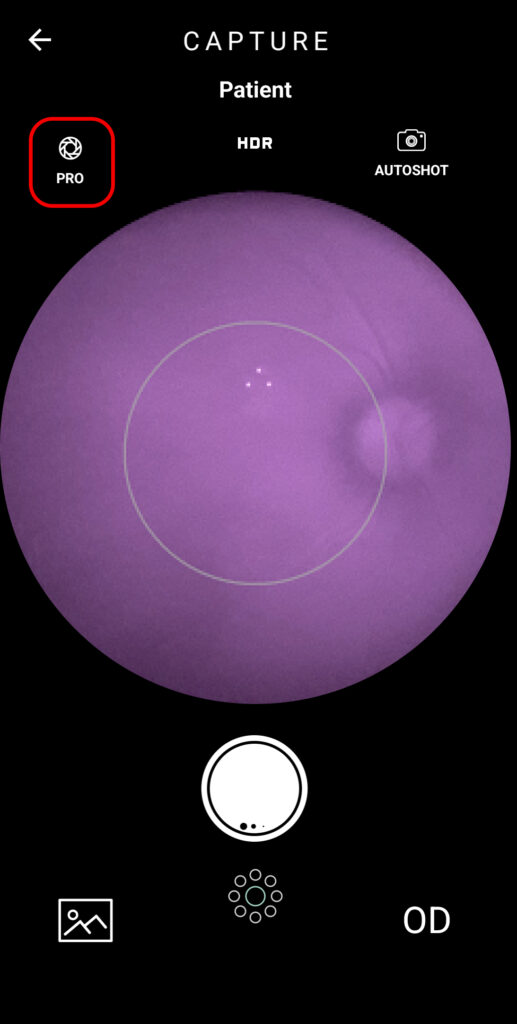
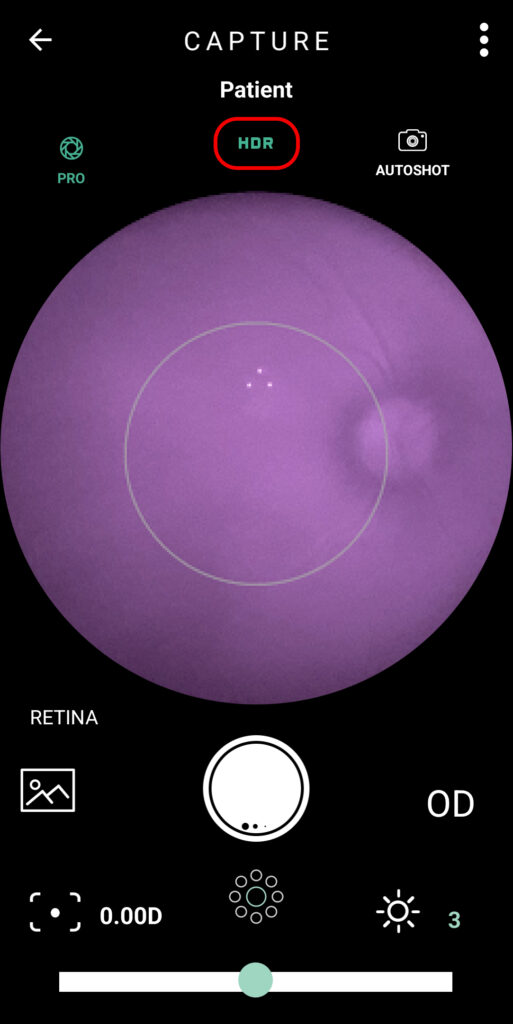
The HDR function enables higher quality pictures, however the higher light intensity used in this setting may make further pictures more difficult due to it making the patient’s pupil contract more. The Autoshot captures an image automatically as soon as it detects that the retina is fully illuminated. Pro gives the user access to light intensity and diopter adjustments.

