
Phelcom has the EyerCloud platform, it’s a cloud website that helps you manage accounts for people who use Eyer. It lets you get pictures from the Eyer device right away, and doctors use it to write their own reports.
The Eyer can also connect to other servers. If you prefer to store the images on your own server, you can create a direct connection between the device and your system, such as a computer, Electronic Health Record (EHR), or another image storage system of your choice.
Find where to make the connections on your Eyer:
In your device’s settings, look for the SERVERS tab. This is where you’ll choose your server and enter its information. When you do this, you’re giving information to the Eyer where to send and receive images and data.
Understand how the Eyer transfers images and choose the best option for you:
You need to select how the Eyer transfers the images to server. In the server settings on your device, you’ll choose one of these options:
| Type | Action |
| Primary | This is the main server for your Eyer to send pictures to, and it should be EyerCloud. It’s very important and can’t be deleted, only turned off. |
| Mirror | This setting automatically sends all images and data to a second server in addition to the primary one. This makes sure your information is always saved in both. |
| Contingency | If the primary server fails for any reason, your images will be sent to this server instead. It acts as a backup to make sure you don’t lose any data. |
| Manual | The Eyer won’t automatically send data to this server. You have to manually choose to send the information to it. |
| Disabled | The server is not active and won’t be used for any data transfers. |
Choose and configure the best server for you
Now that you know that Eyer can connect to different servers and how to set up the transfer option, you can choose as many servers as you want and need. The links below will show you in detail how to connect your Eyer. For security and privacy reasons, Phelcom’s team is not authorized to access your servers and systems. So please, confirm with your IT personnel to discuss all integration needed.
| SERVER | Connection type | How to Configure Your Eyer |
| SMB (CIFS) | Create a connection between your Eyer (the “client”) and other server, using Server Message Block (SMB) protocol. This allows you to share files and other data. | Eyer 1 – SMB Eyer 2 – SMB |
| FTP | Create, delete, send or receive files with an FTP server, which is a simple way to establish a connection between Eyer (the “client”) and the server using File Transfer Protocol. | Eyer 1 – FTP Eyer 2 – FTP |
| DICOM | This integrates your Eyer with a hospital’s central server and EHR (Electronic Health Record) system. It uses standard protocols like DICOM to send and receive patient information and images. | Eyer 1 – DICOM Eyer 2 – DICOM |
| DICOM Web | Connect the Eyer to a DICOMweb server in order to send images. This is a type of server that makes it easy to access and manage medical images through the internet. | Eyer 1 – DICOMWeb Eyer 2 – DICOMWeb |
| LOCAL FOLDER | Using Local Folder the images will be saved locally (in the smartphone) in the location that you choose. | Eyer 1 – Local Folder Eyer 2 – Local Folder |
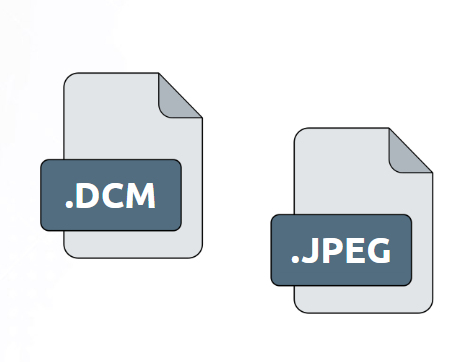
File formats
There is the possibility to export the images in two different file formats:
-> JPEG: image file with high resolution of the capture.
-> DCM: the file contains the captured image with several metadata like patient identification, diopter informed, date and time of the capture and much more.
File name structure
For SMB and FTP transfer protocols, you can customize the structure of the file name that will be shared, as well as how folders are organized on the server.
Feel free to contact us if you have any connection difficulties or need to ask a question. You can access our support platform for assistance!


