Back
HelpCenter

Explaining the Capture Screen

Categories
Eyer 2

The camera provides numerous settings to capture the highest quality photos.
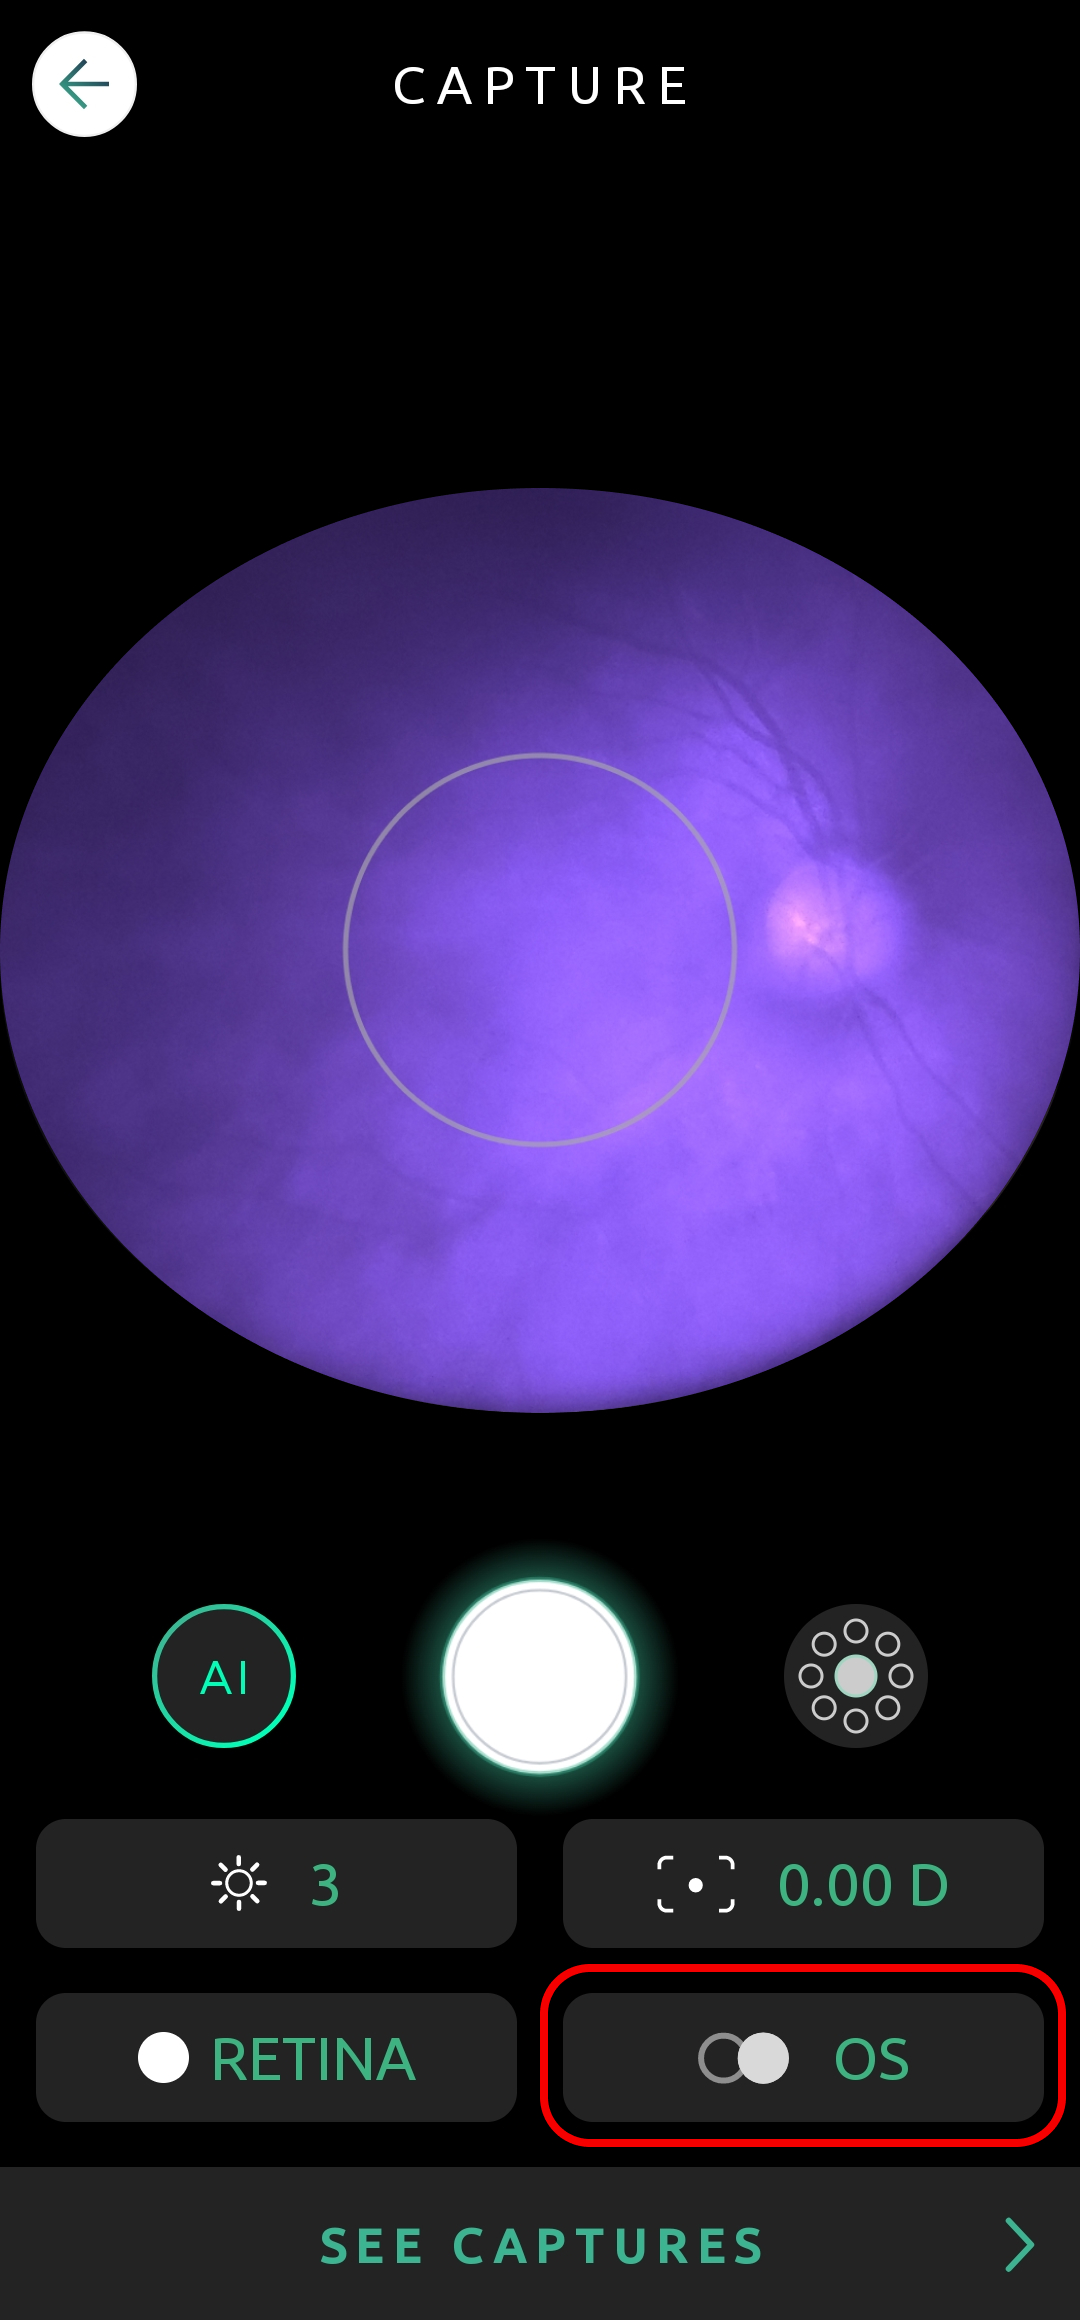
Help Capture Screen 01
Help Capture Screen 14

Eye Selection

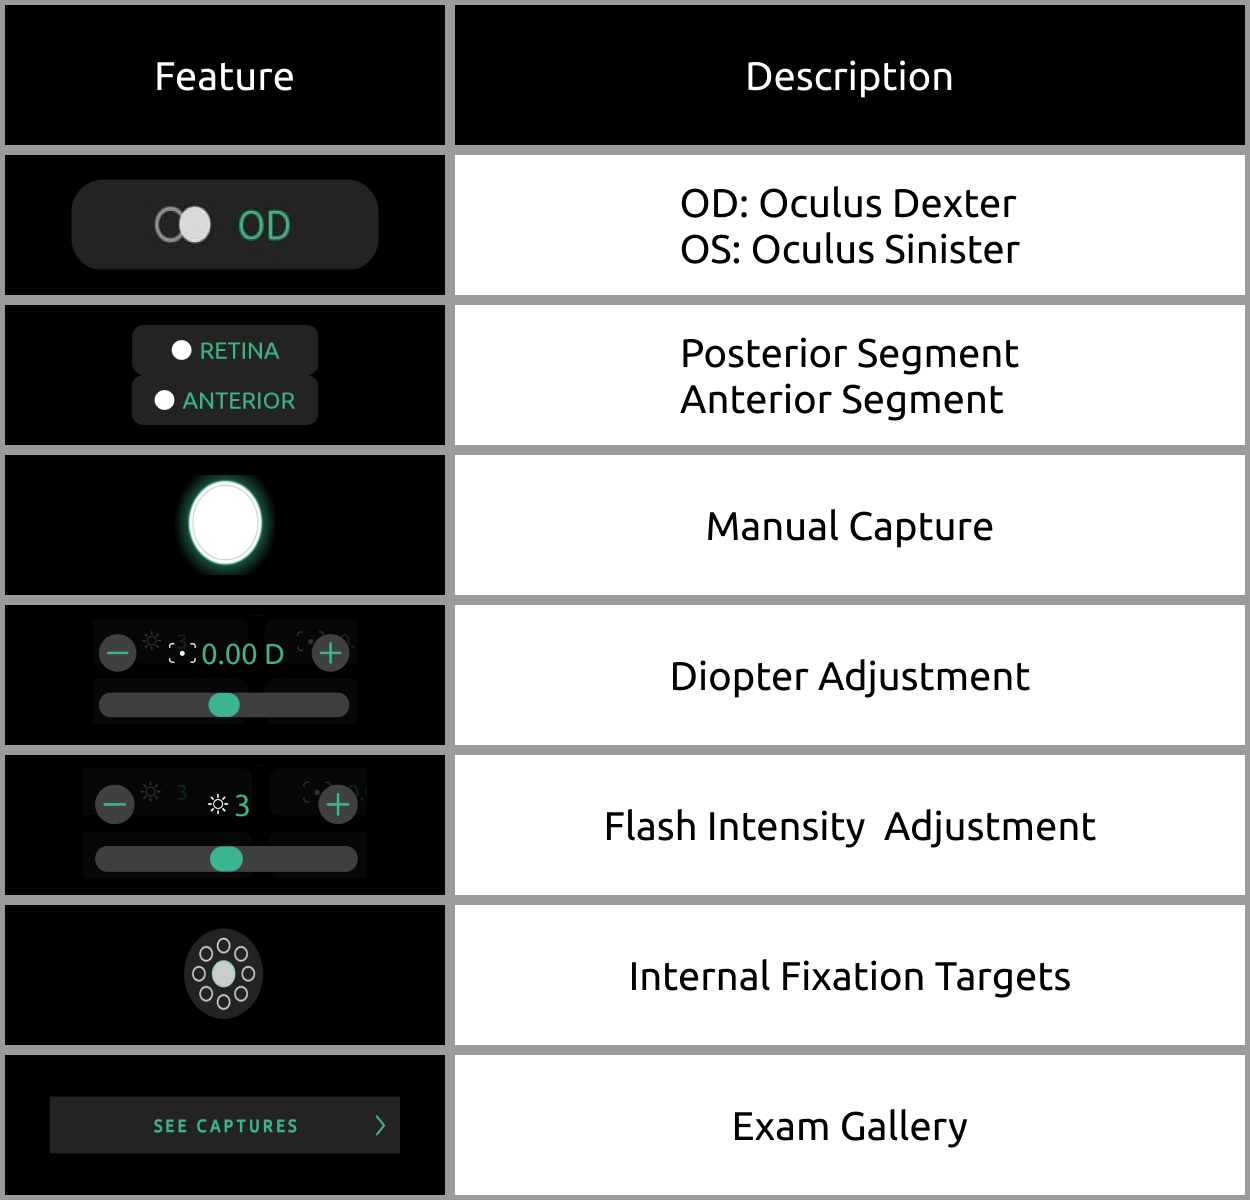
Change the eye being examined. OD: Oculus Dexter (right eye); OS: Oculus Sinister (left eye).
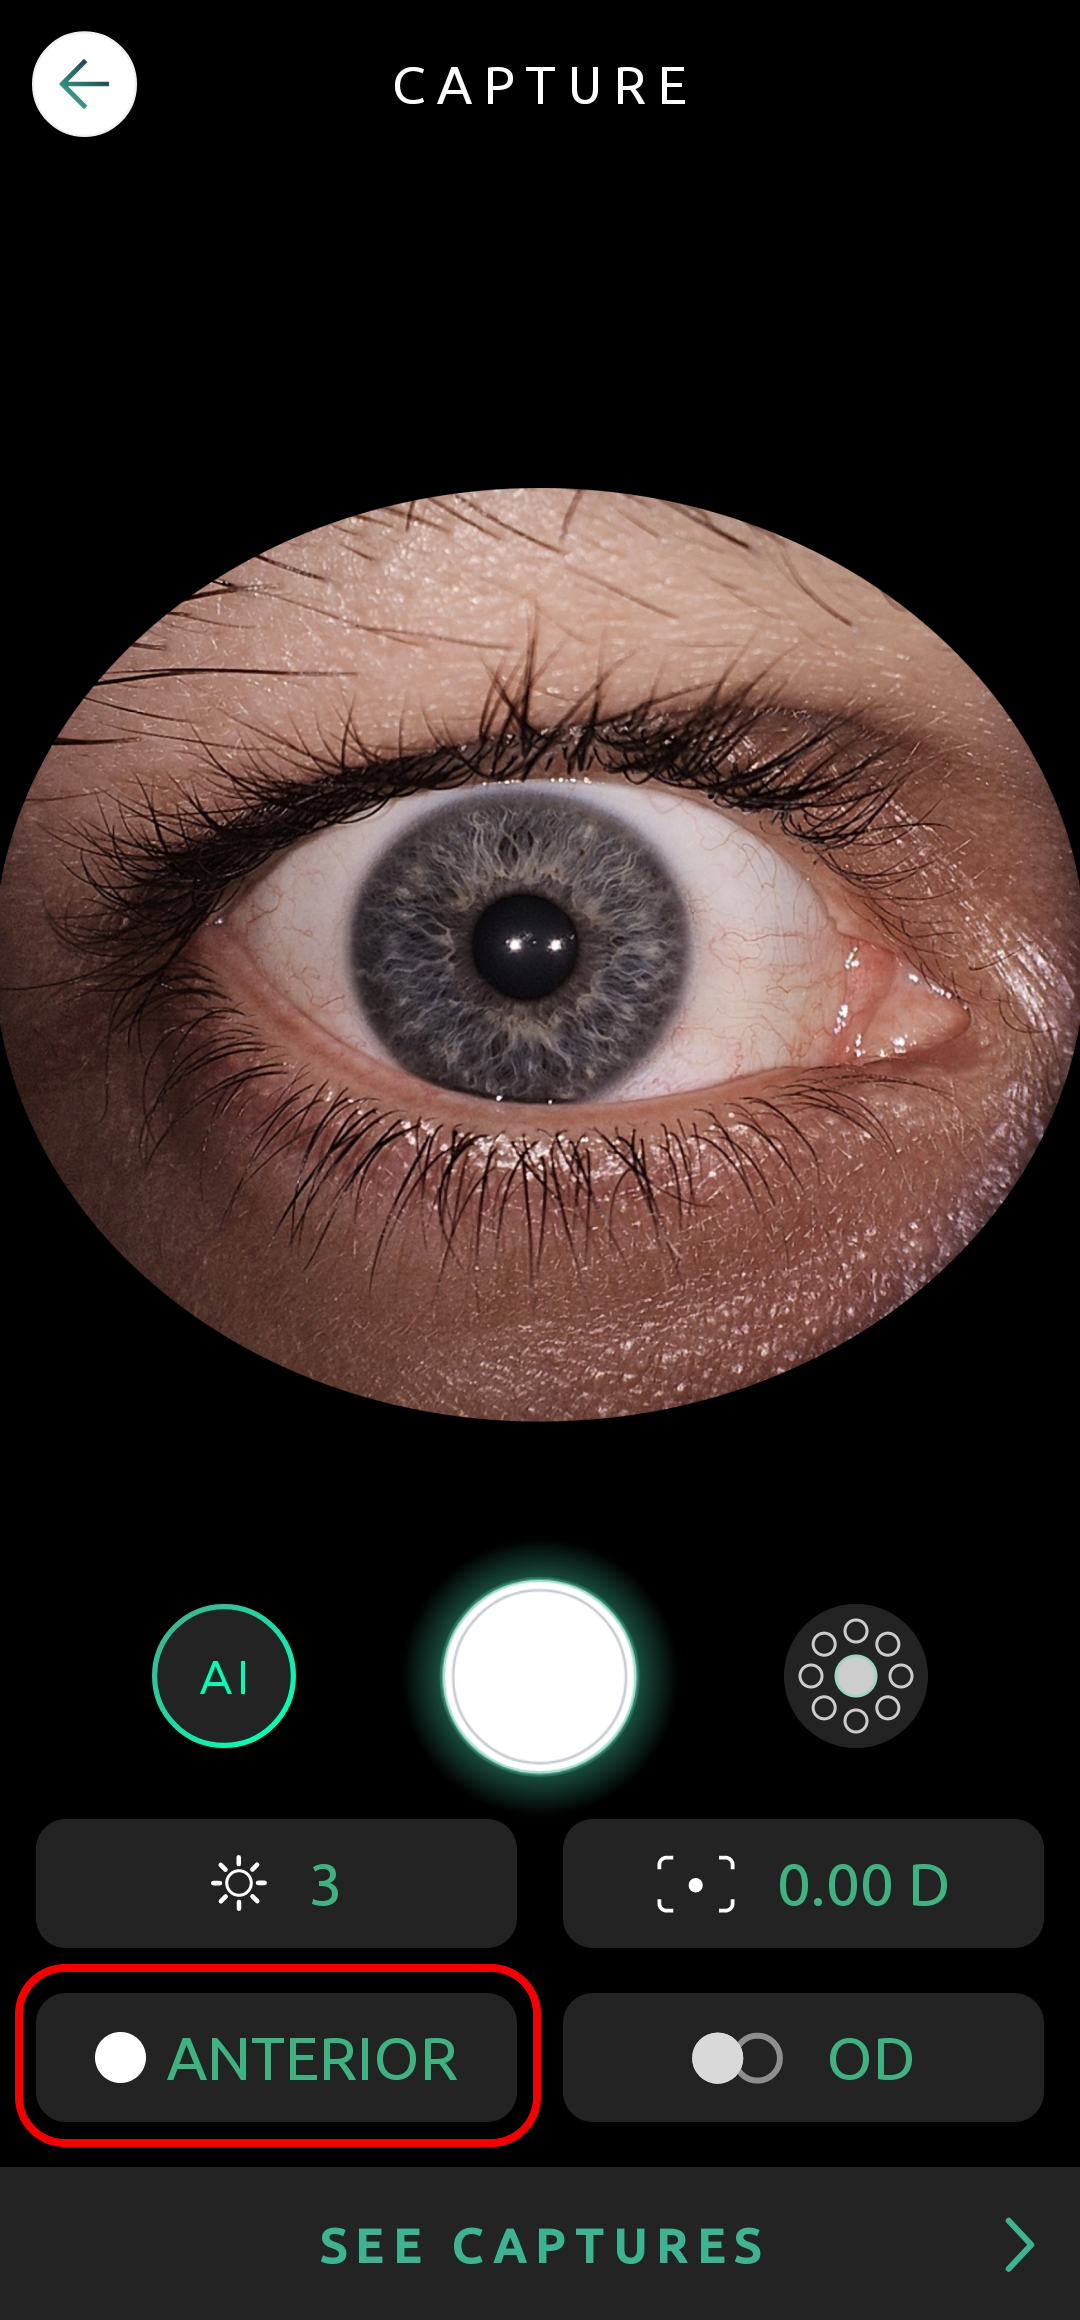
Help Capture Screen 02
Help Capture Screen 03

Segment Selection

You can change which segment of the eye is being captured. Retina for the posterior segment, and Anterior for the anterior segment.
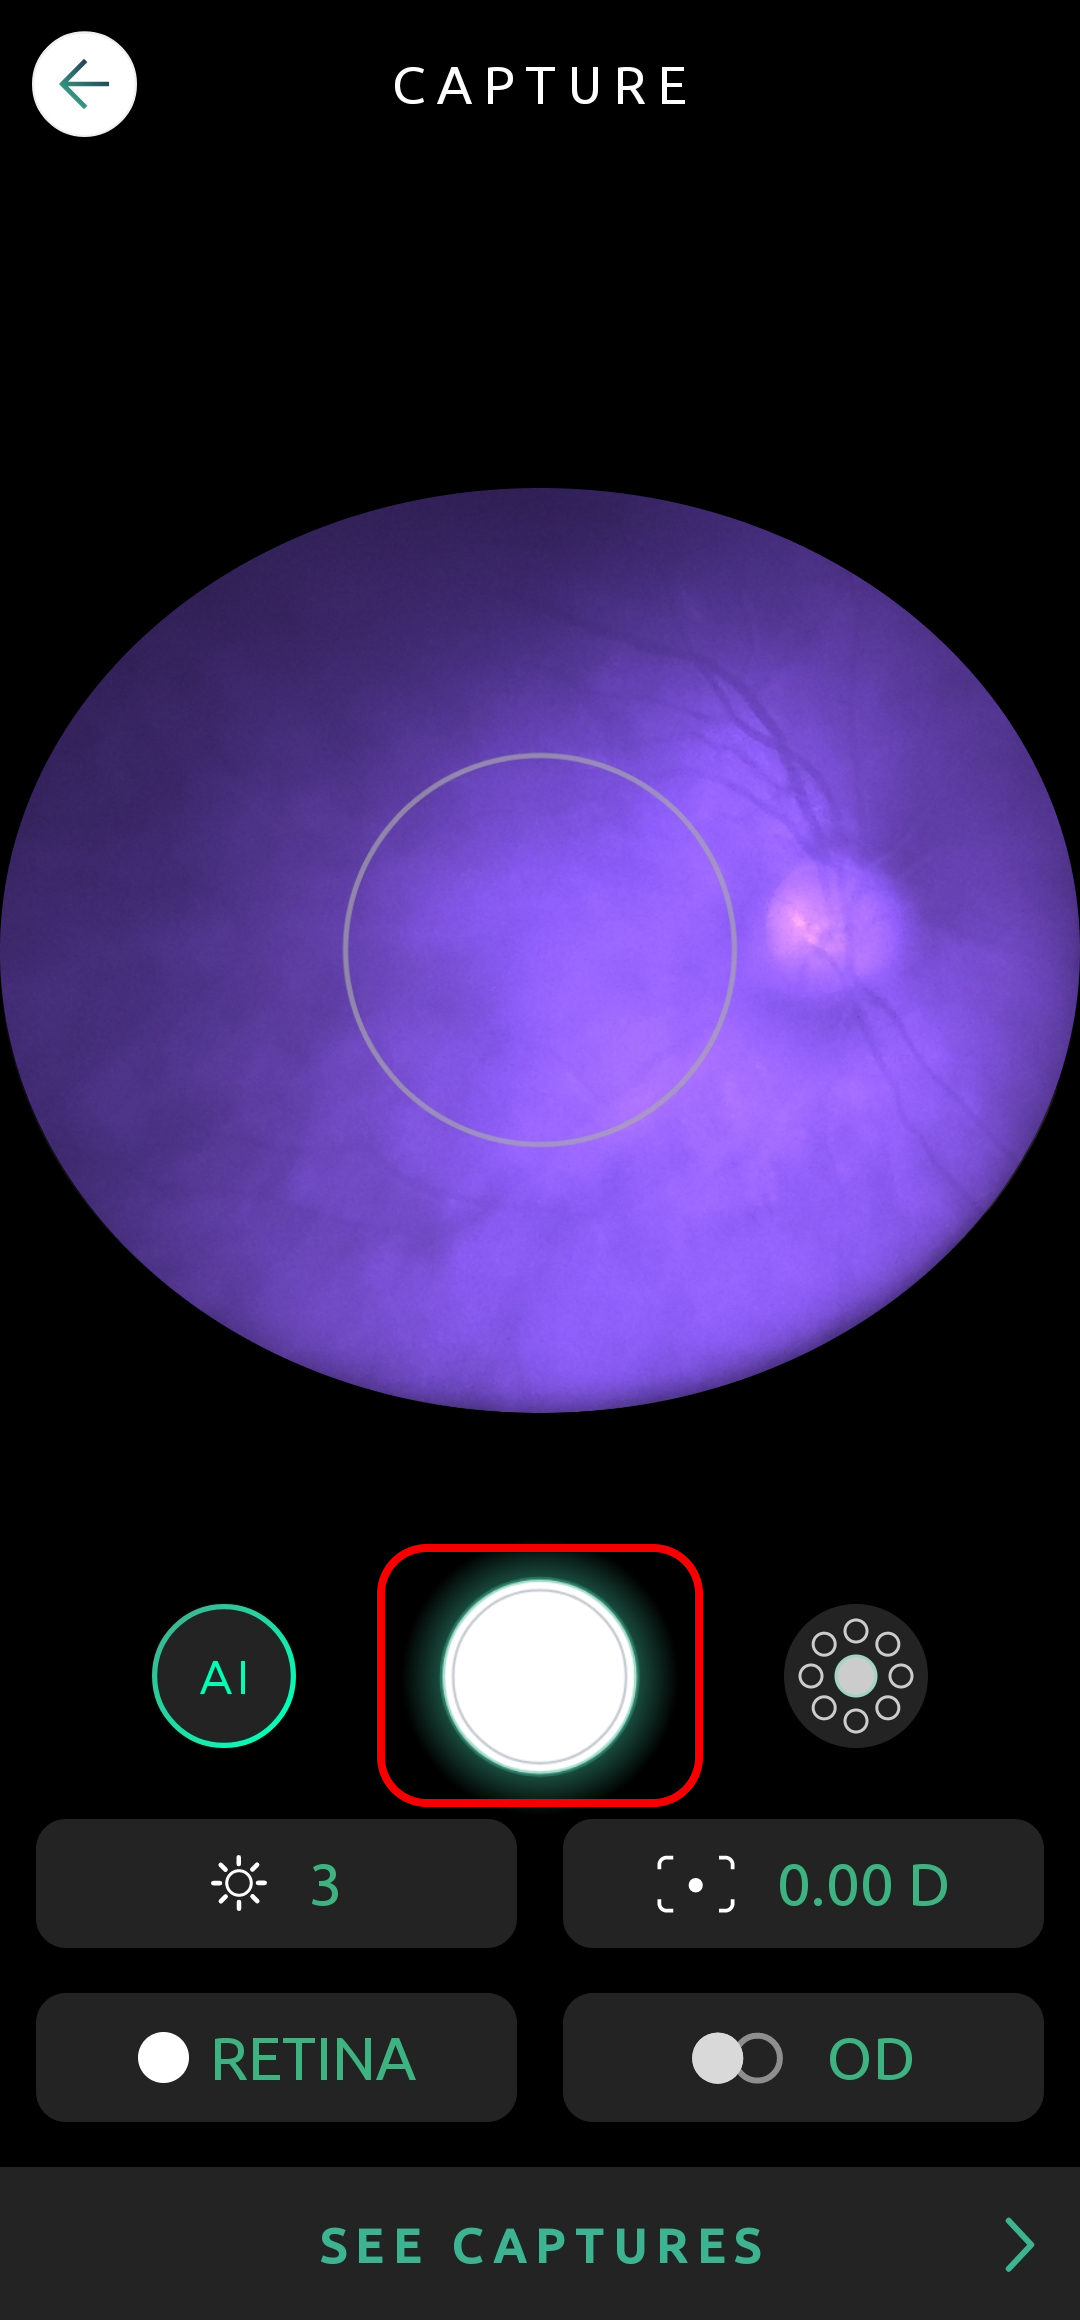
    Help Capture Screen 04
    Help Capture Screen 05
    To learn more about anterior segment pictures click here.

    Manual Capture

    You can manually capture an image by clicking on the capture button.
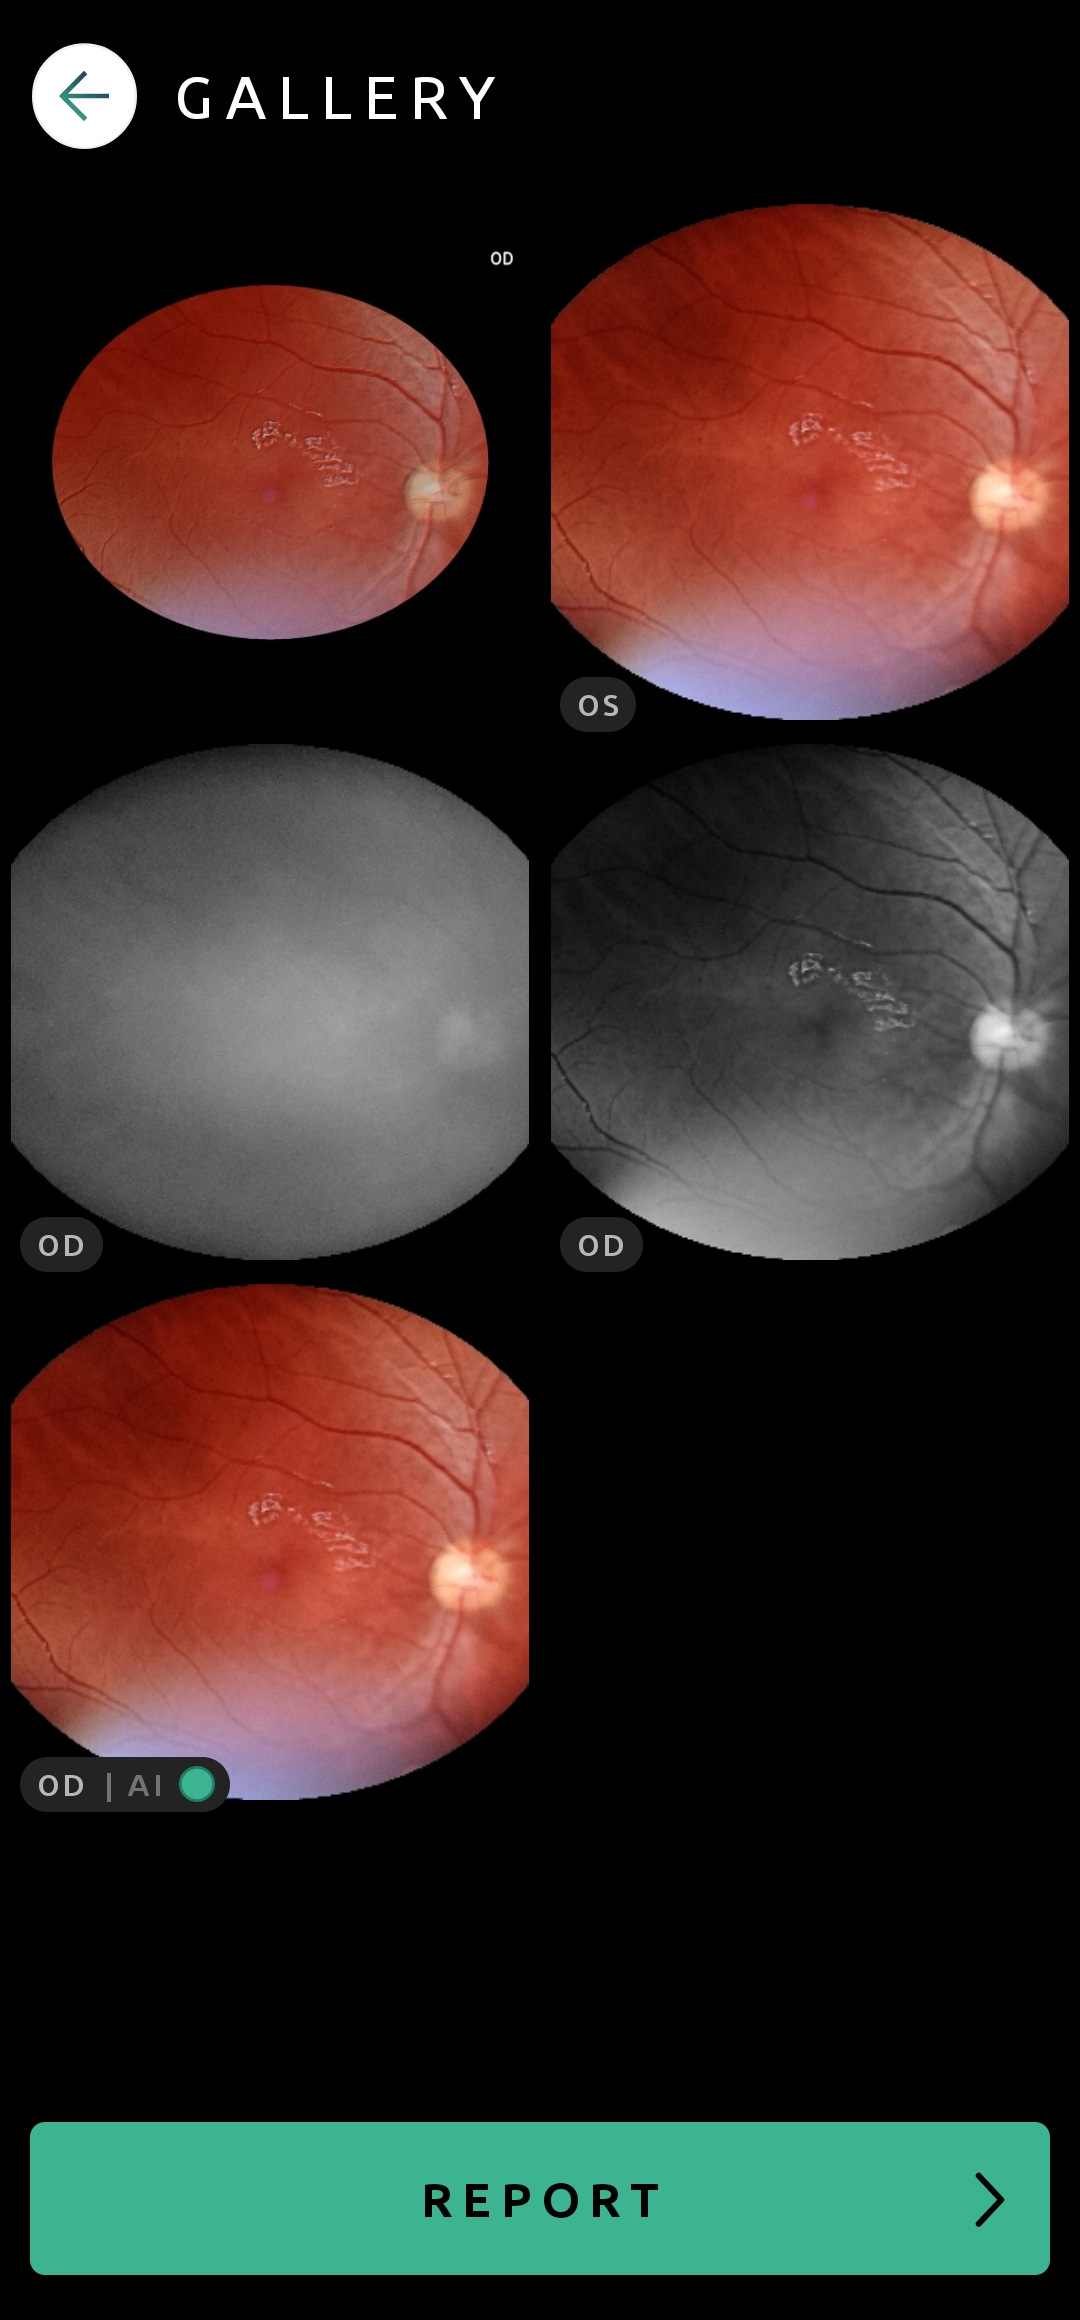
    Help Capture Screen 06

    Gallery

    Click See Captures to open the gallery, where you can check all the pictures taken during an exam.
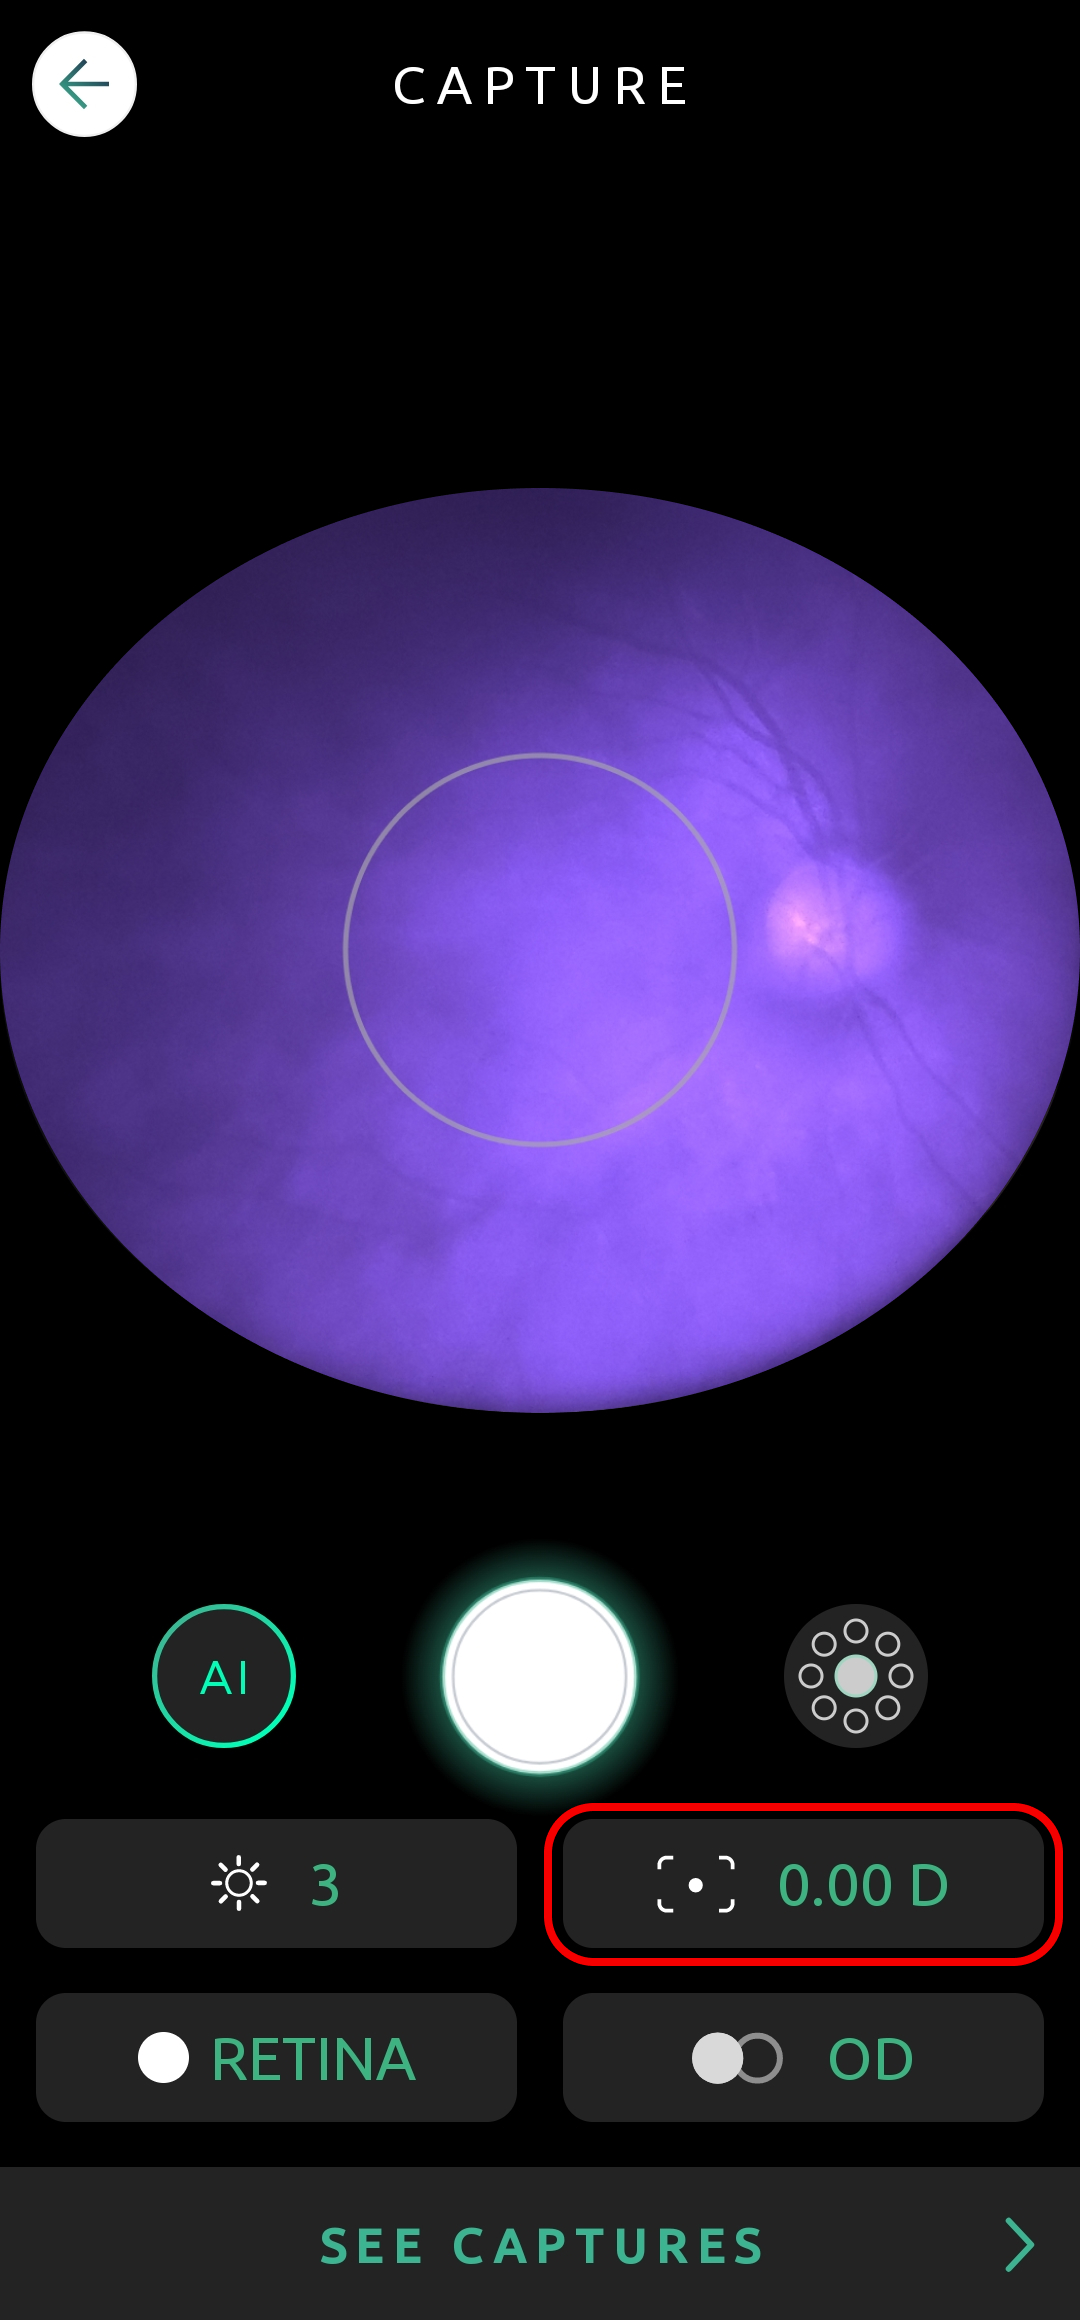
    Help Capture Screen 07
    Help Capture Screen 08

    Diopter

    Click on the icon , and drag the slider to adjust the patient’s spherical equivalent.

    Help Capture Screen 09
    Help Capture Screen 10
    It is this setting that determines the focus of the camera. If your pictures are blurry you should adjust the diopter accordingly. If the spherical equivalent is unknown you can use Autofocus to automatically adjust it.

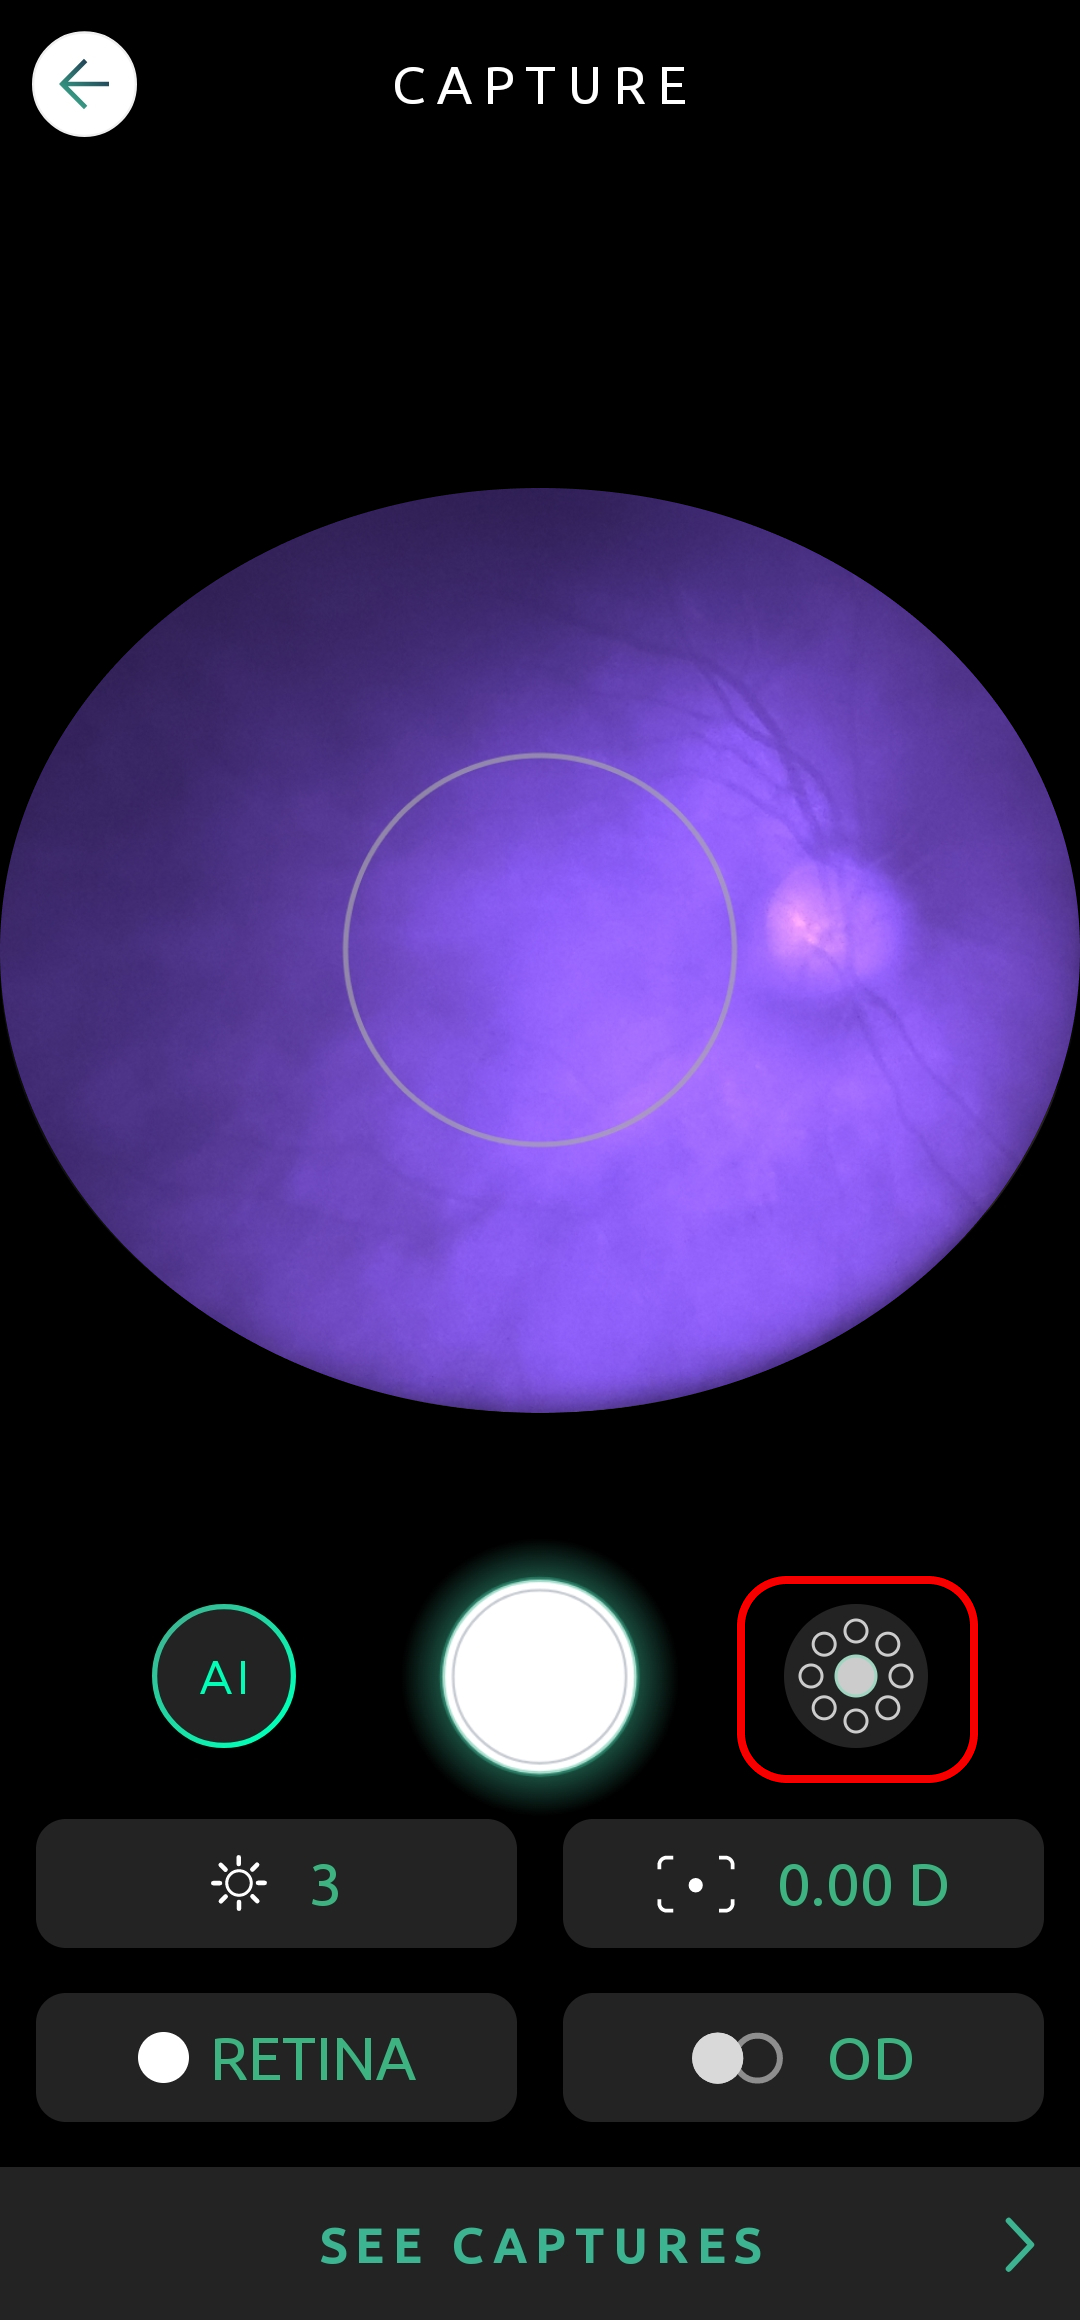
    Internal Fixation Targets

    With the icon  you can choose which part of the eye will be in the center of the picture. There are two bigger circles, one in the center, representing the macula, and the other is either on the left or the right, indicating the optic nerve, depending on the eye being examined.
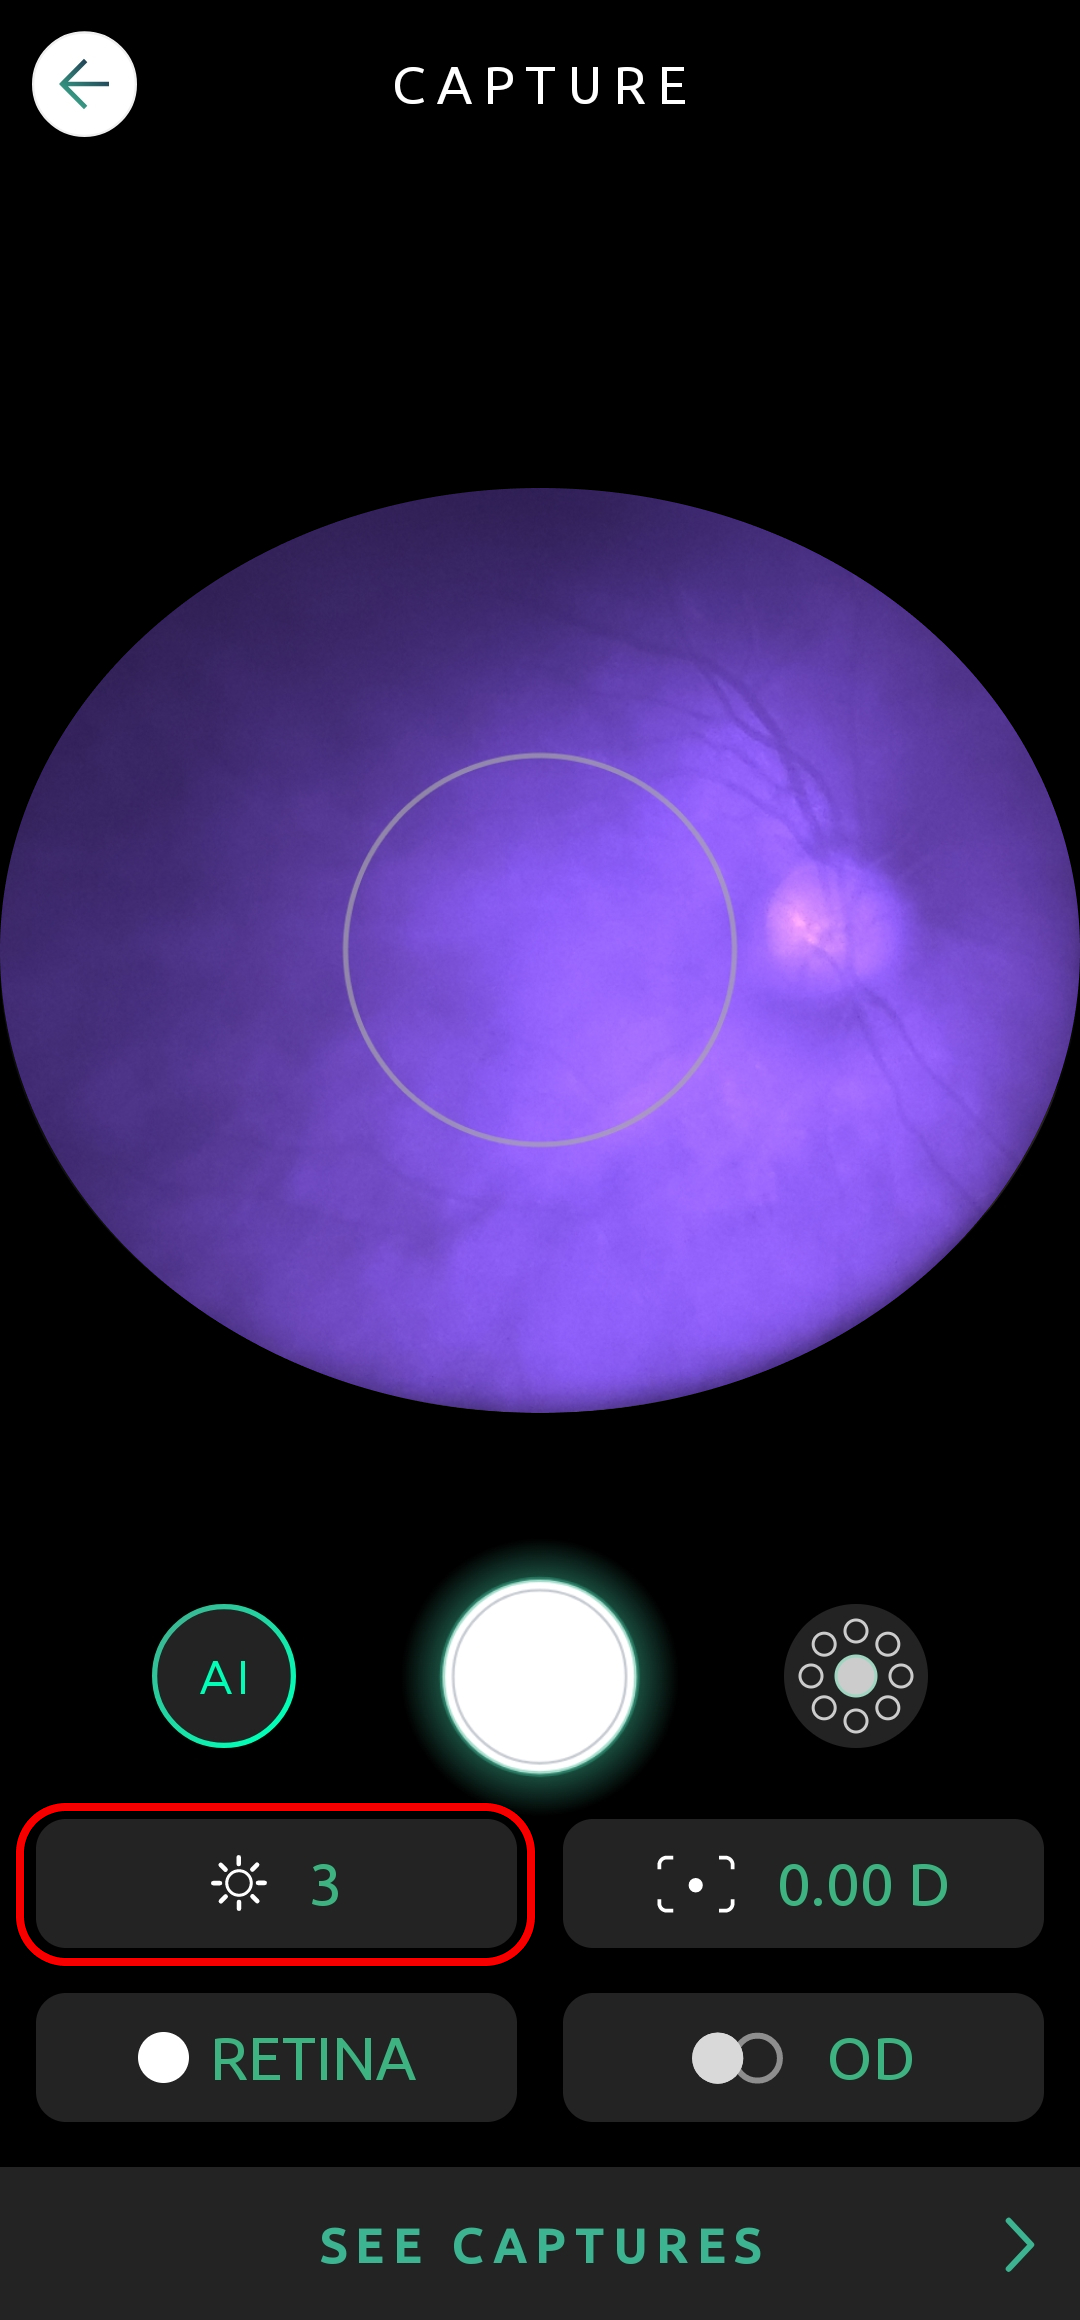
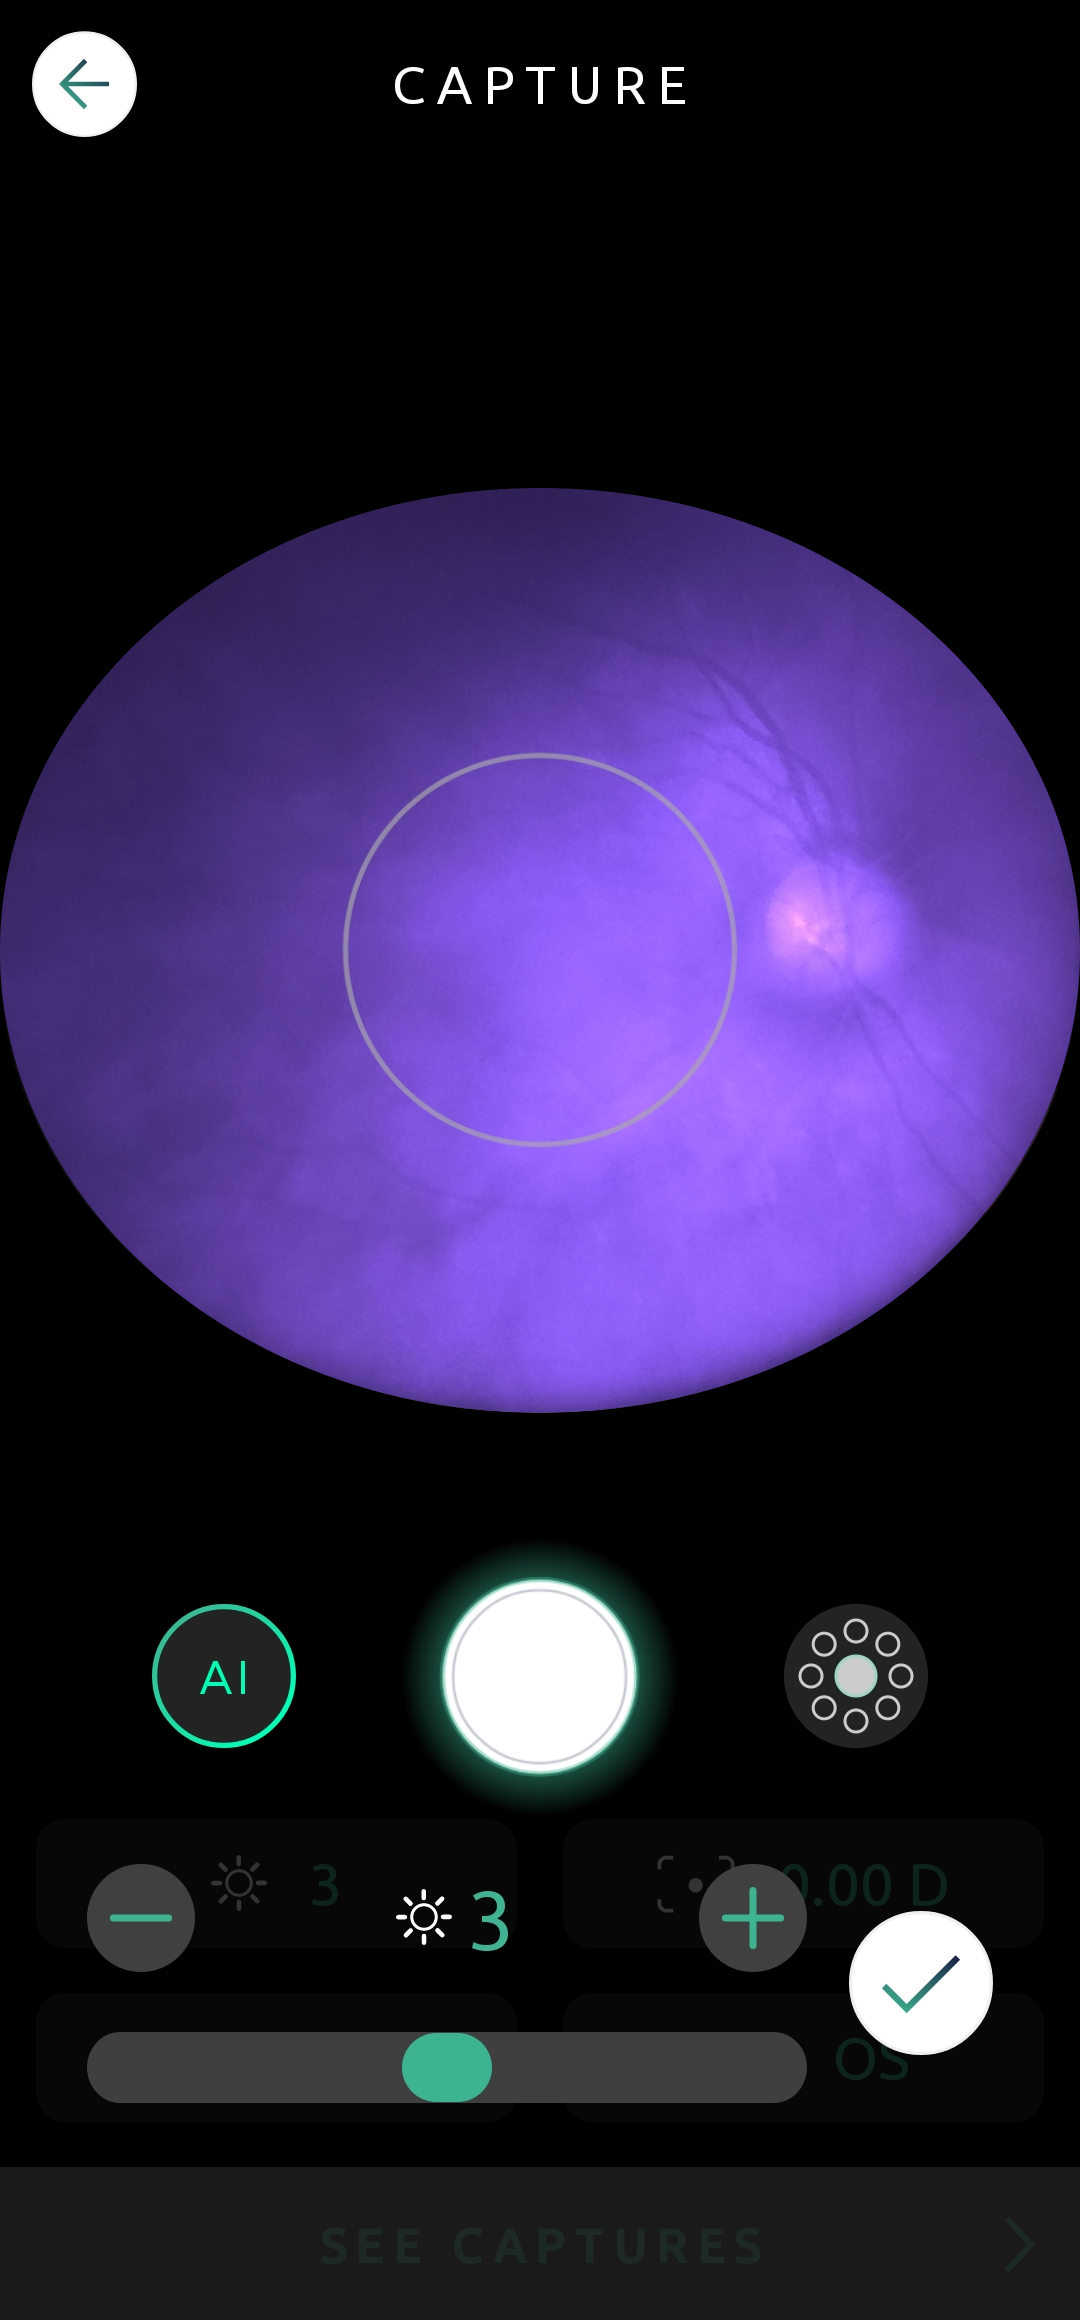
    Flash Intensity

    You can adjust the illumination of the flash by clicking on the  icon and sliding the bar.

    Help Capture Screen 12
    Help Capture Screen 13
    For further assistance, please don't hesitate to reach out to us at support@phelcom.com. Our dedicated team is here to help resolve any technical queries you may have.
    Was this helpful?
    Yes
    No

    Icon Button Request A QuoteRequest a Quote

    Fechar

    Ico Back

    Later

    Request a quote

    Fill out the form below and we will contact you shortly.

      Ico Form Success

      Request a Quote

      Our team will contact you shortly.

      Close

      …complete suas informações

        By clicking the Complete button I allow Phelcom to contact me regarding the above request and I declare that I have read and accept the terms of Privacy Policy and Terms of Use.
        Ico Back

        Depois

        Ico Form Success

        Obrigado por completar suas informações

        FECHAR

        Ico Back

        Depois

        Solicite e comece SEU TEST DRIVE

        Por favor, preencha o formulário abaixo que entraremos em contato.

          x

          Solicitar Orçamento

          Ao clicar em Solicitar, concordo com a Política de Privacidade e os Termos de Uso, permito que a Phelcom me contate e reconheço que o Eyer é um dispositivo médico (Anvisa classe II) exigindo a supervisão de um profissional com CRM para uso e interpretação das imagens.
          Ico Form Success

          Obrigado!

          Nosso time comercial logo entrará em contato para finalizar o processo.

          FECHAR

          Ico Back

          Later

          Request more information

          Please fill out the form below and we will contact you.

            x

            Request EyerMaps

            By clicking the Request button I allow Phelcom to contact me regarding the above request and I declare that I have read and accept the terms of Privacy Policy and Terms of Use.
            Ico Form Success

            Thank you!

            Our commercial team will contact you shortly to finalize the process.Our commercial team will contact you shortly to finalize the process.
            CLOSE