To position the device on the patient’s face, for autofocus, or image capture, follow these steps:
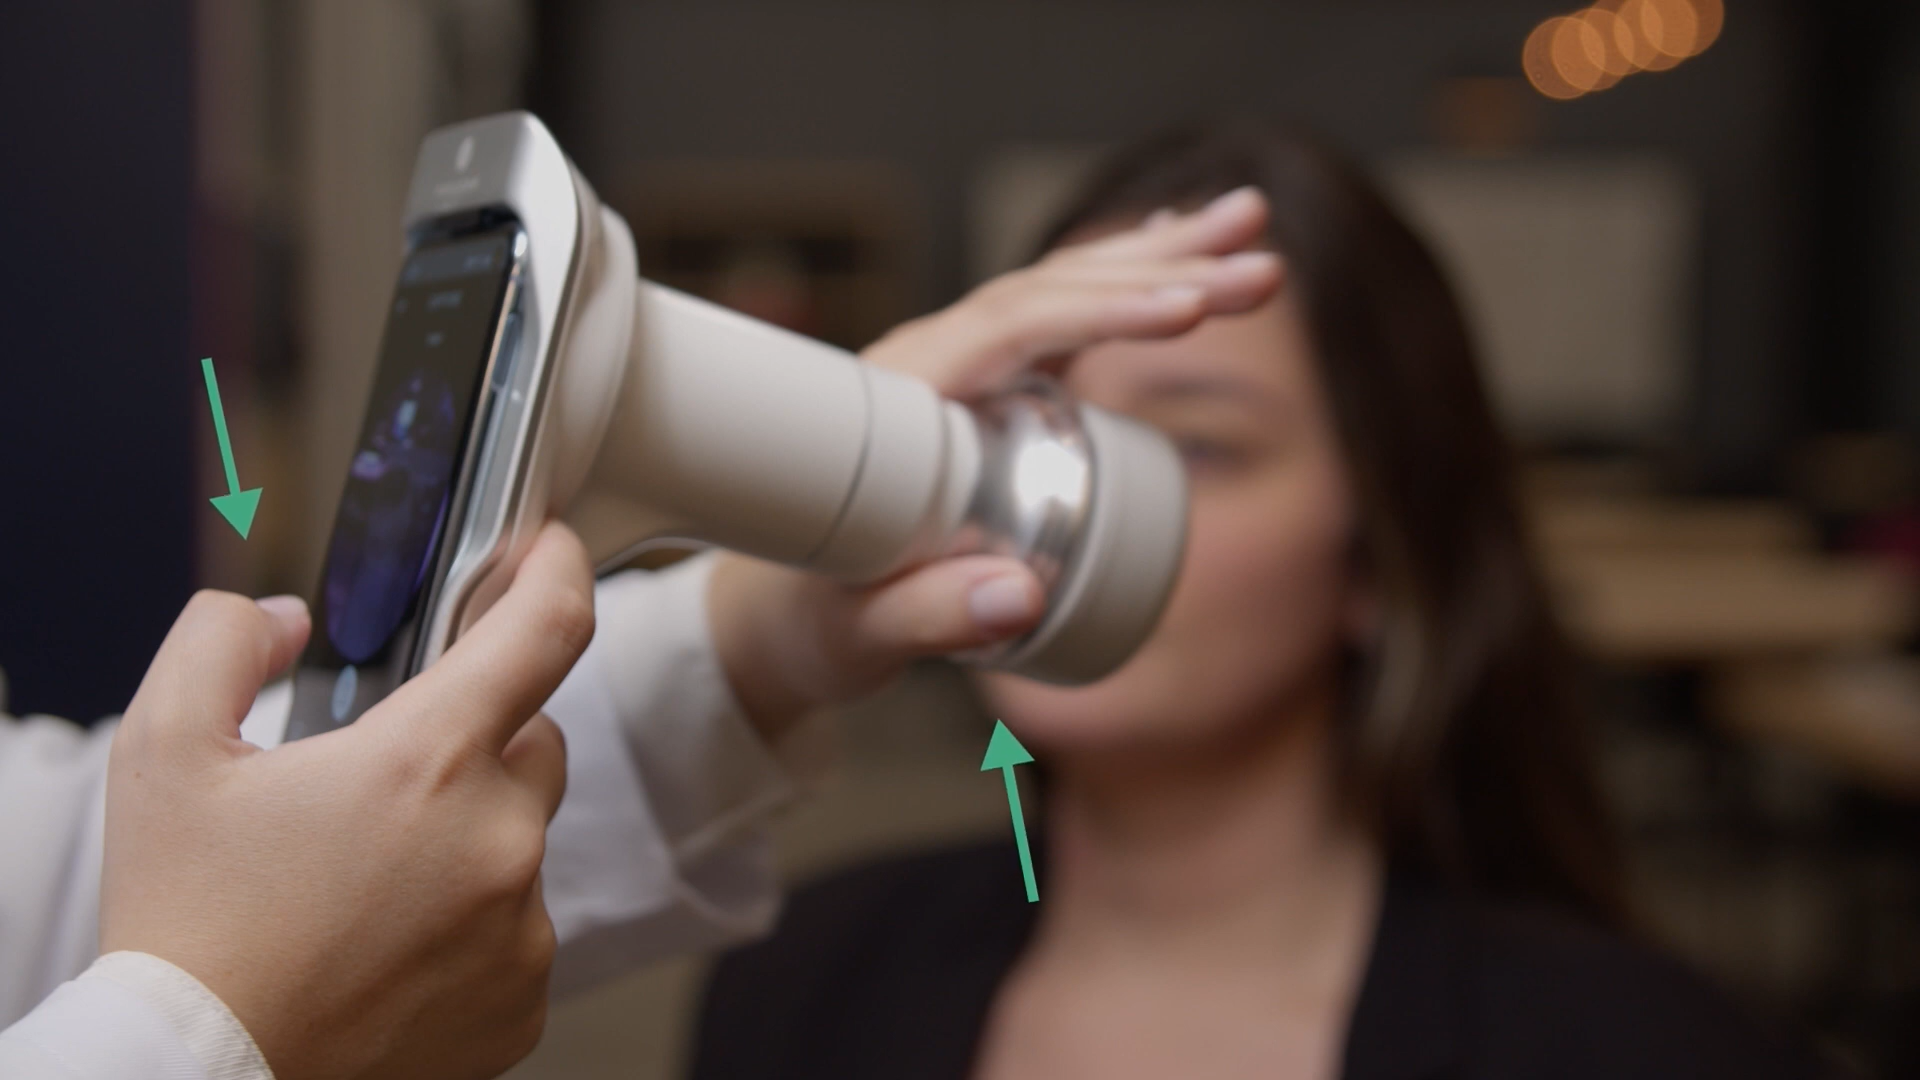
- Hold the optic body of the device by holding it between your thumb and forefinger on the left hand. Rest the remaining fingers on the patient’s forehead for more stability.
- Hold the Eyer with your right hand, placing your thumb near the capture button to reduce hand motion when pressing the button.
- Use the left hand for more precise position adjustments, since it will be stabilized by the fingers resting on the patient’s forehead, and the right hand for forward or backward movements.

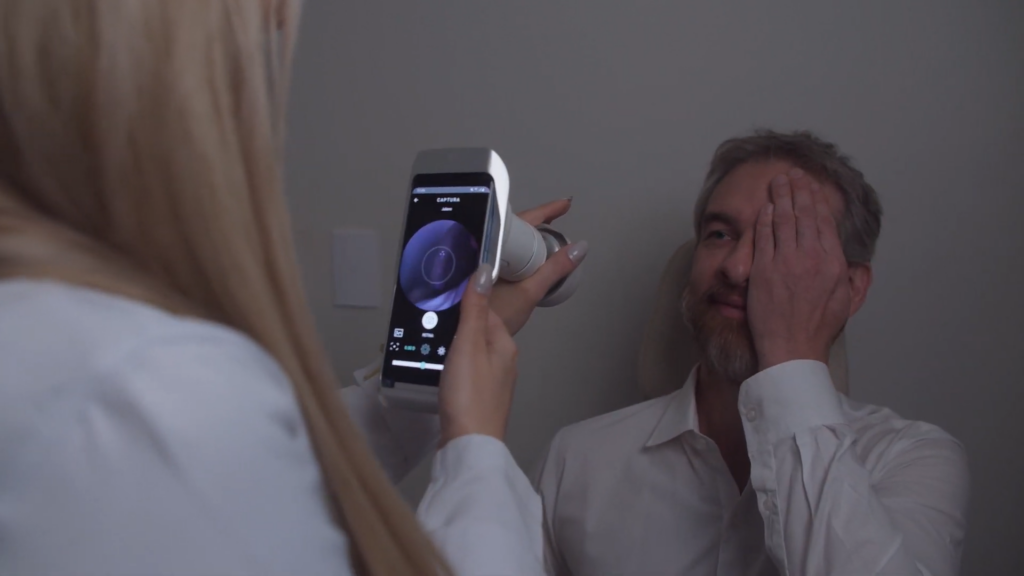
- Instruct the patient to keep both eyes open and to cover the opposite eye with a cupped hand.
- Instruct the patient to maintain a steady gaze on the red light they will be able to see inside the device and avoid blinking.

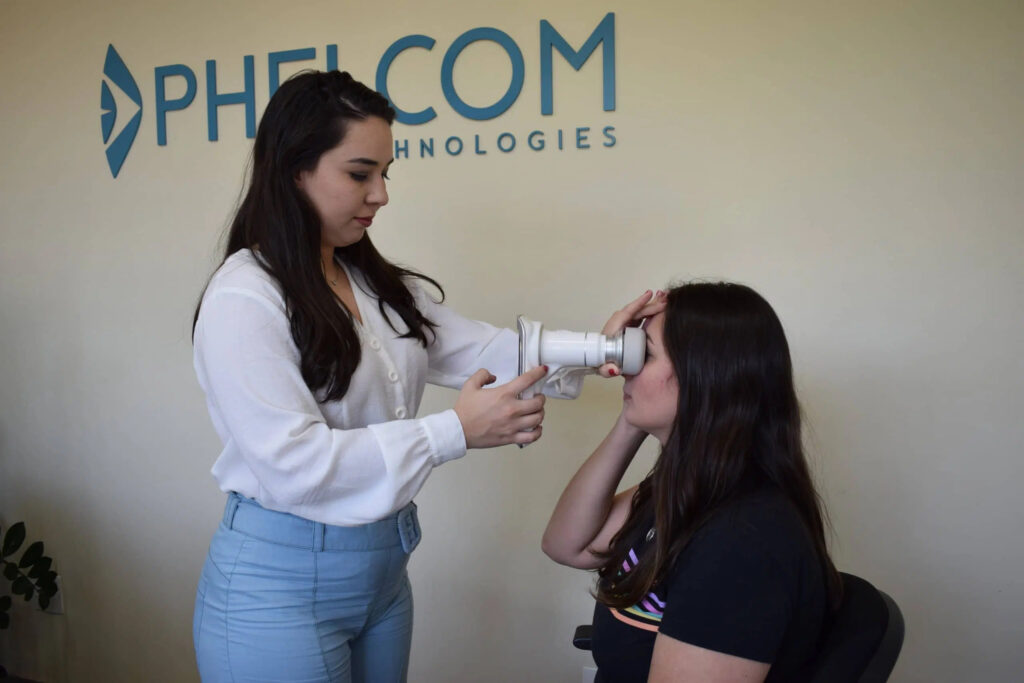
- Position yourself in front of the patient.
- Hold the device perpendicular to the patient’s face.
- Gently bring the device closer to the patient’s face.
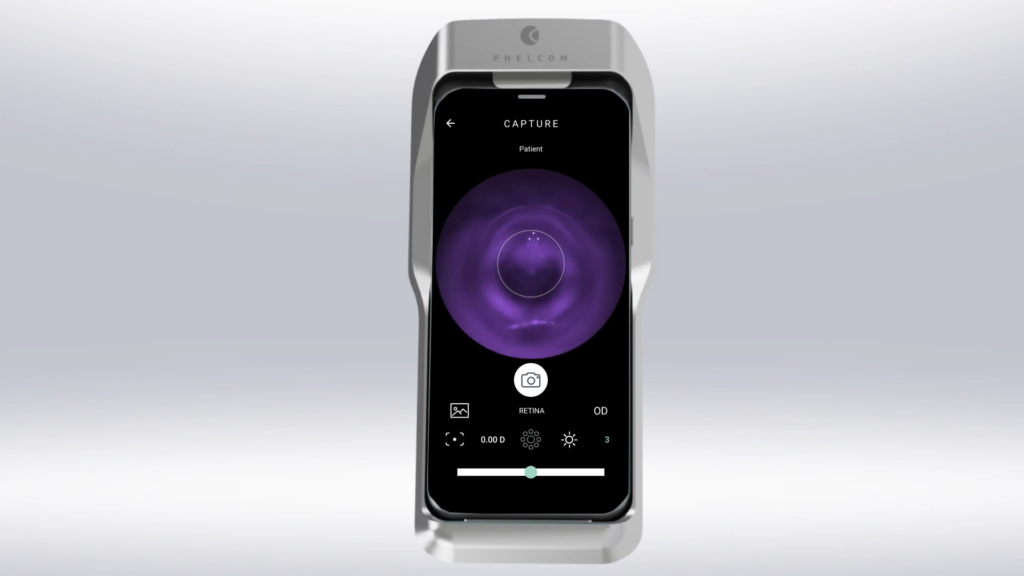
- During the approach you will bring the top of the circle in the camera closer to the retina, which can be identified as the purple region on the top section of the pupil.
- Take the picture once the circle appears uniformly illuminated (identified by a purple area covering the entire circle).

If the image appears black, move the device back and restart the approach procedure.
Identify and learn to correct common mistakes that can occur during captures.


