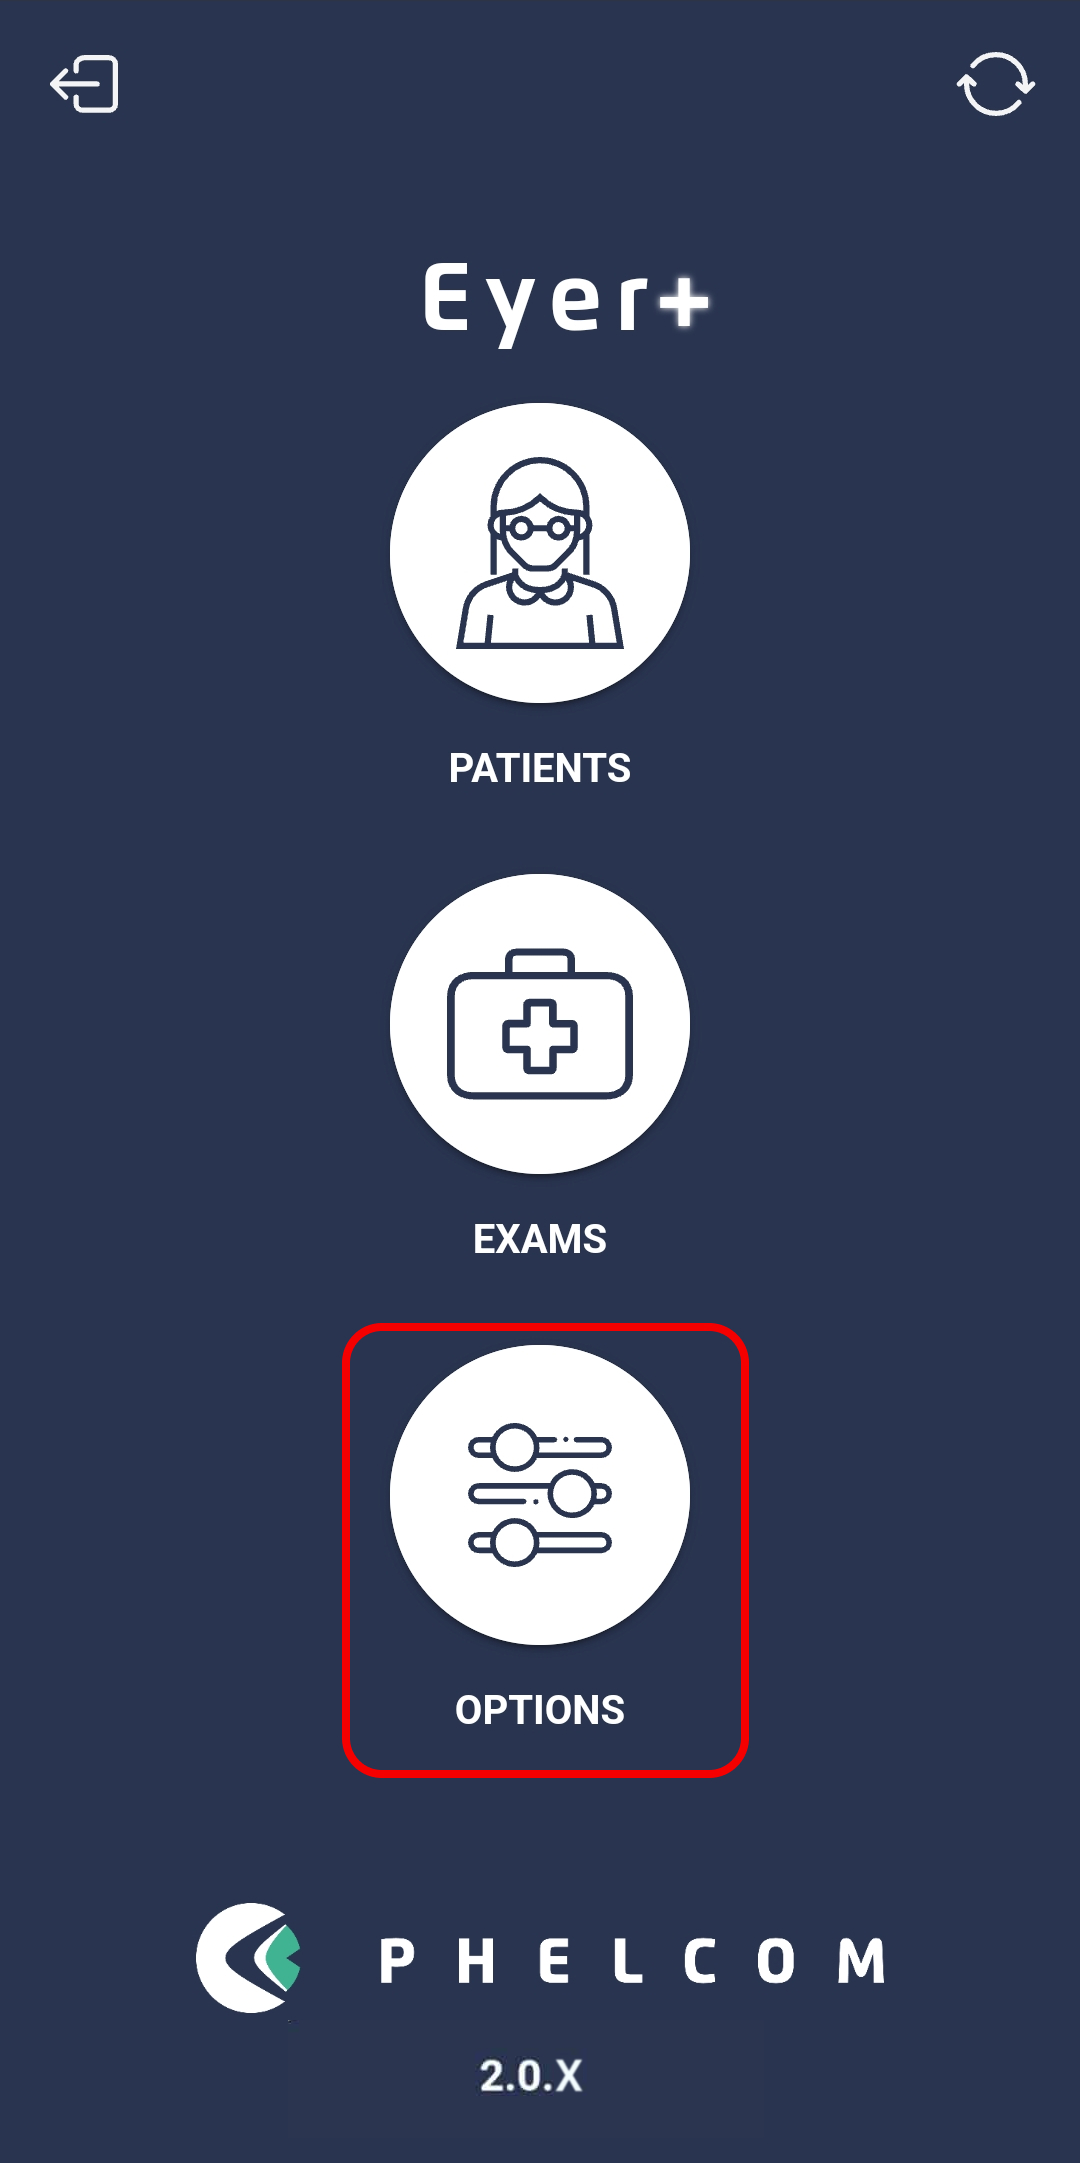
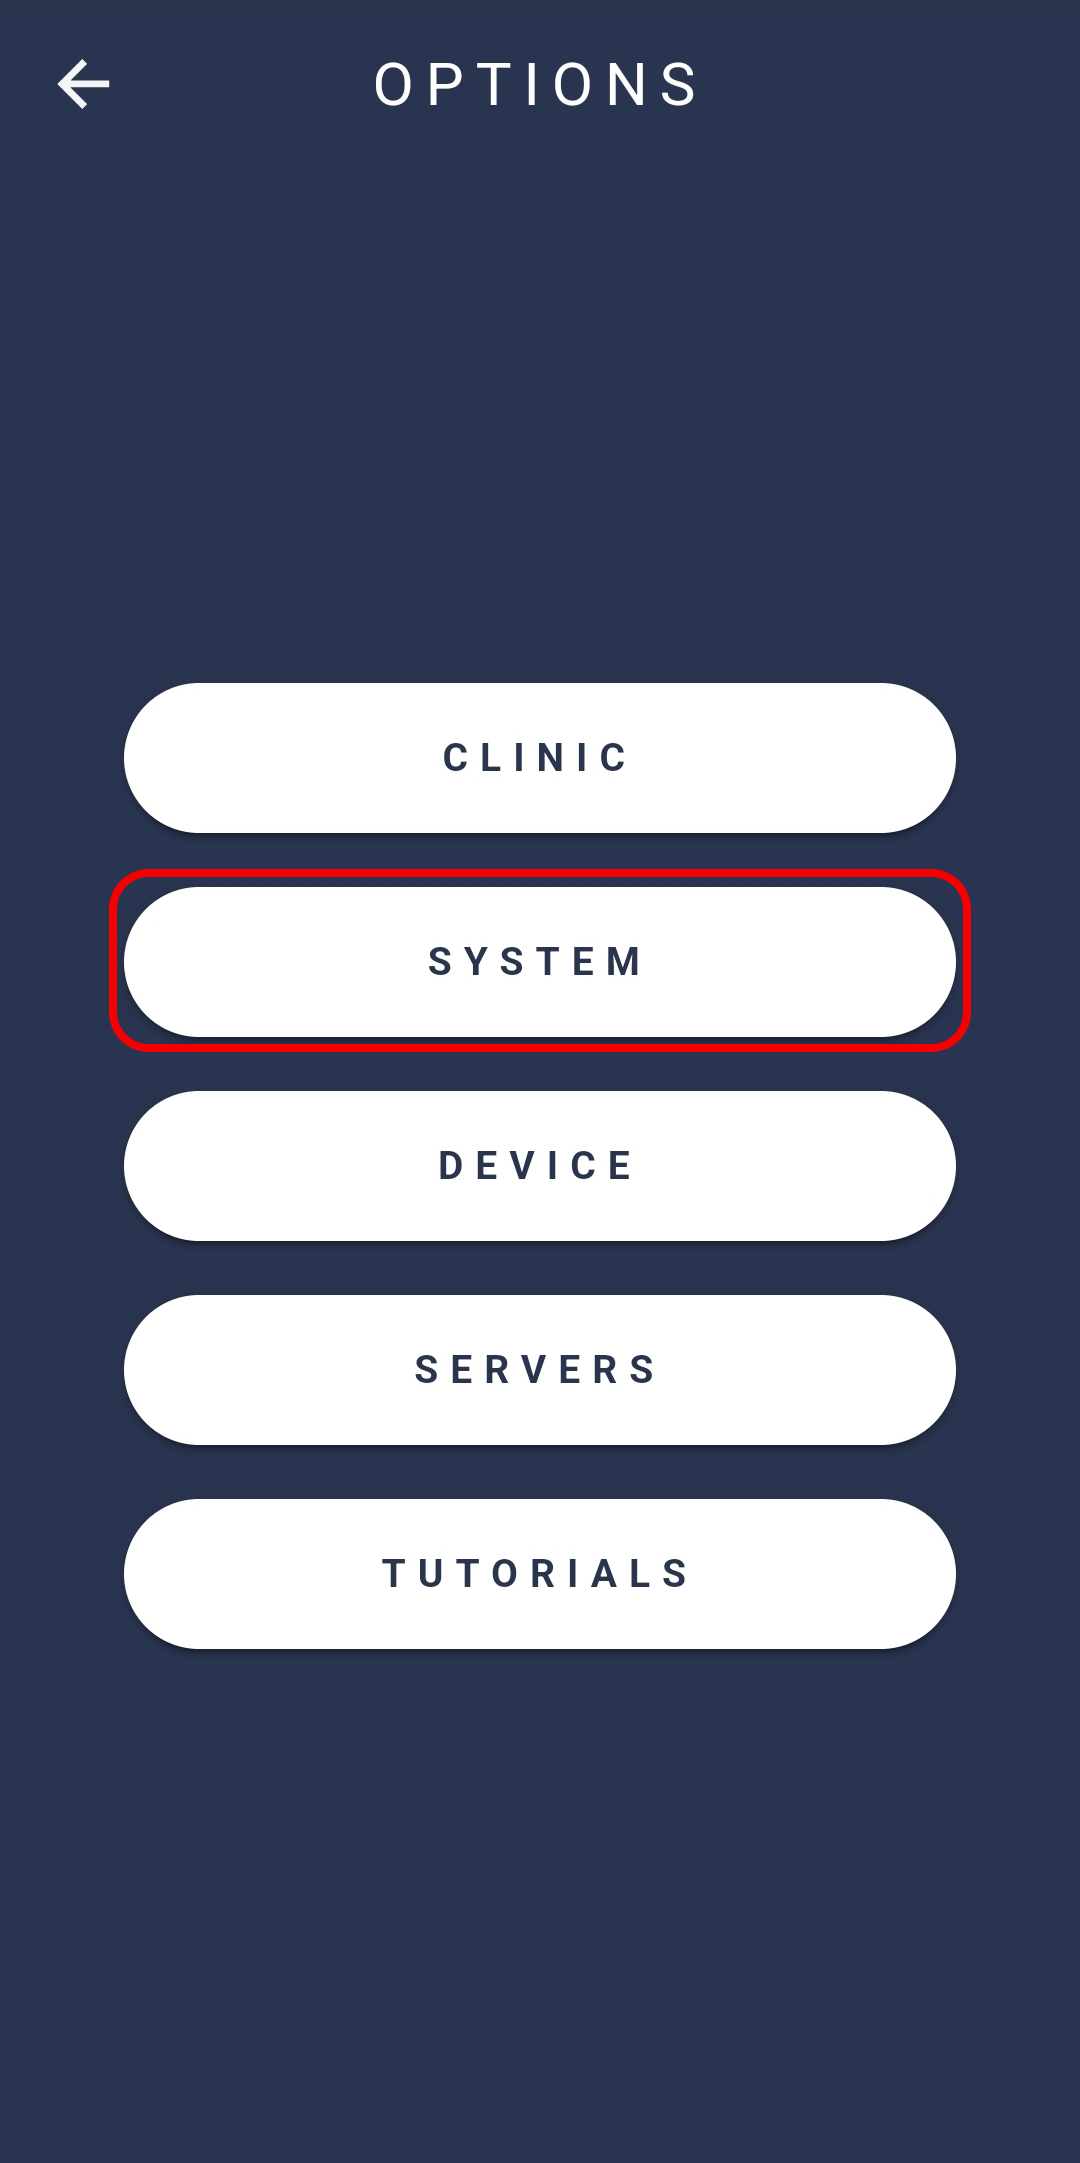
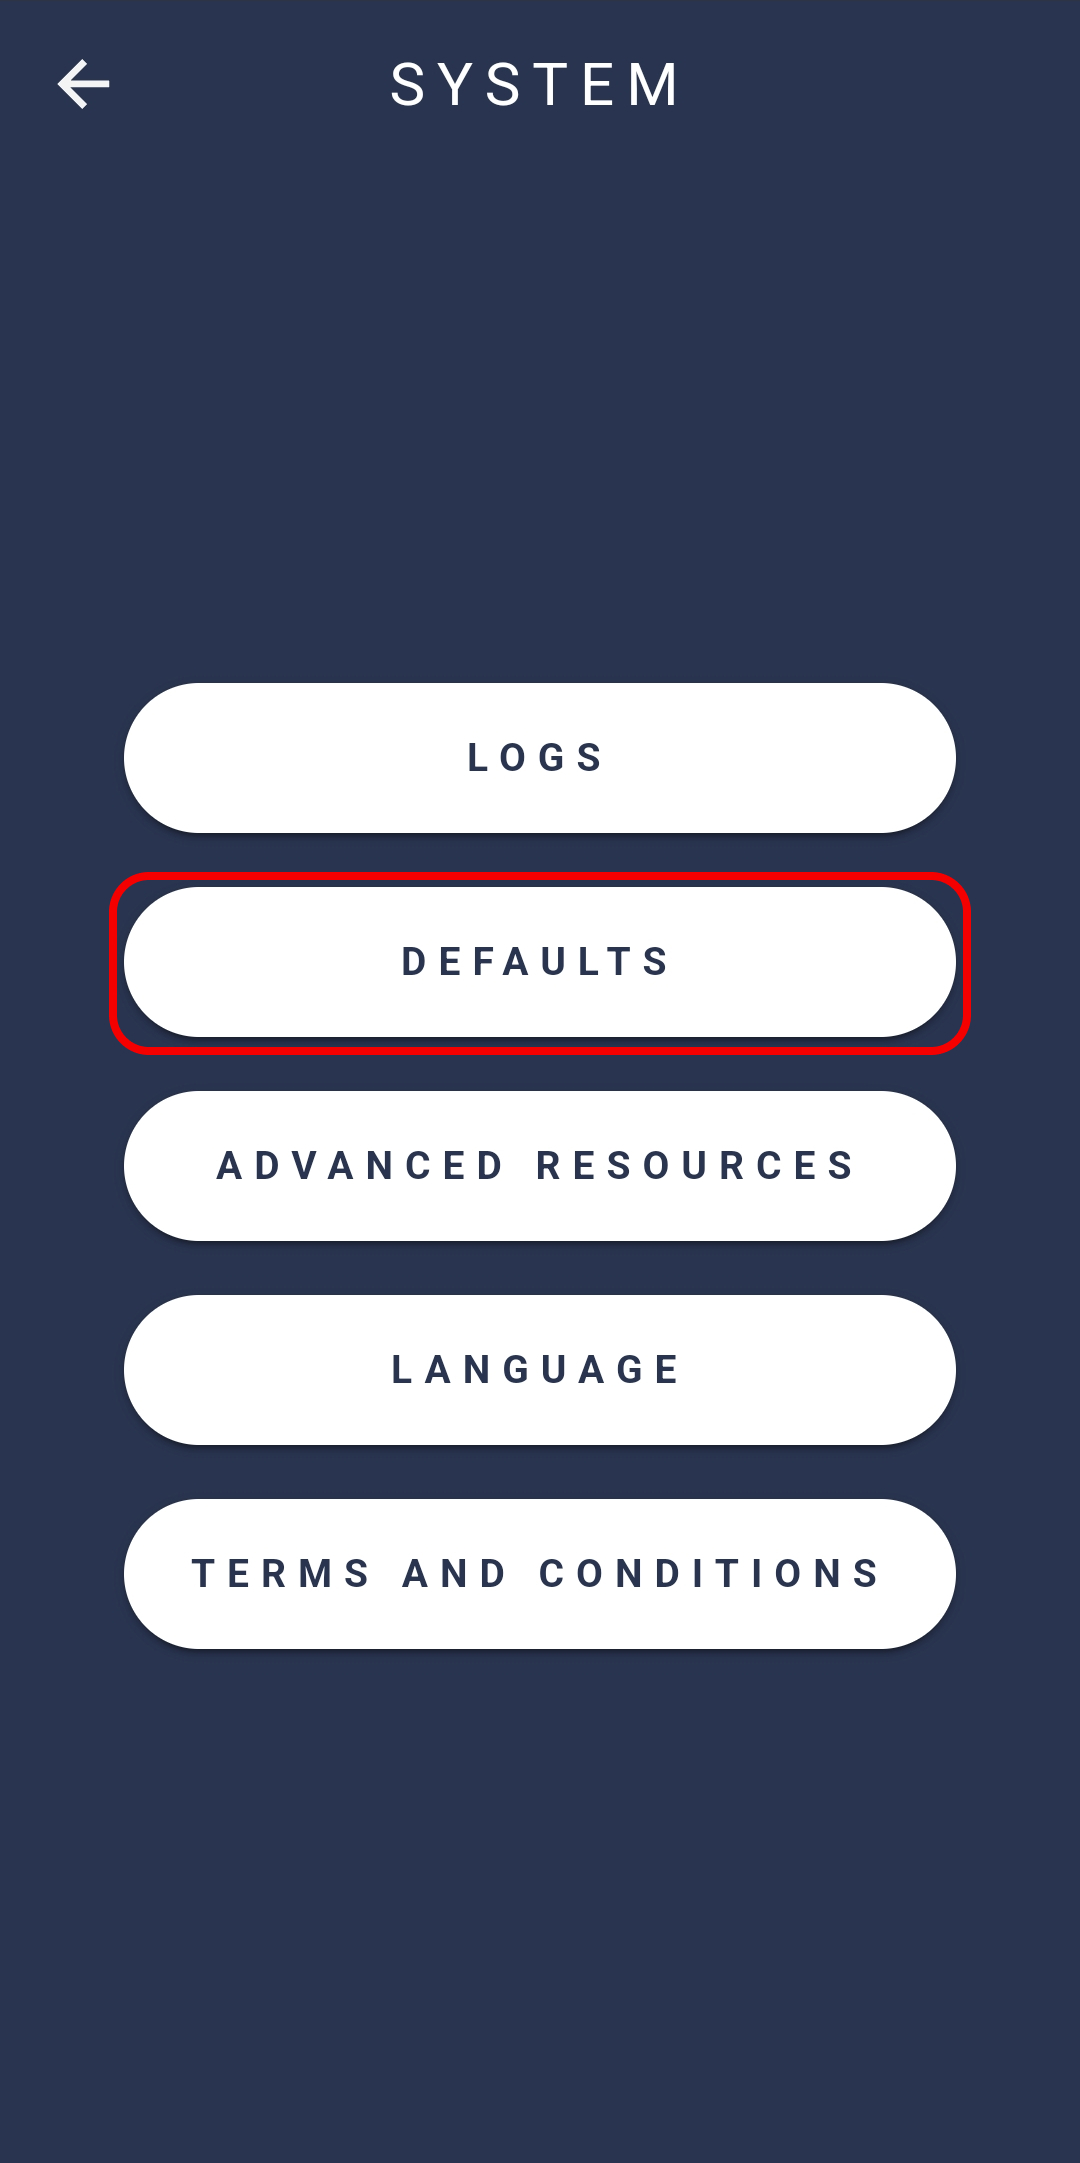
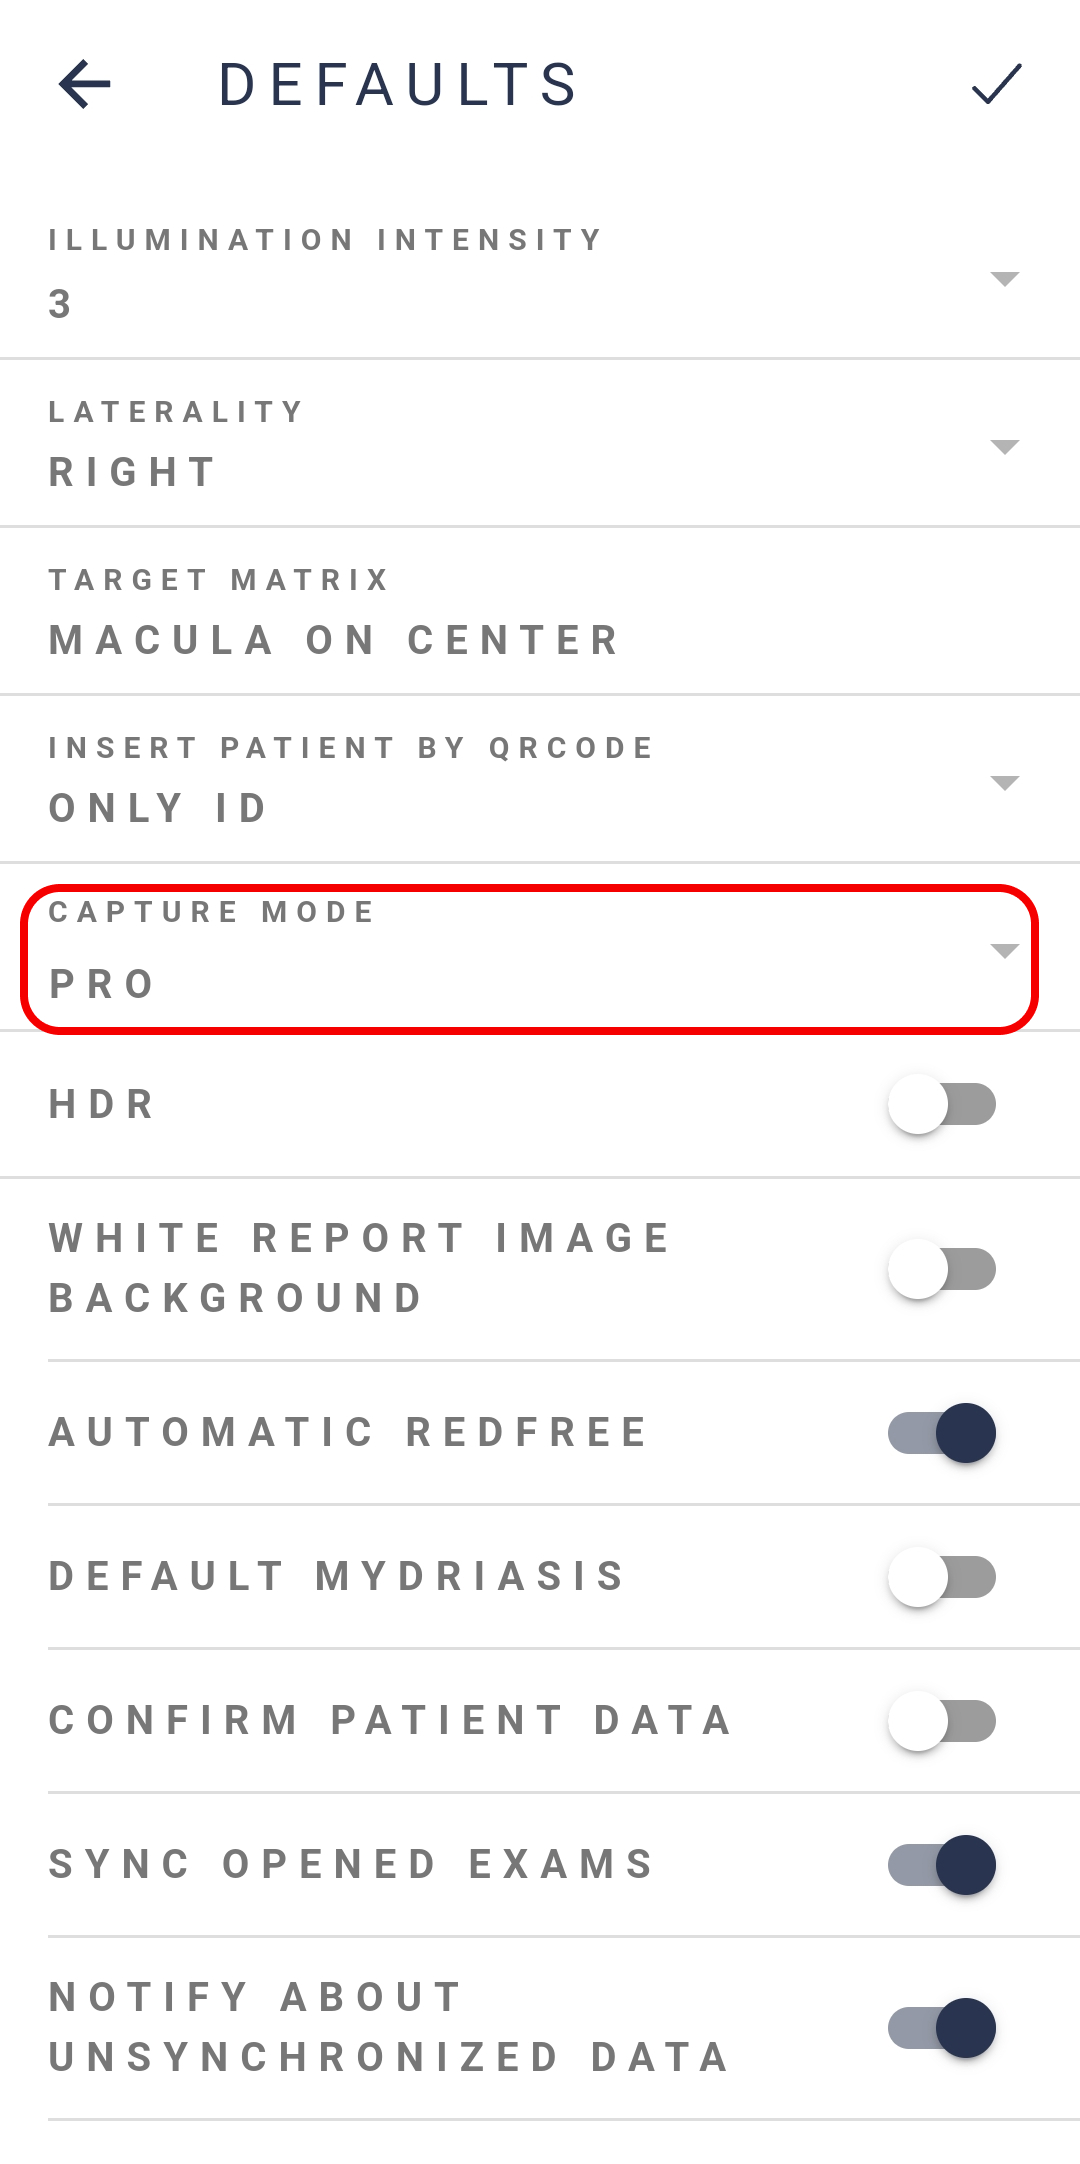
To change the default settings of the device, navigate to “Options” > “System” > “Defaults“.
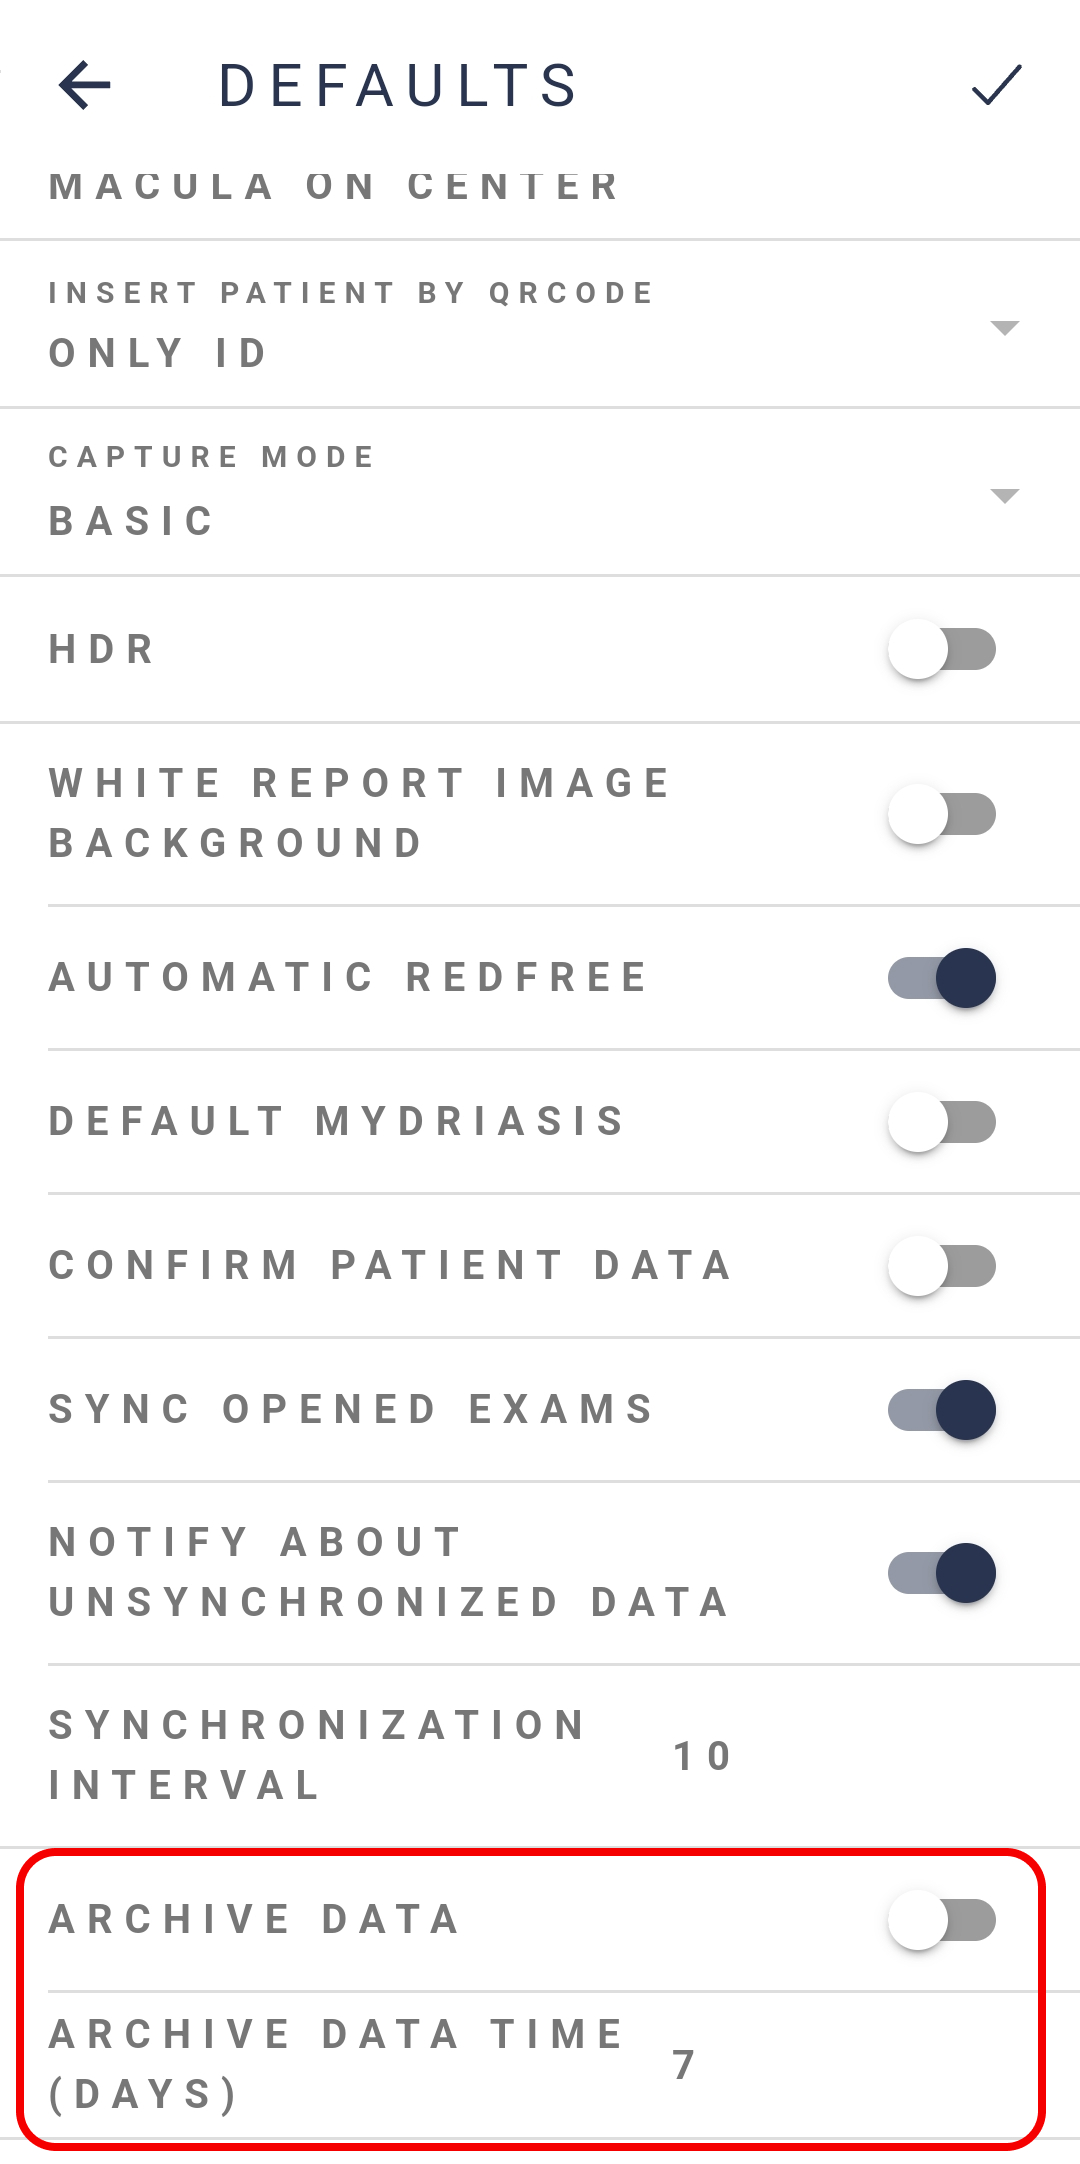
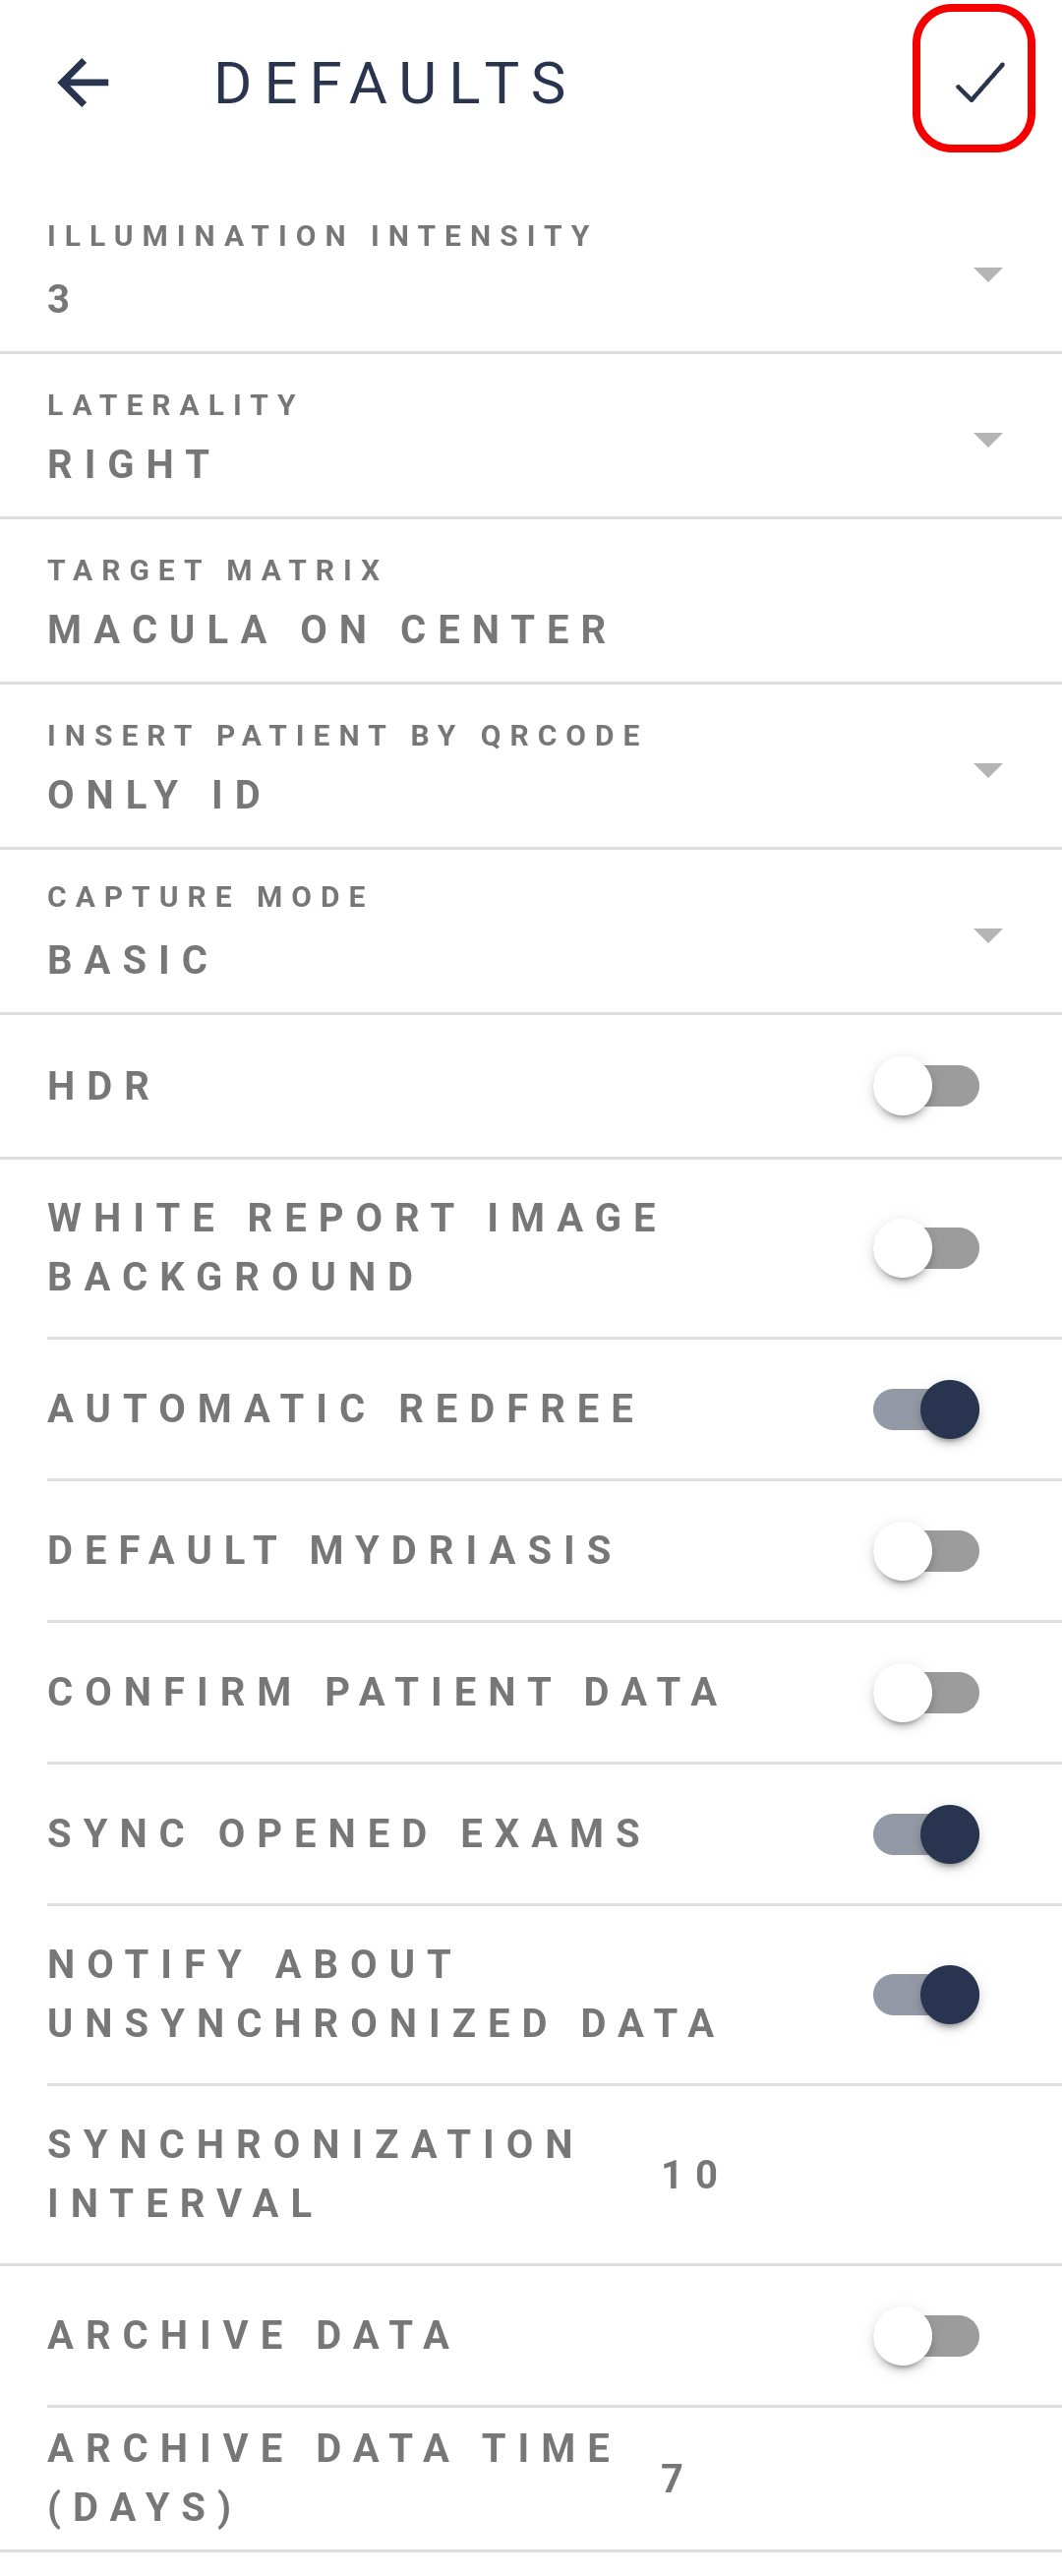
To edit the settings press the icon on the top right corner of the screen. Then, click again to save your changes.
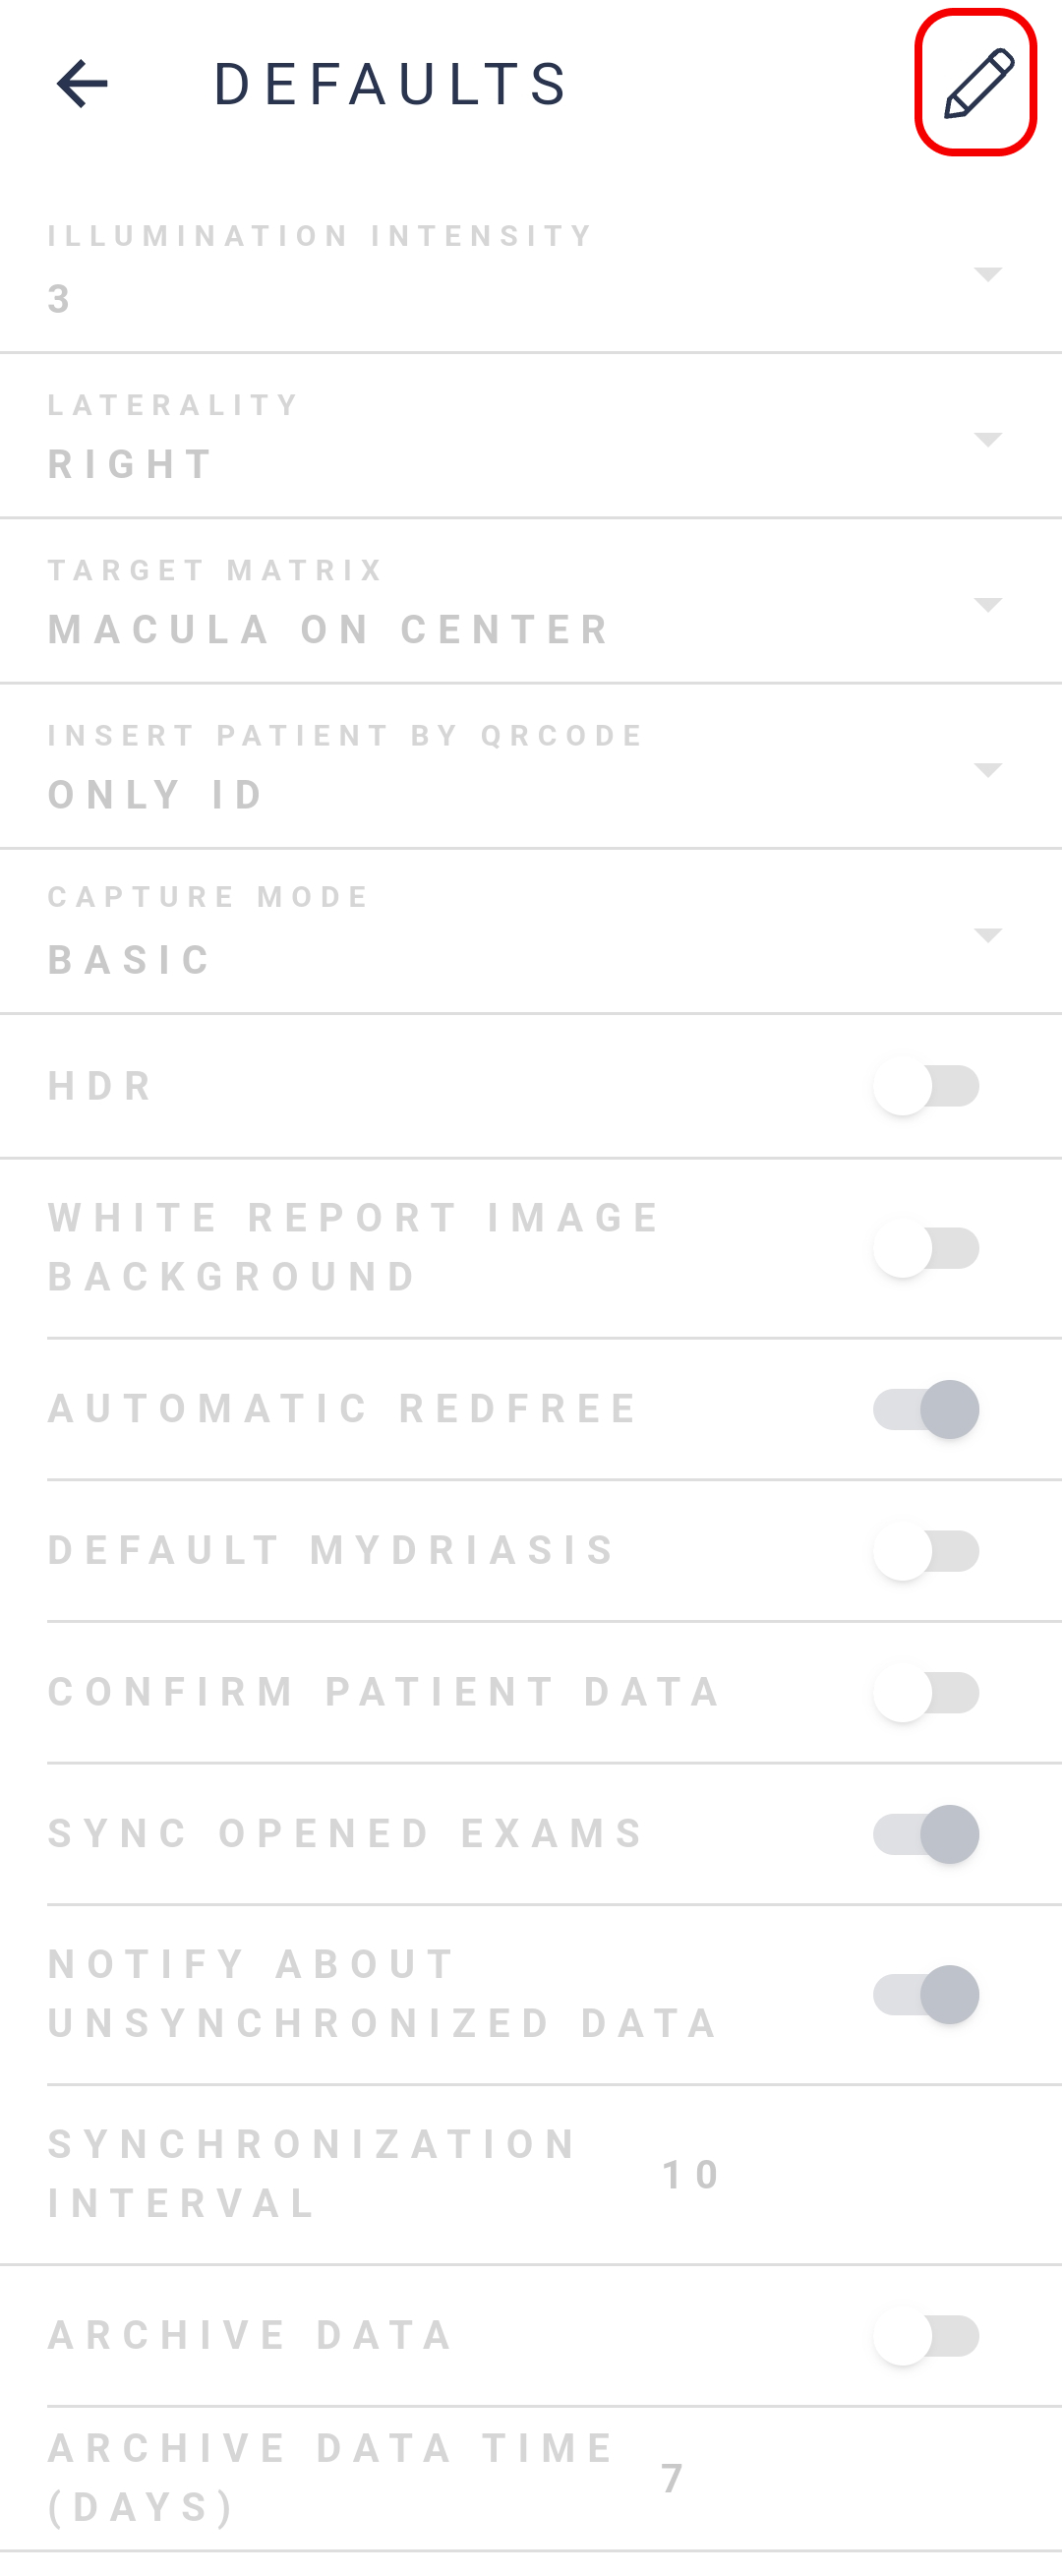
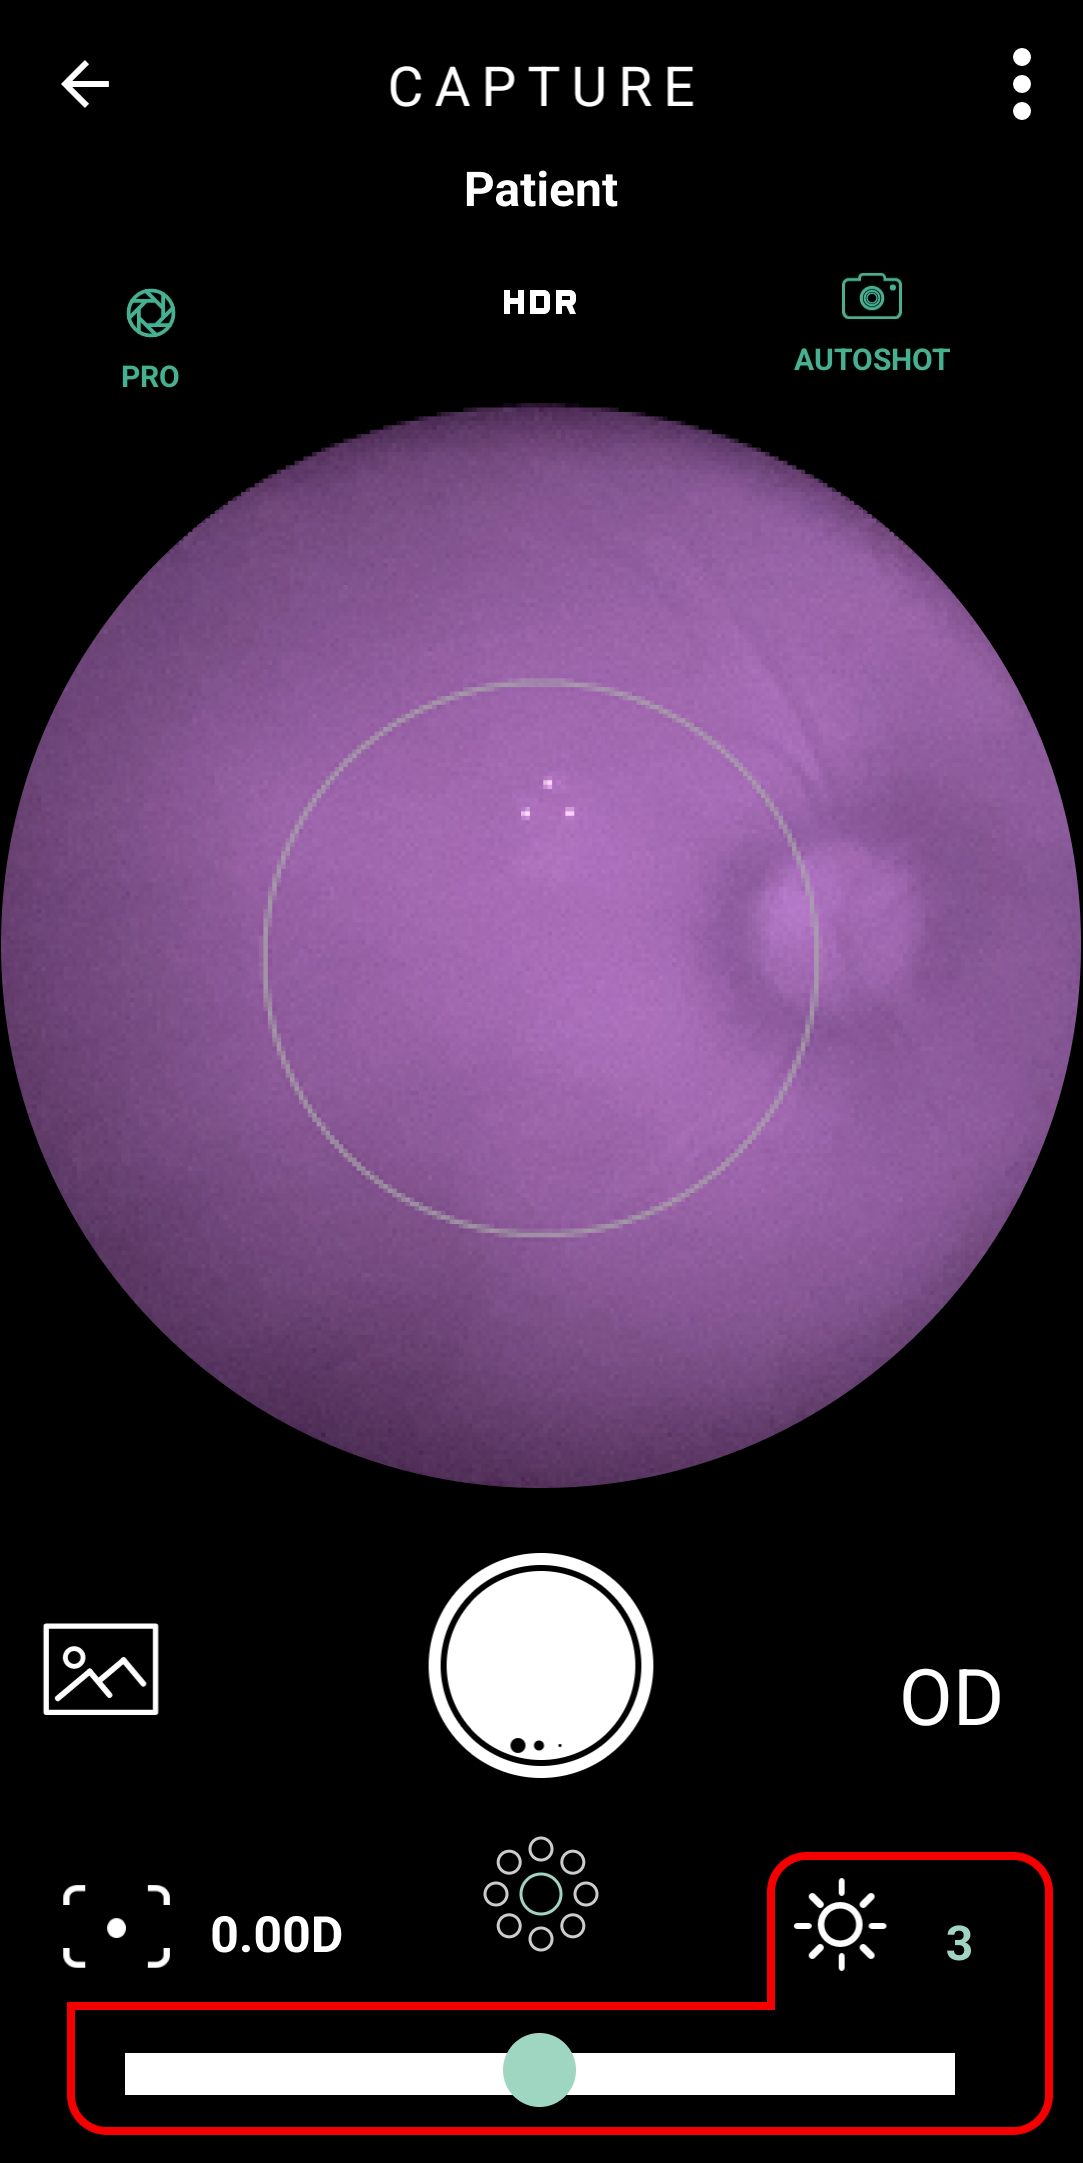
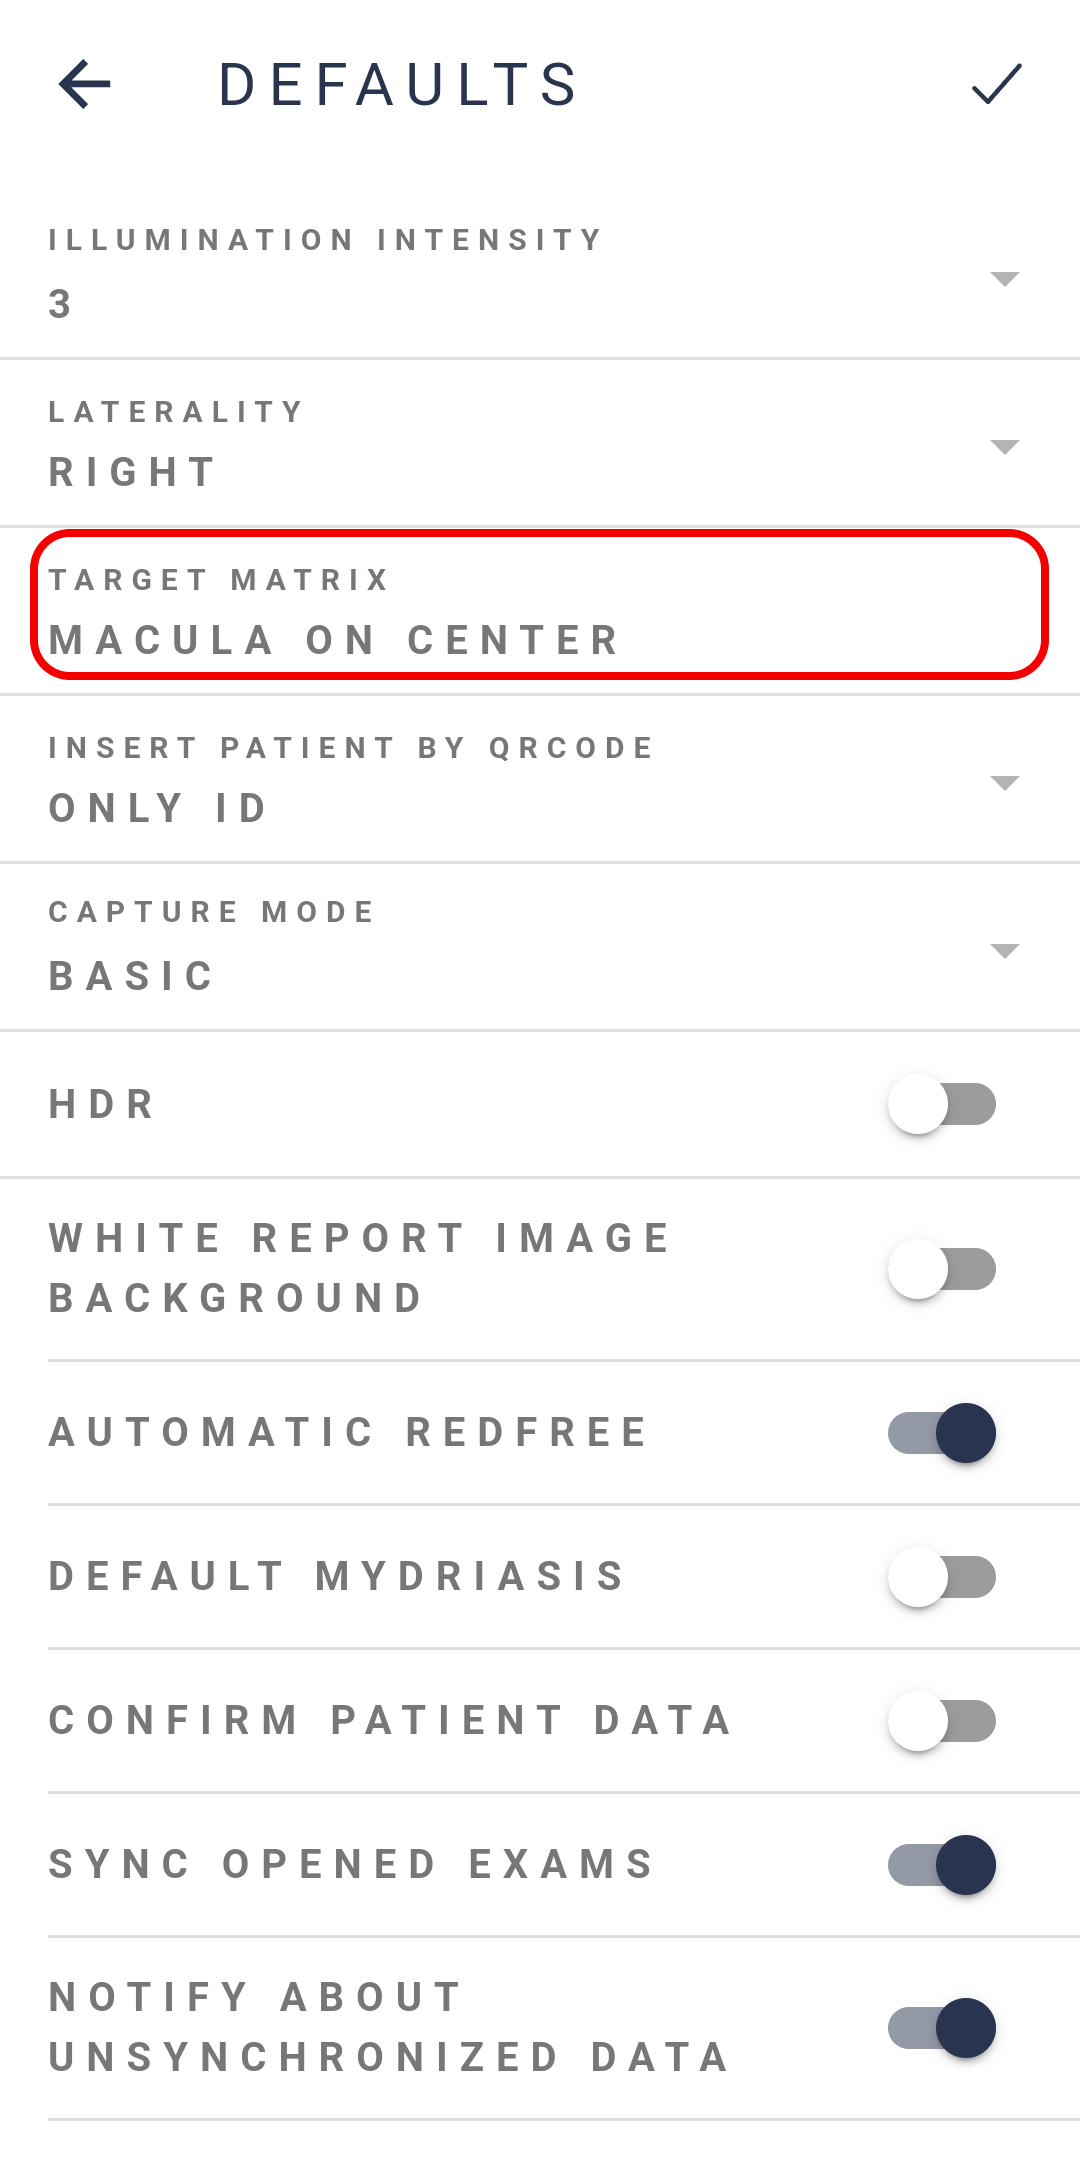
1. Illumination Intensity: Default 3. Corresponds to the intensity of the flash’s light.

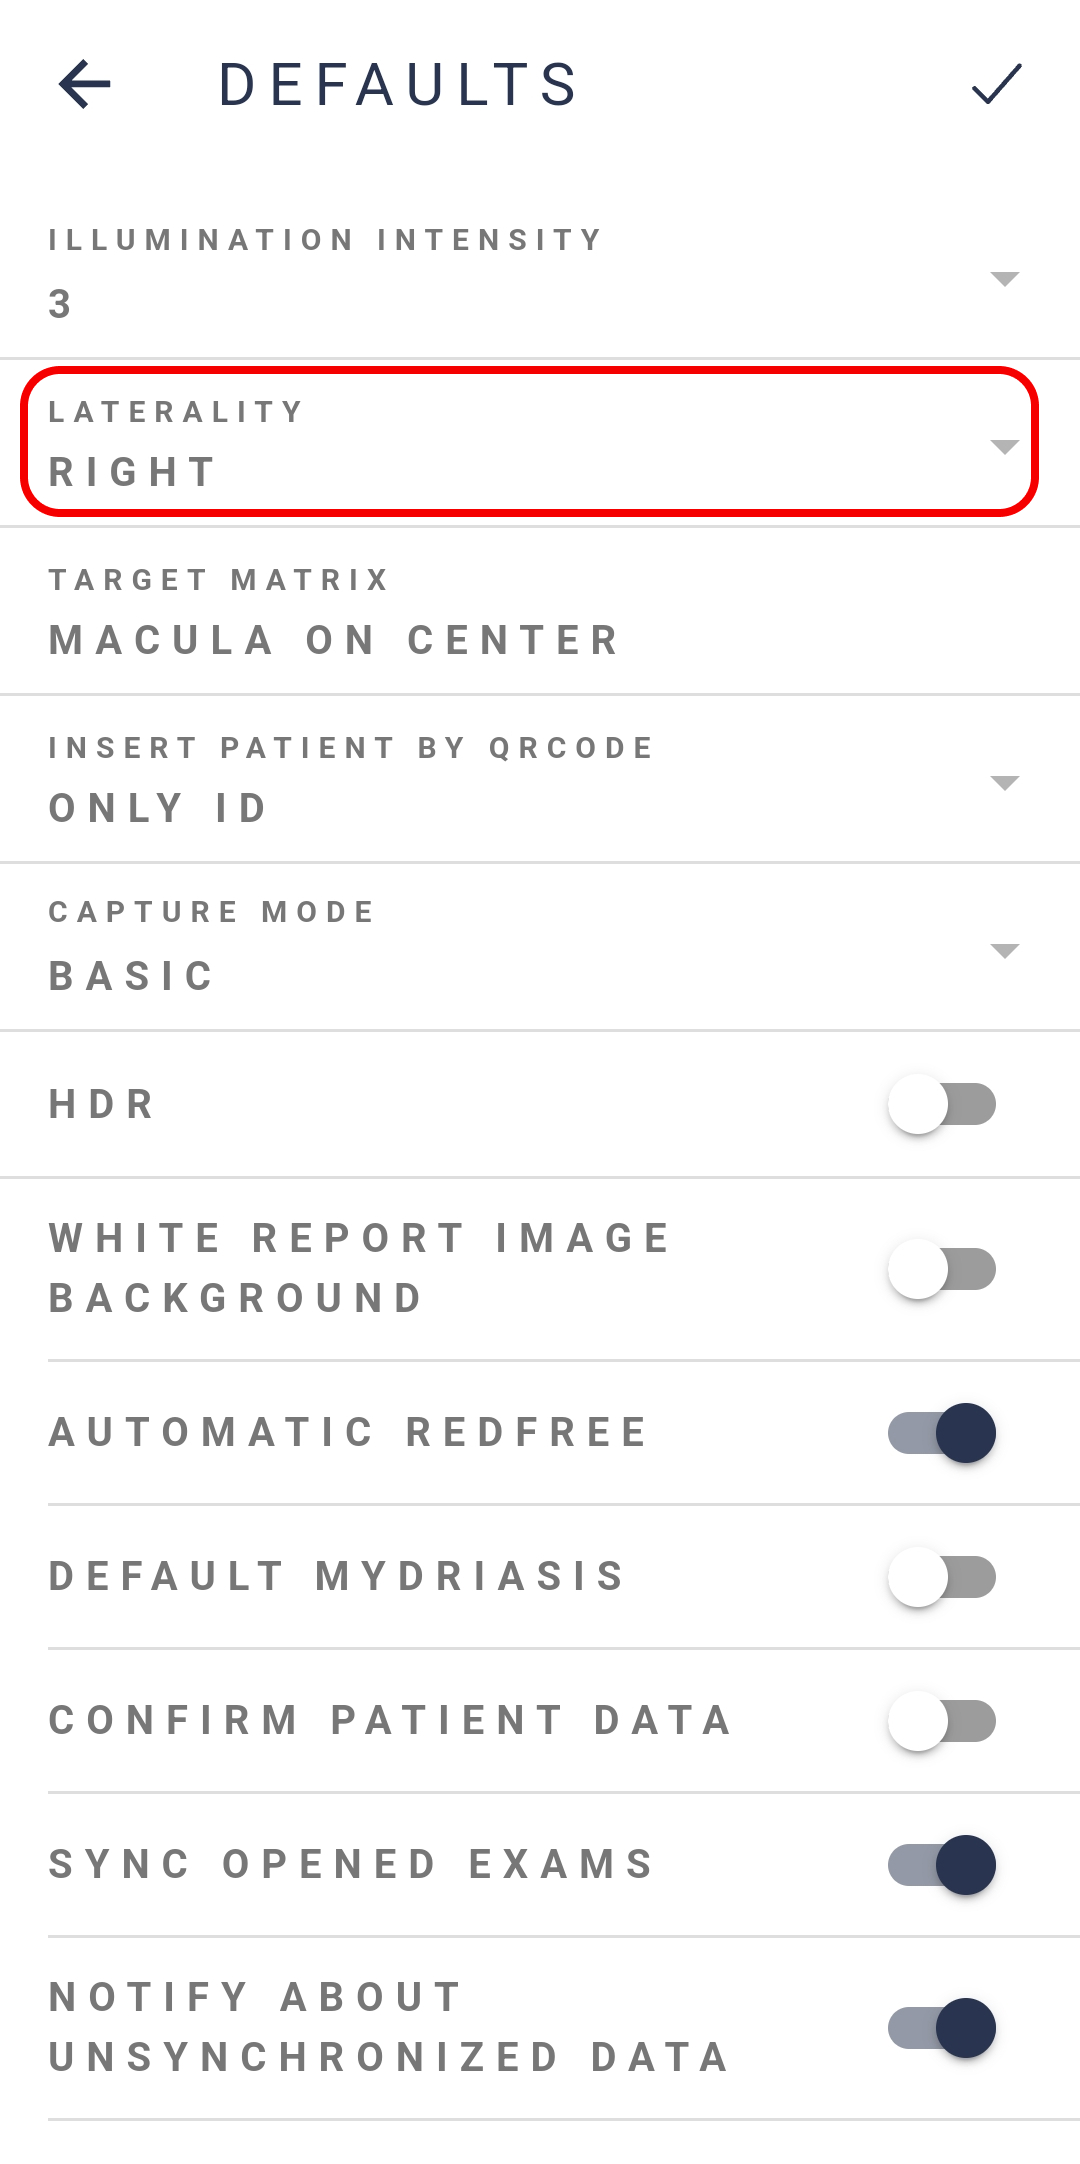
2. Laterality: Default Right. Indicates on which eye the exam will start.
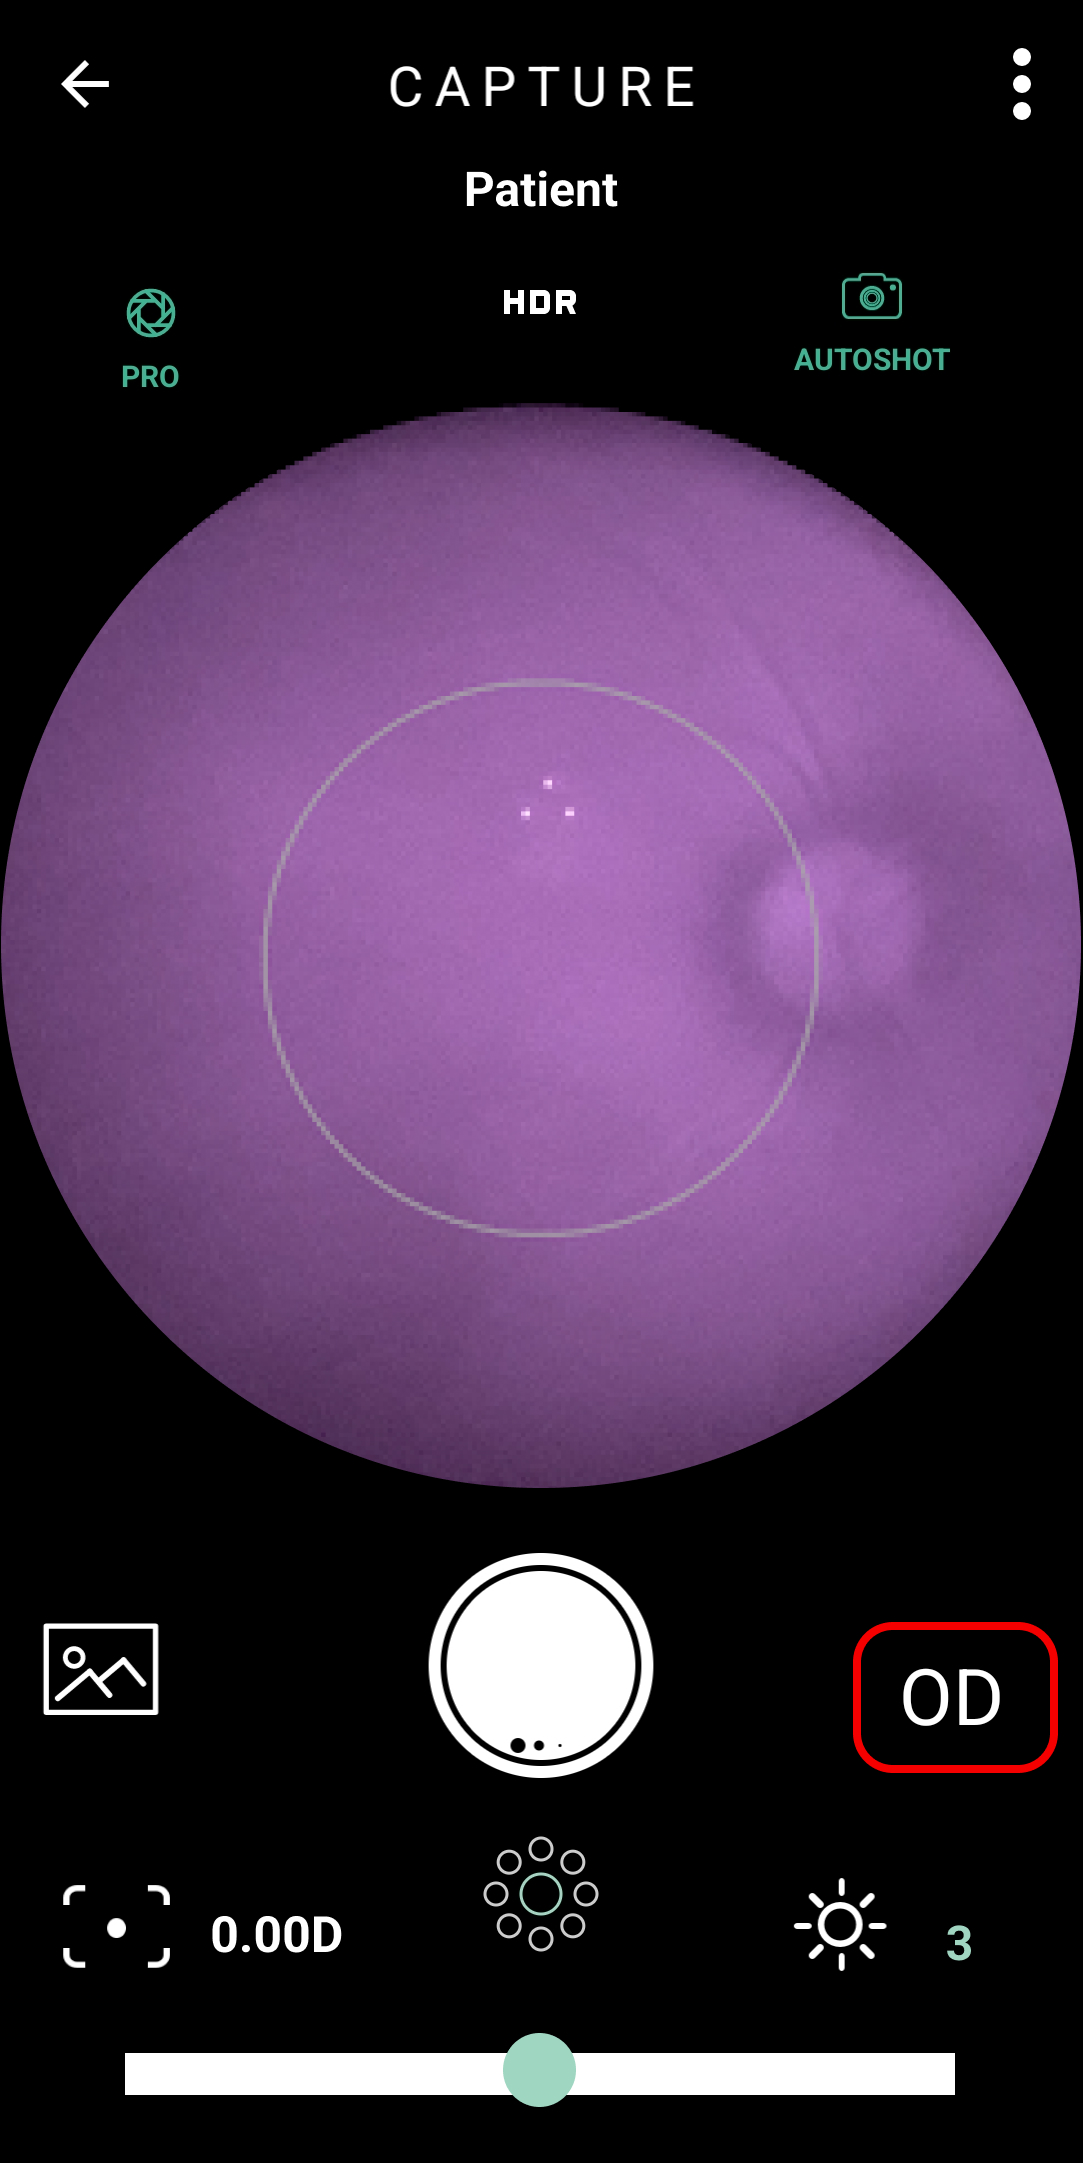
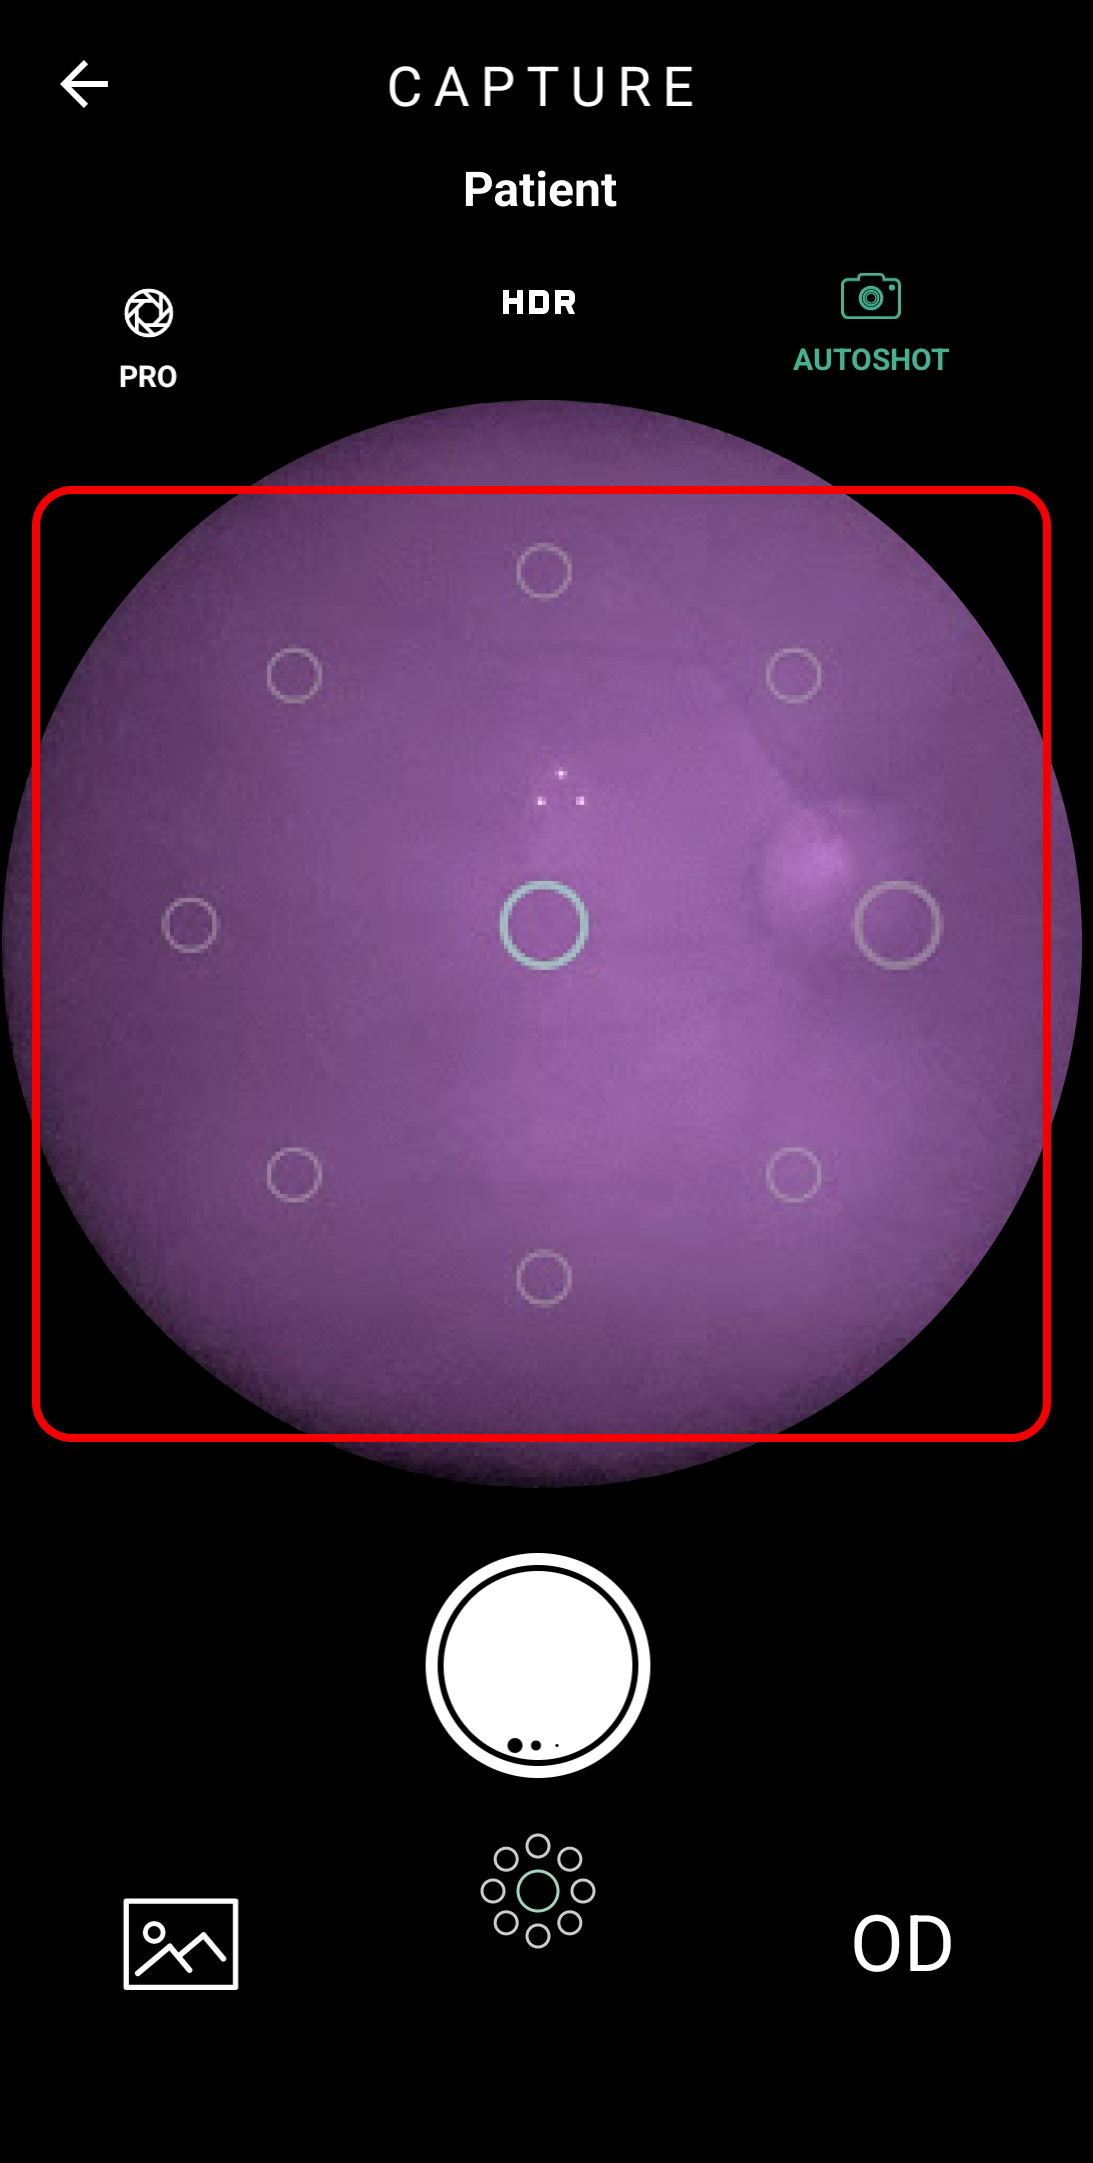
3. Target Matrix: Default Macula. Indicates on which internal fixation target the exam starts.
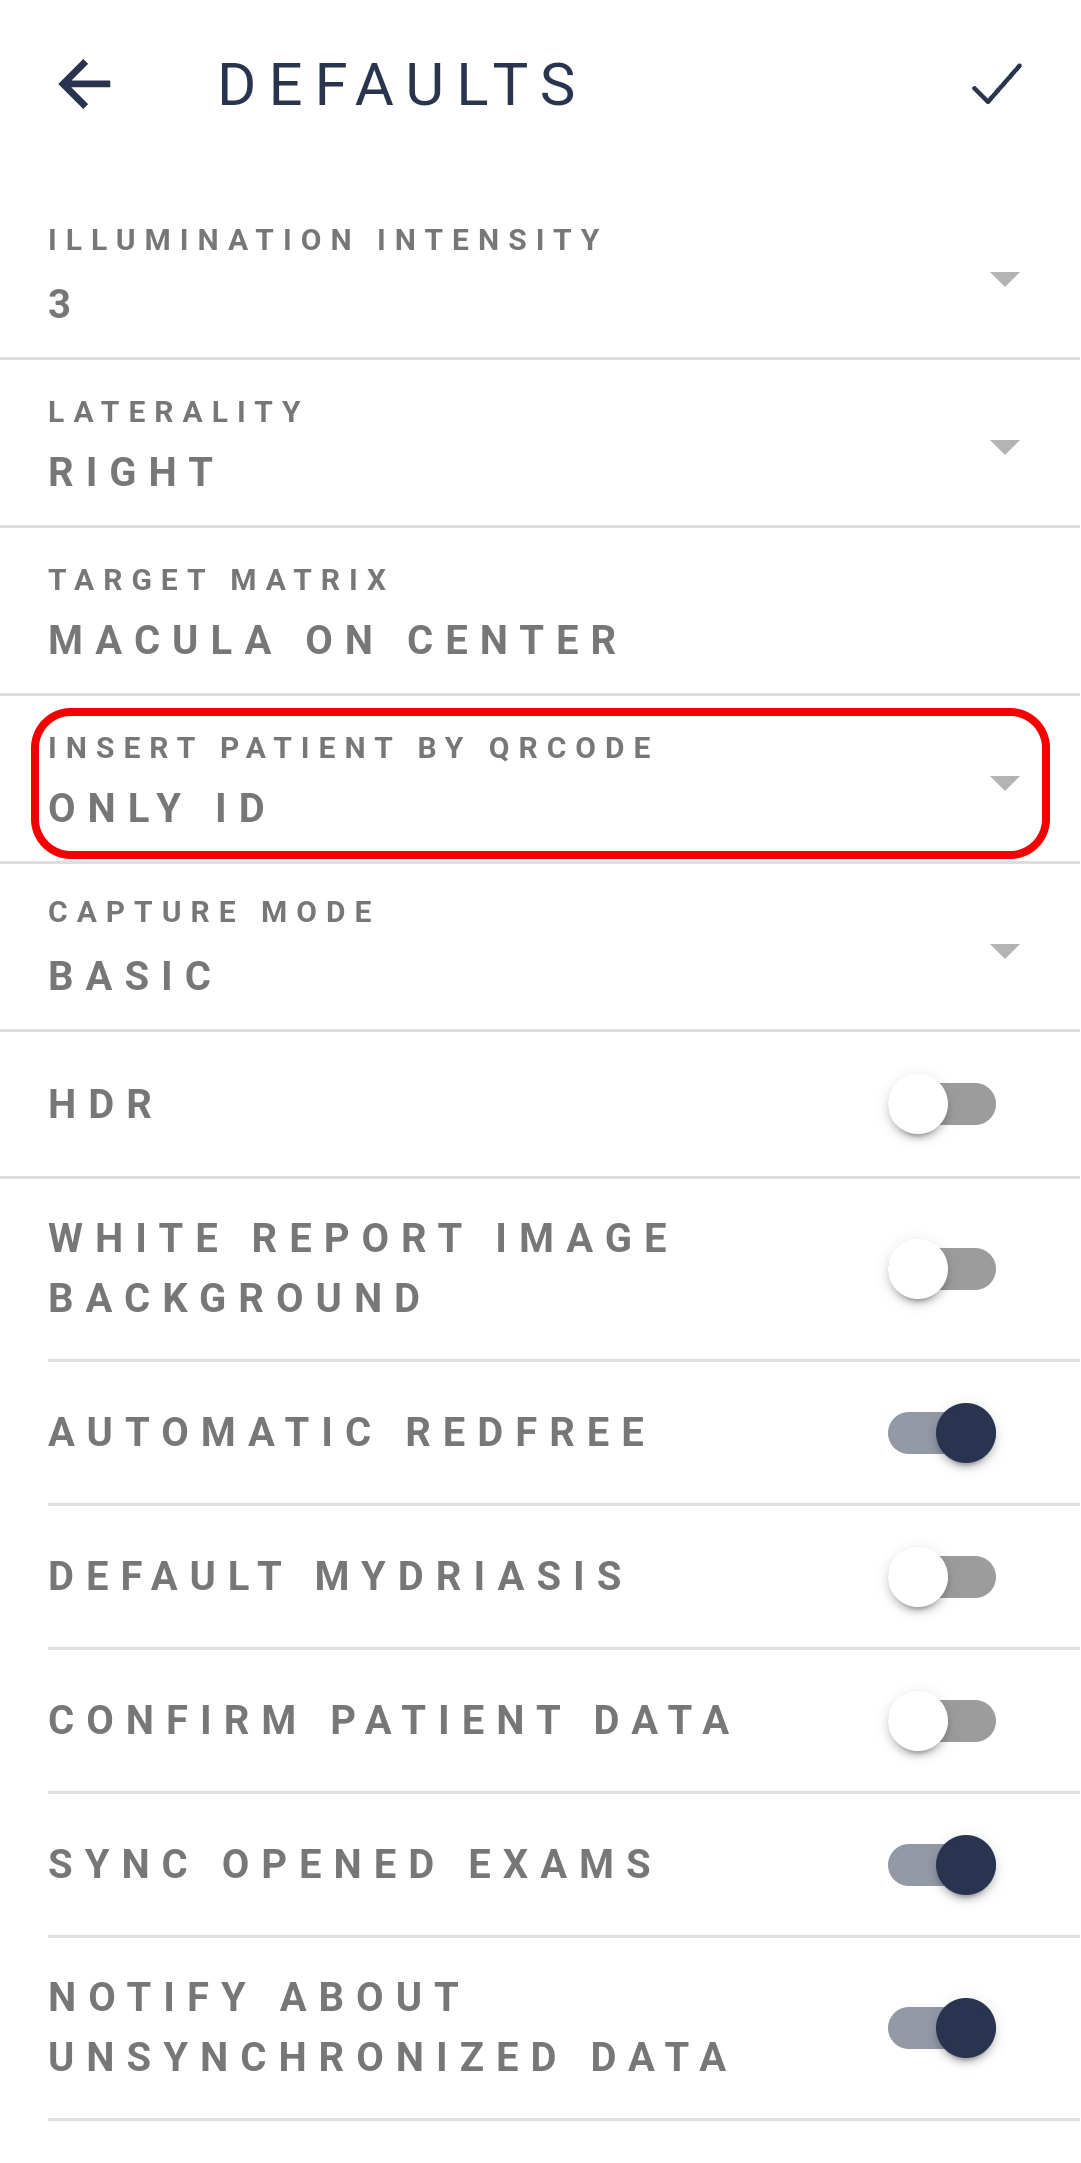
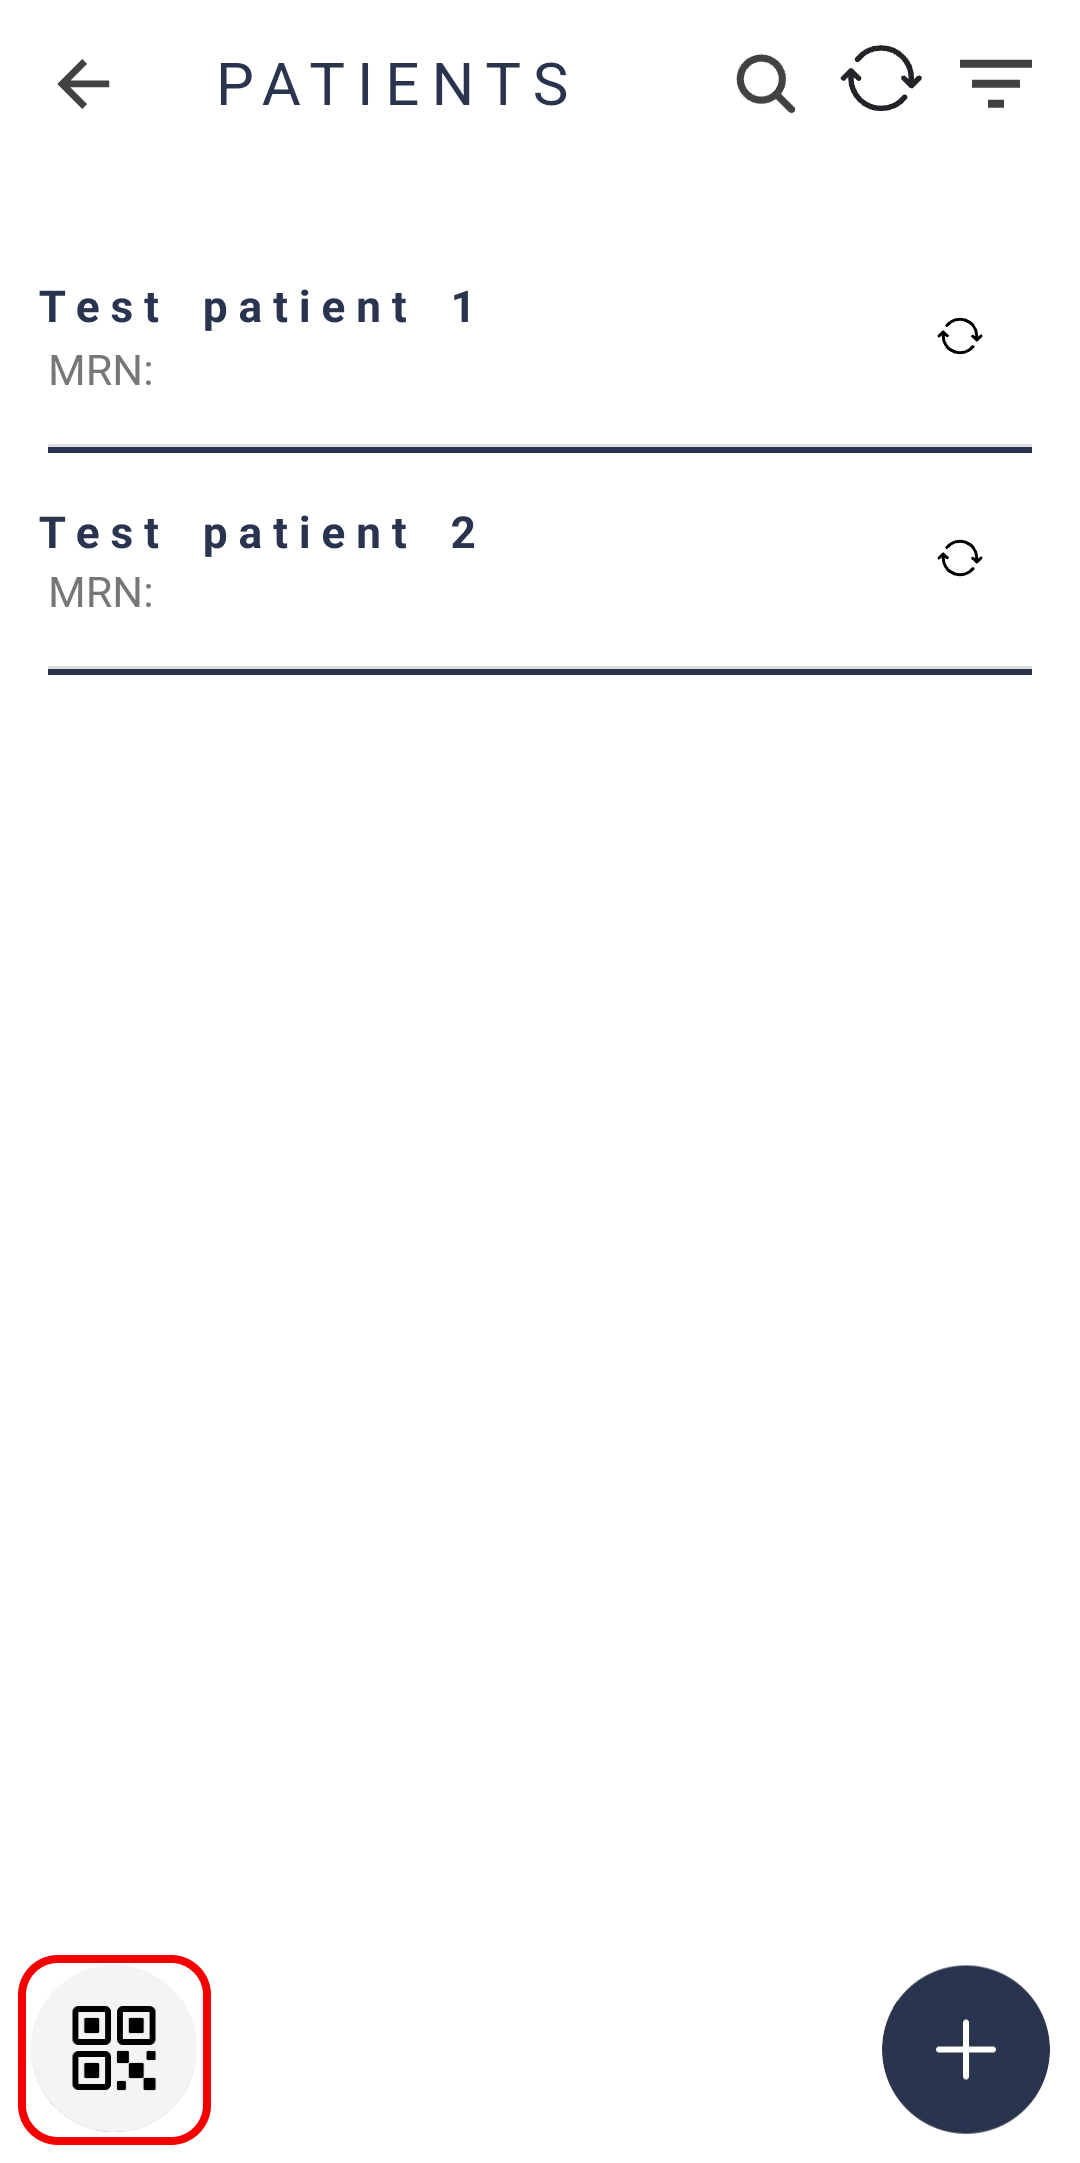
4. Create Patients via QR Code: Selecting this setting enables the user to create patients by reading a QR Code. To create a patient, on the “Patients” screen press the QR Code icon on the bottom left to open the camera. Read a QR Code and a patient will be created.

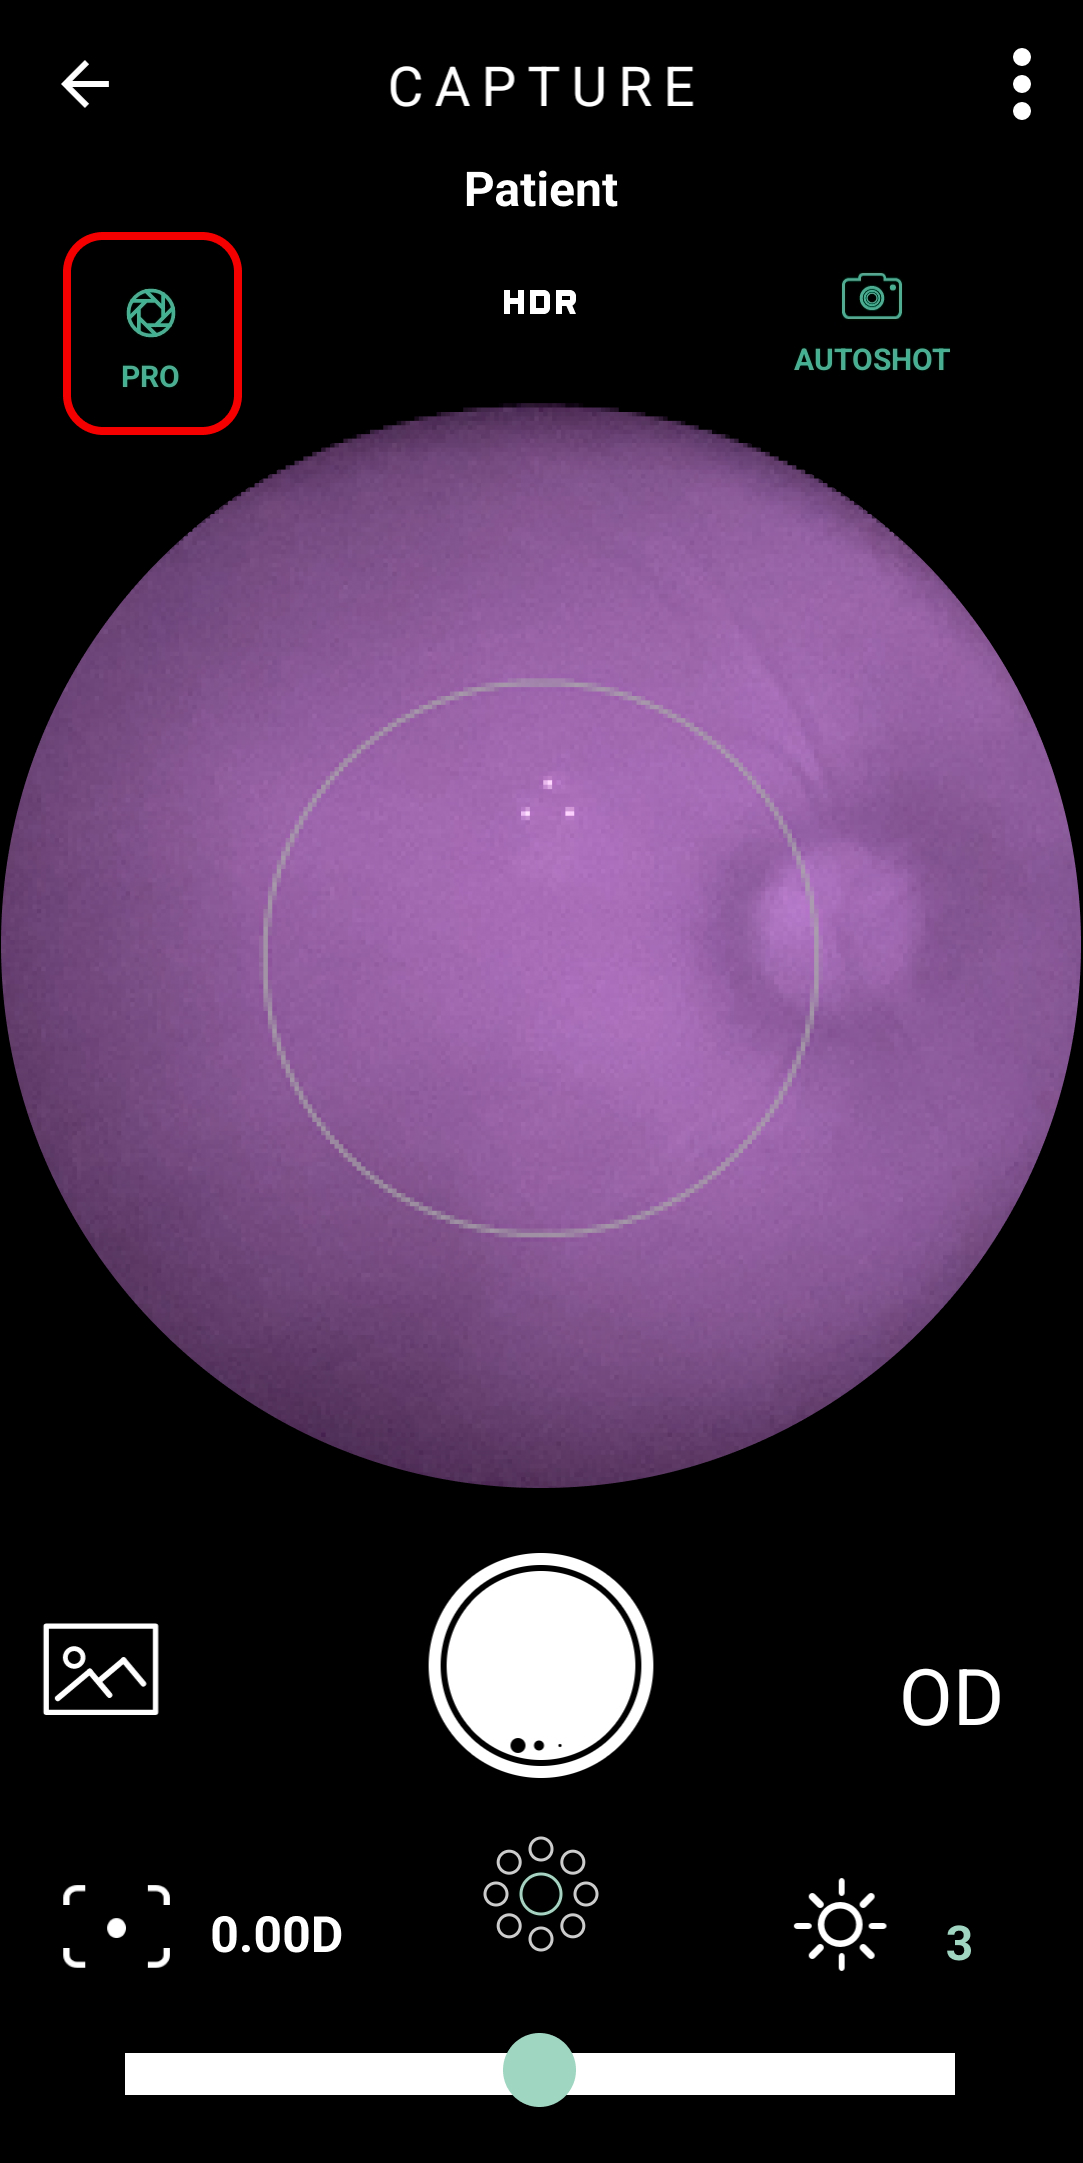
5. Capture Mode: Default Basic. Indicates the camera mode.
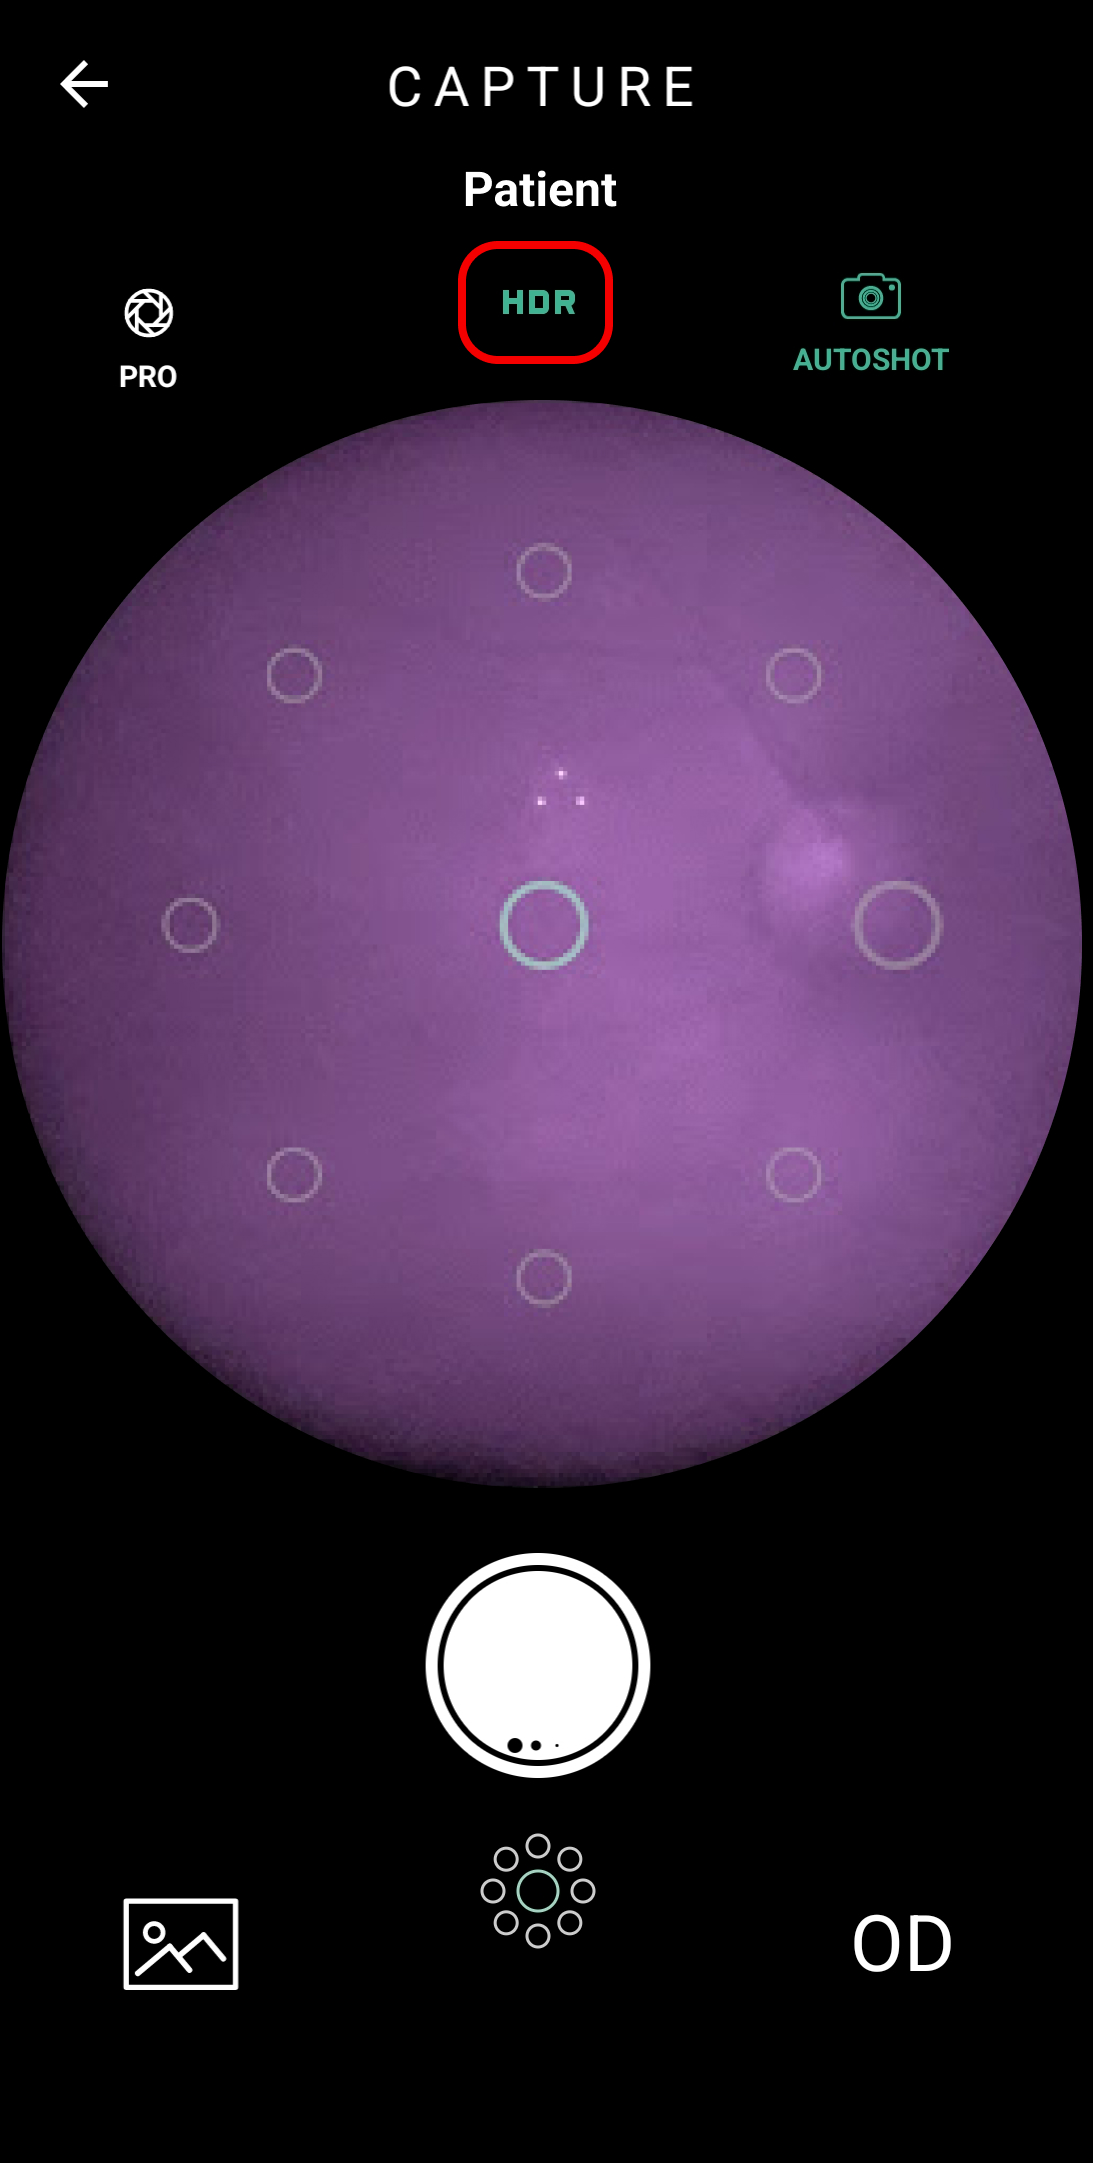
6. HDR: Default Disabled. When activated the HDR feature will by enabled when opening the camera.
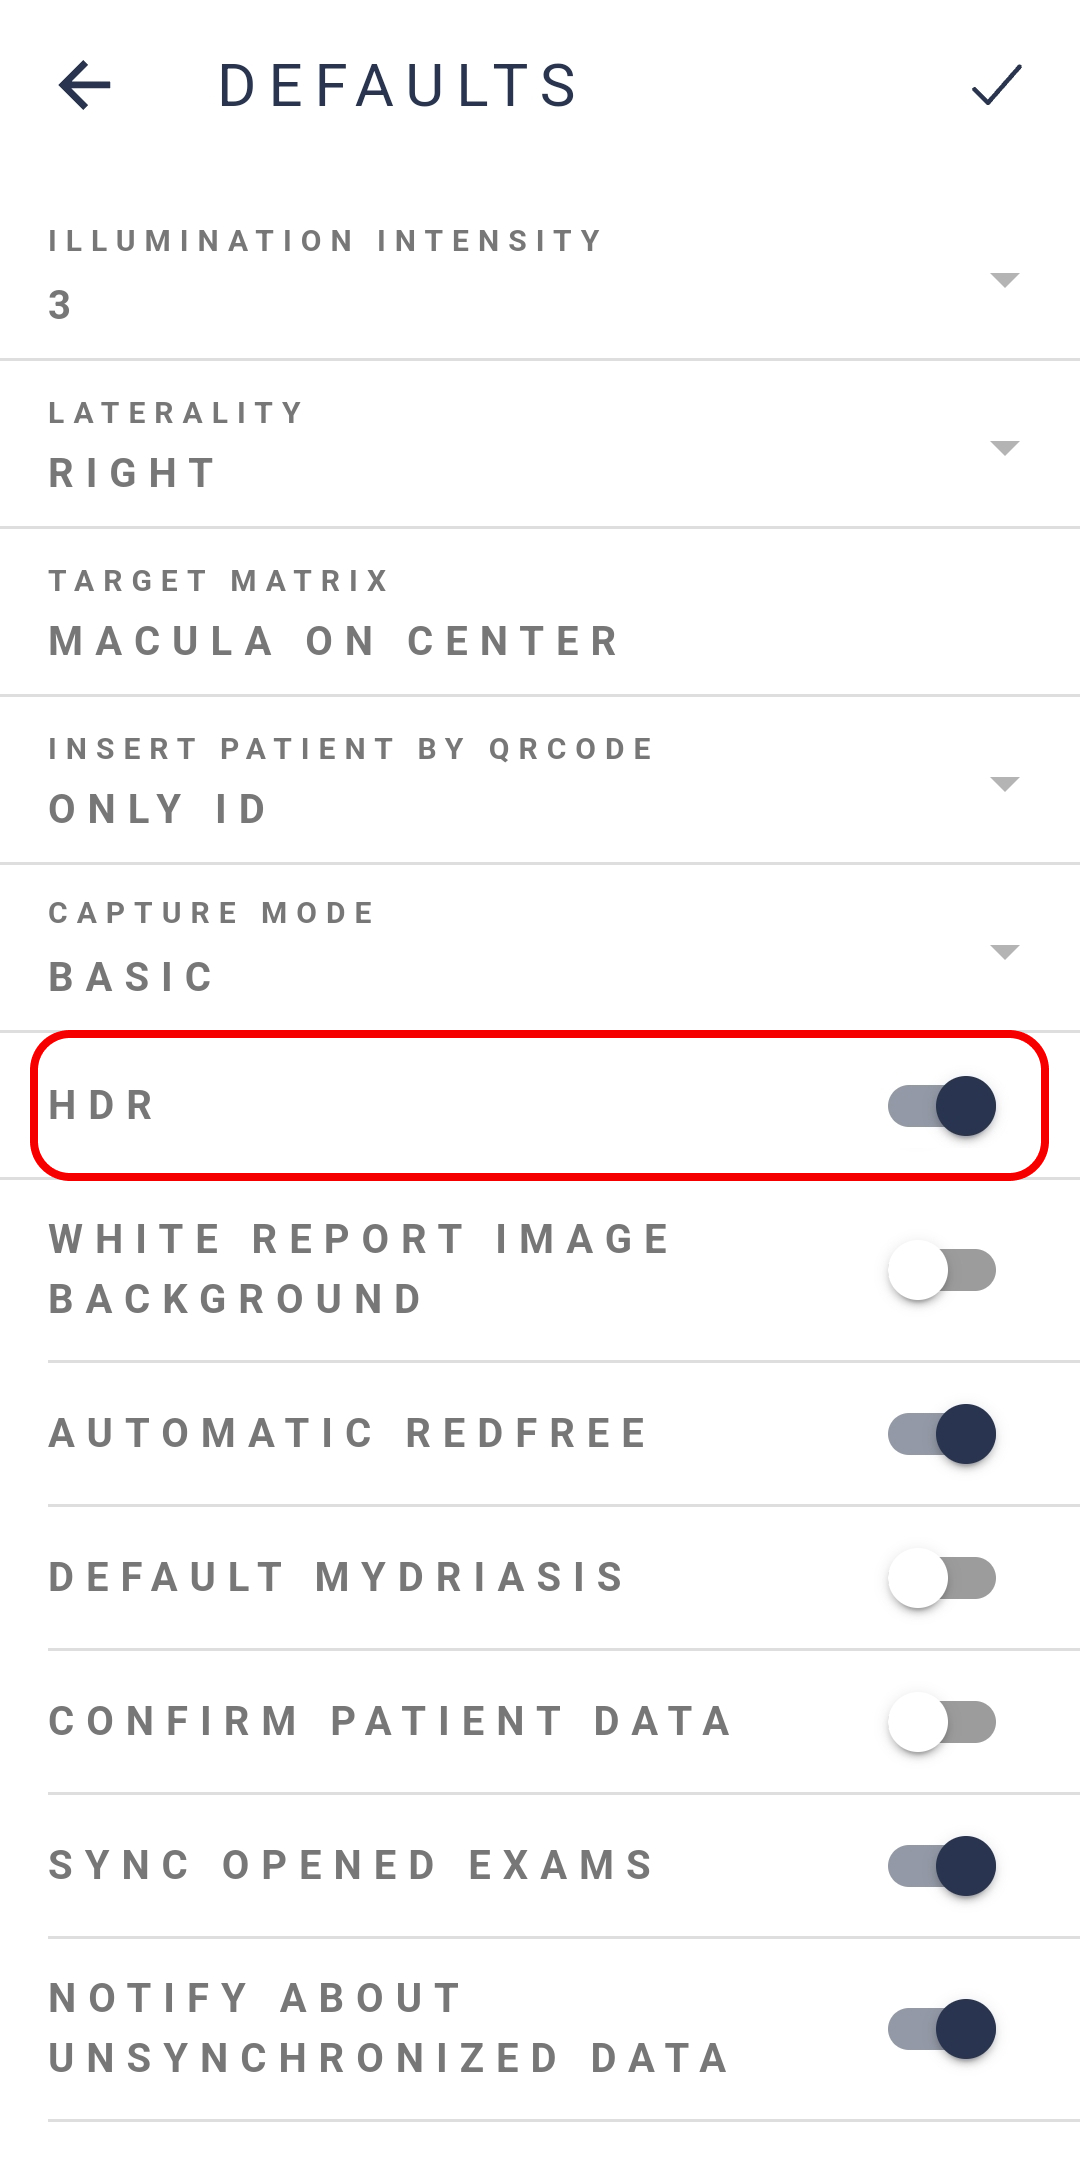
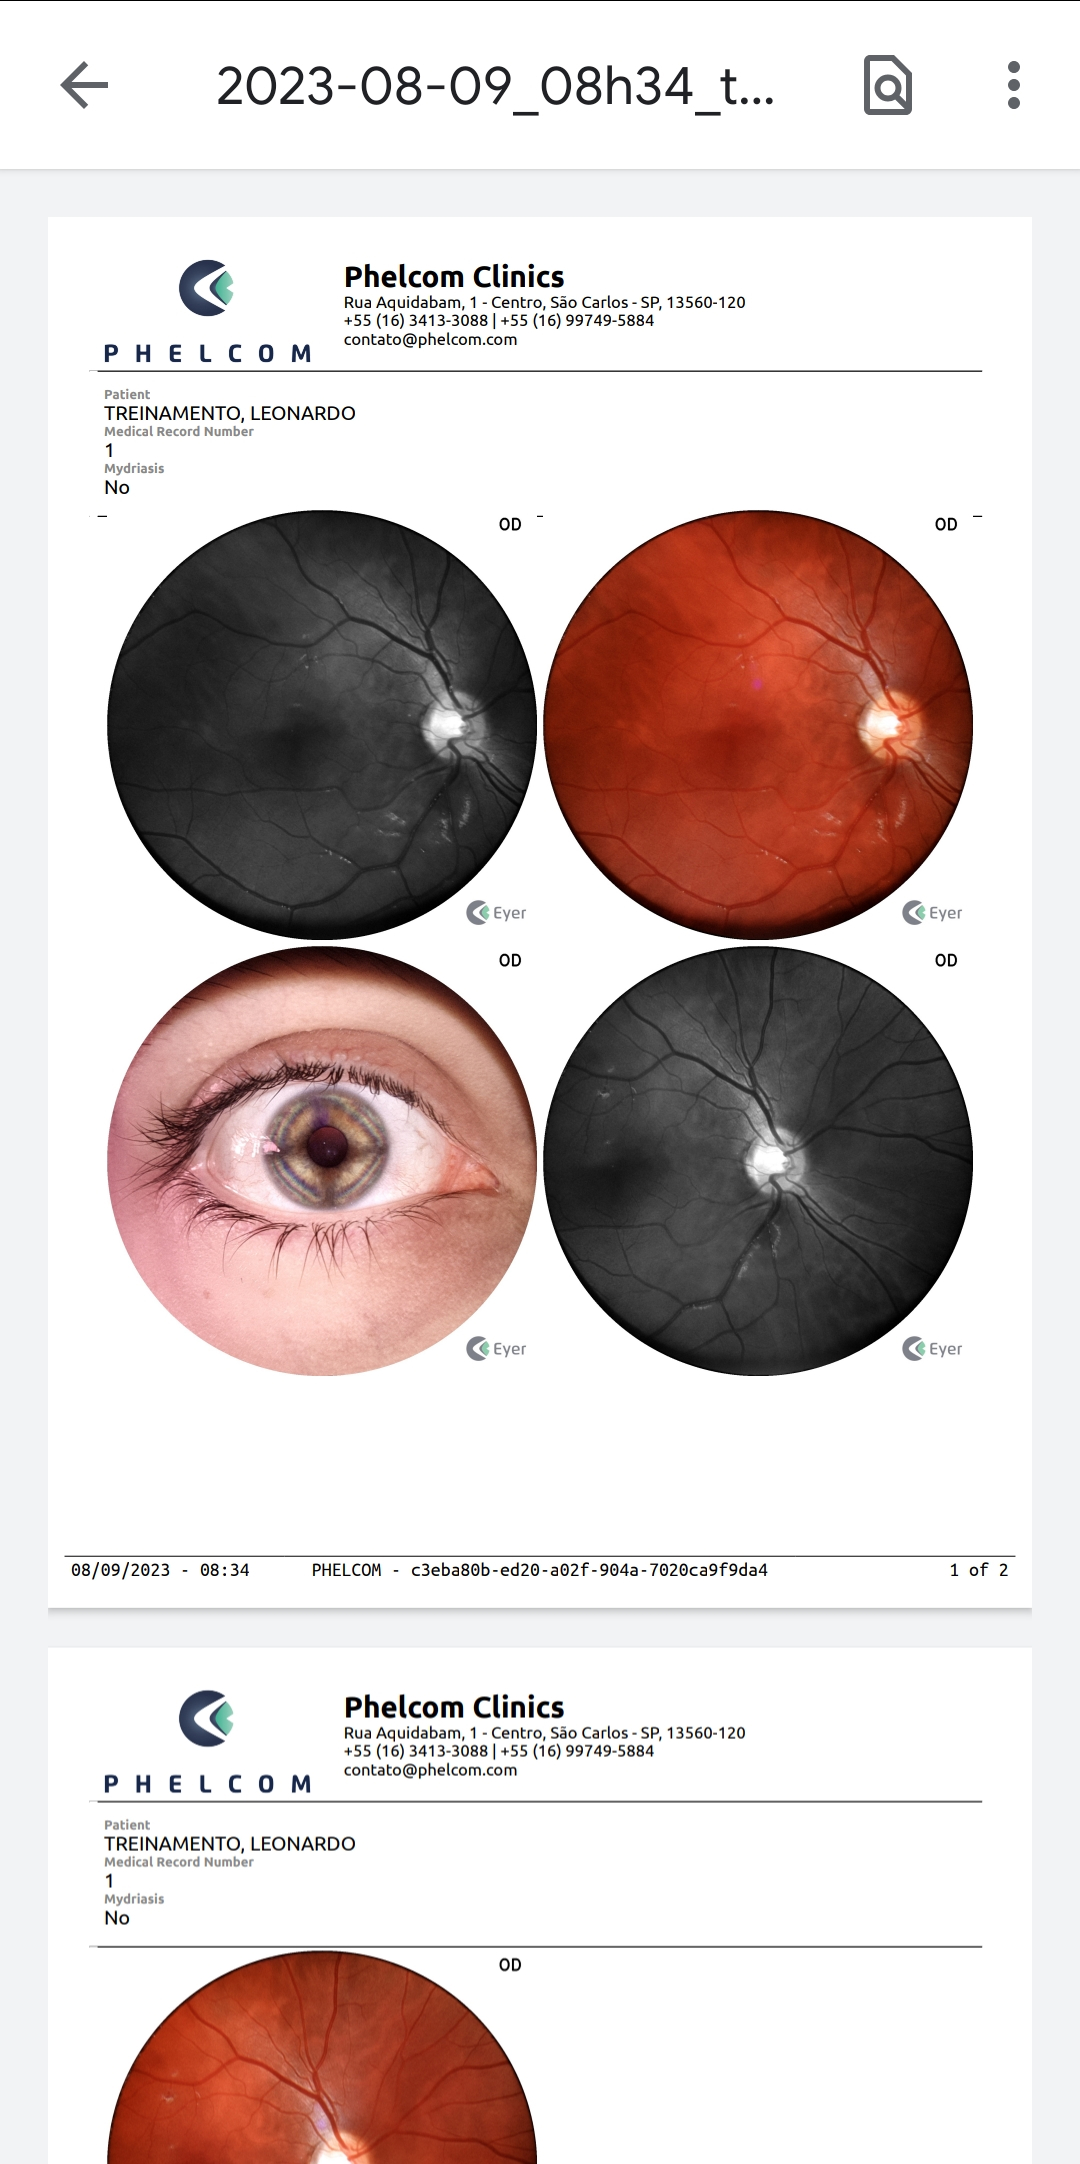
7. White Report Image Background: Default disabled. When activated, this setting changes the background of the pictures on the report.
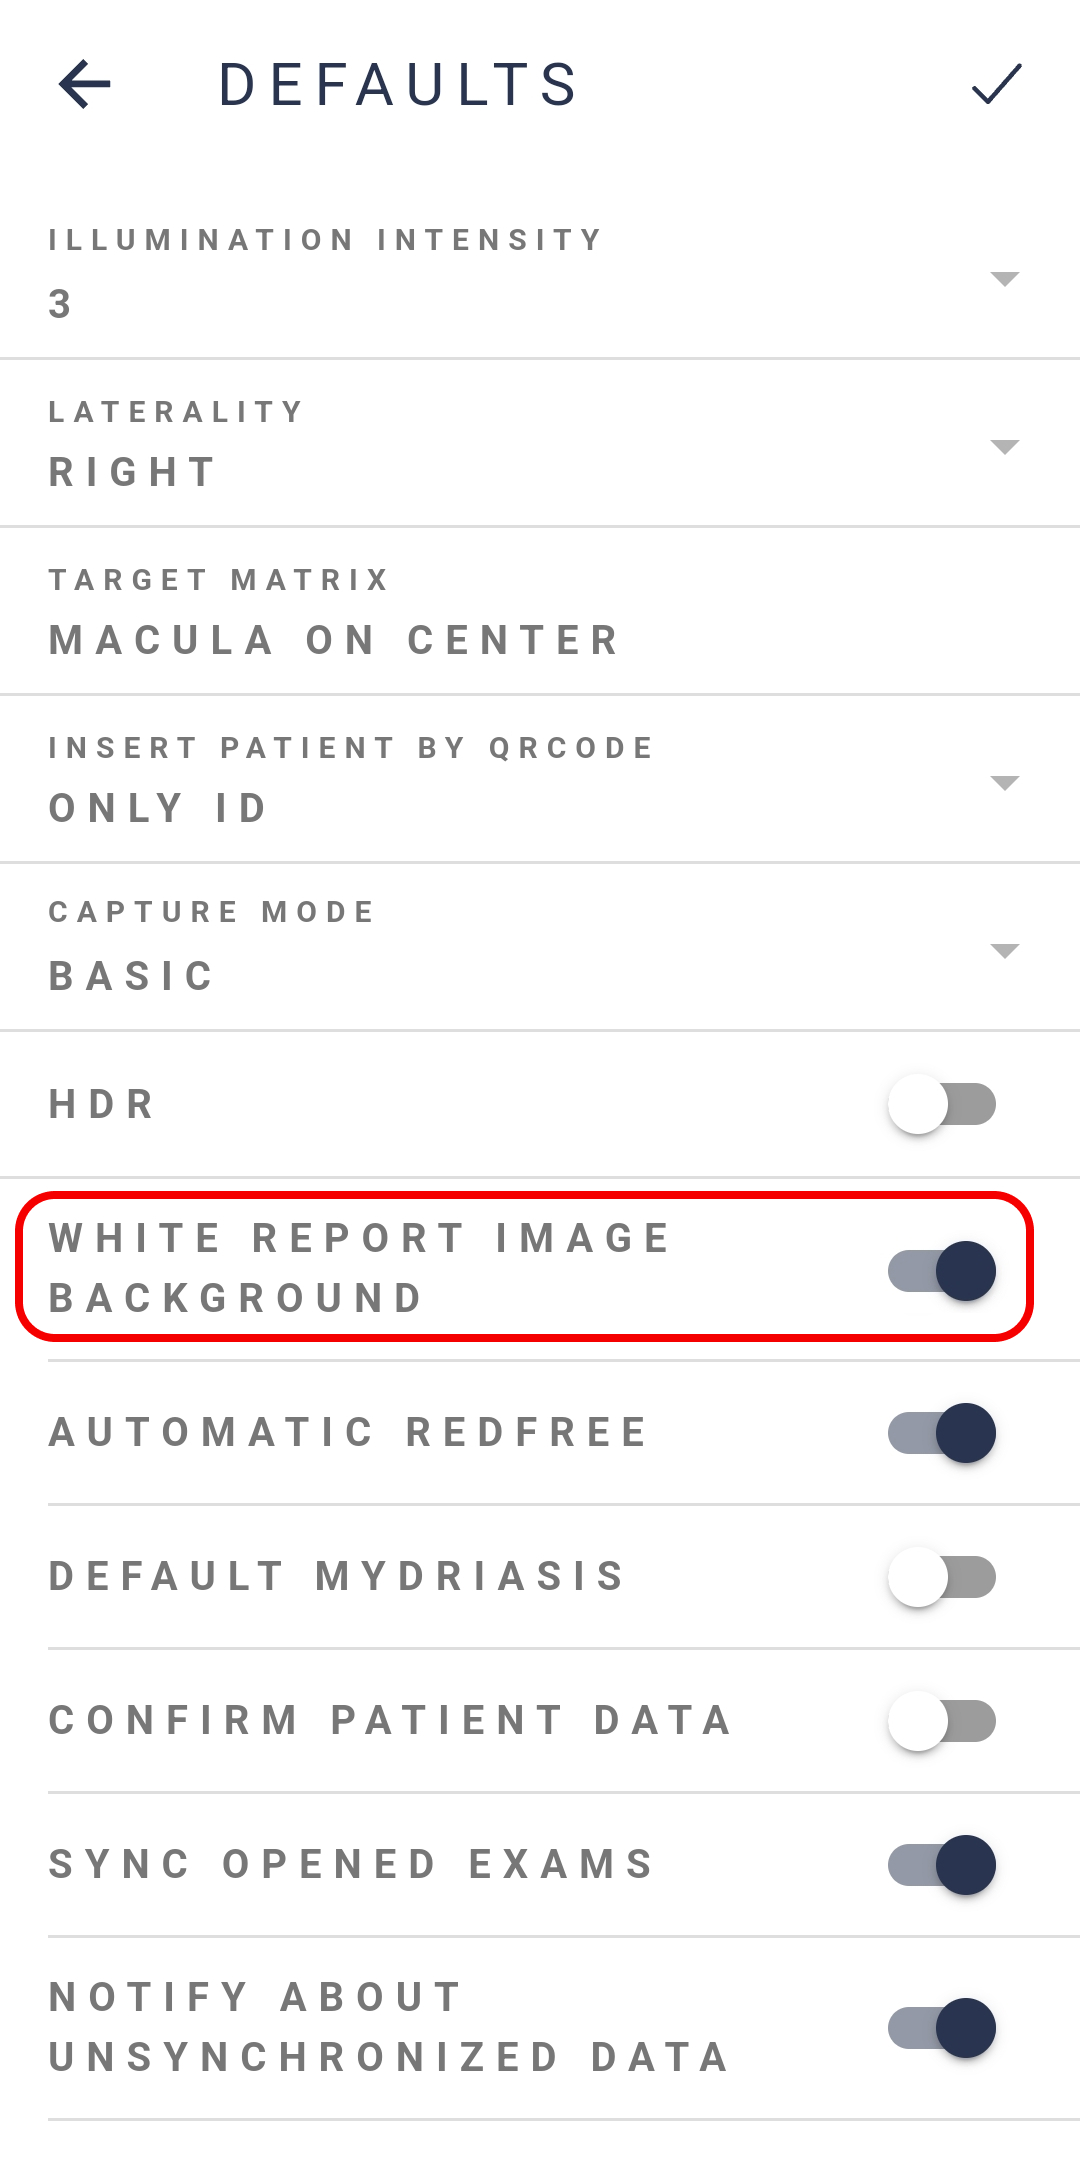
8. Automatic Red free: Default enabled. When disabled the red free images will no longer be generated.

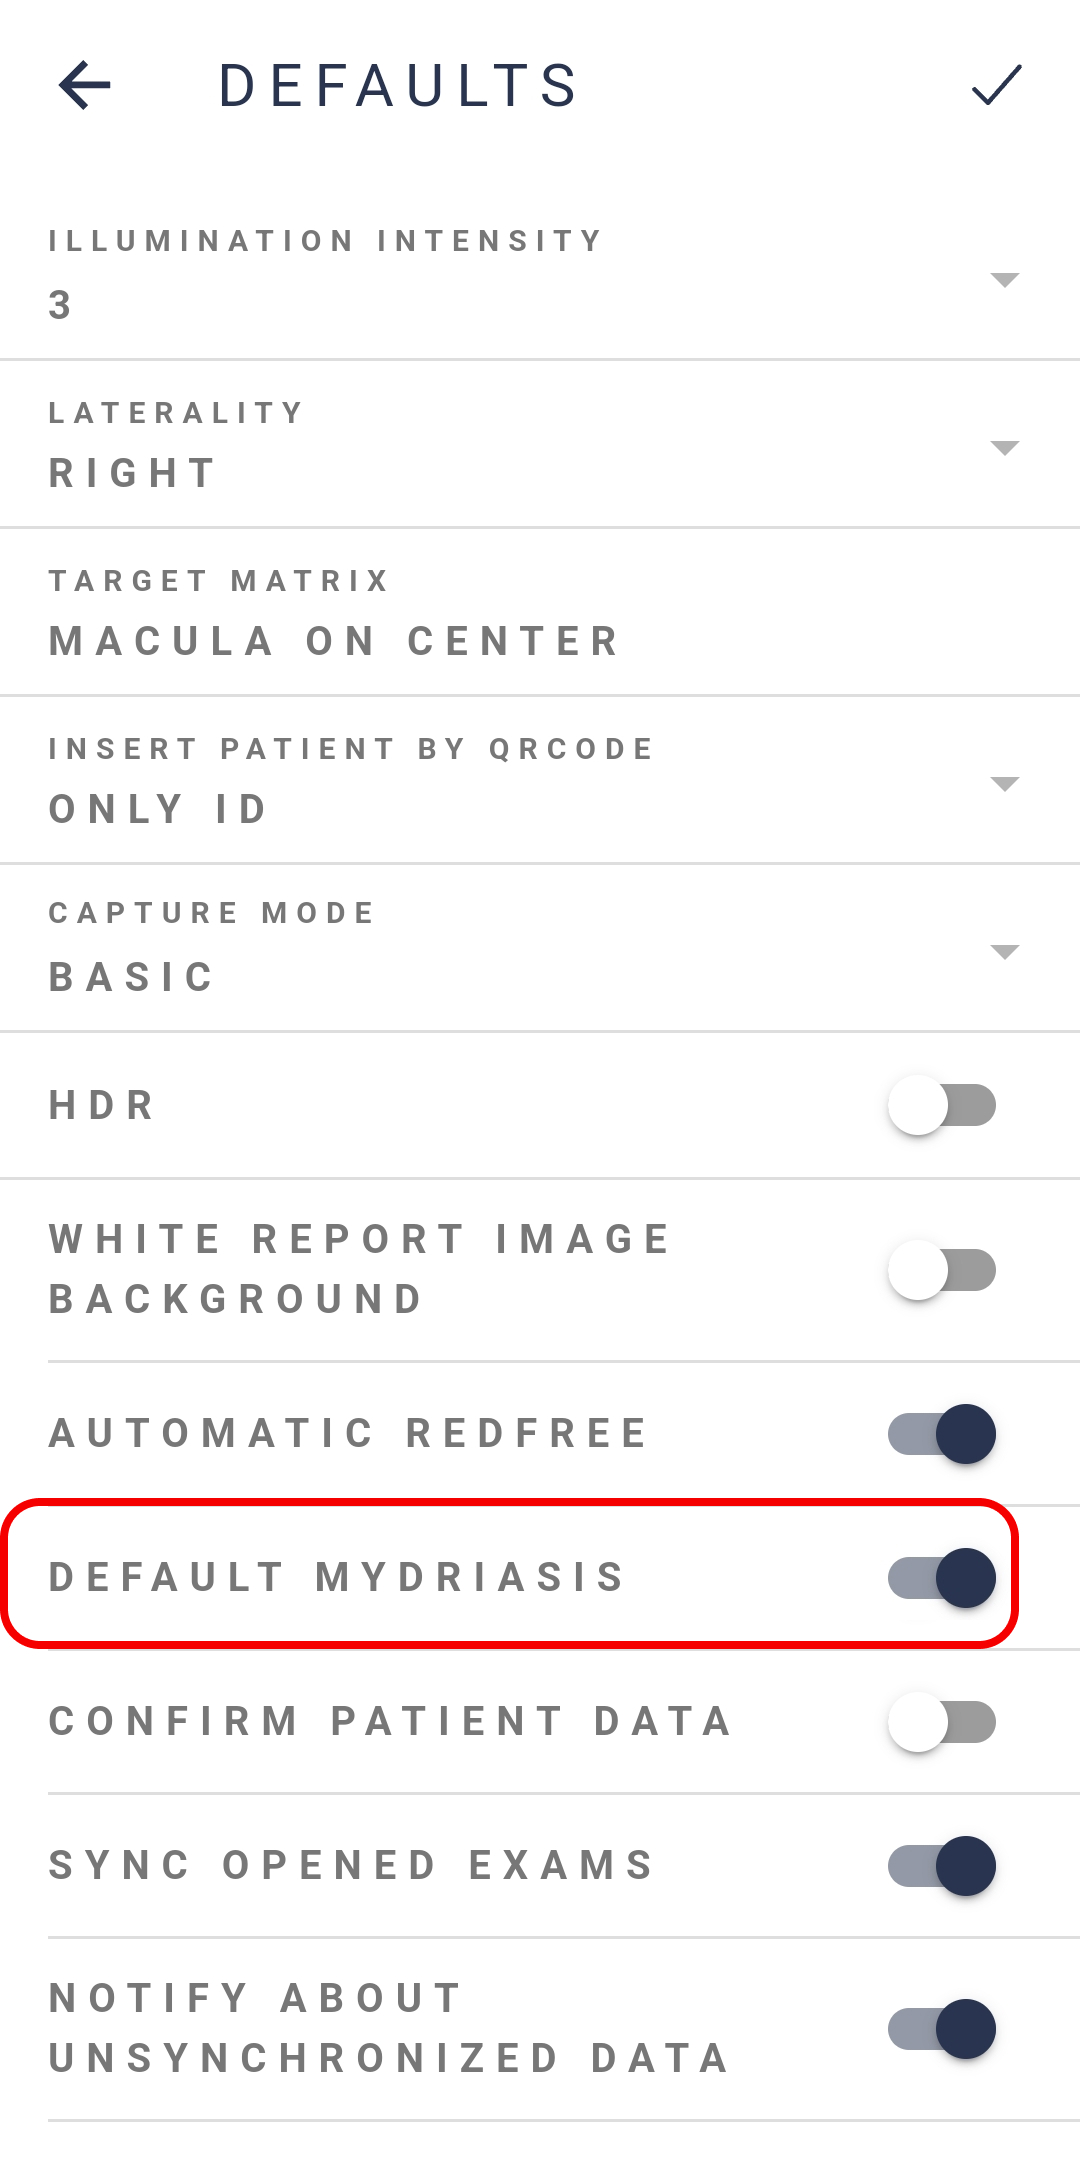
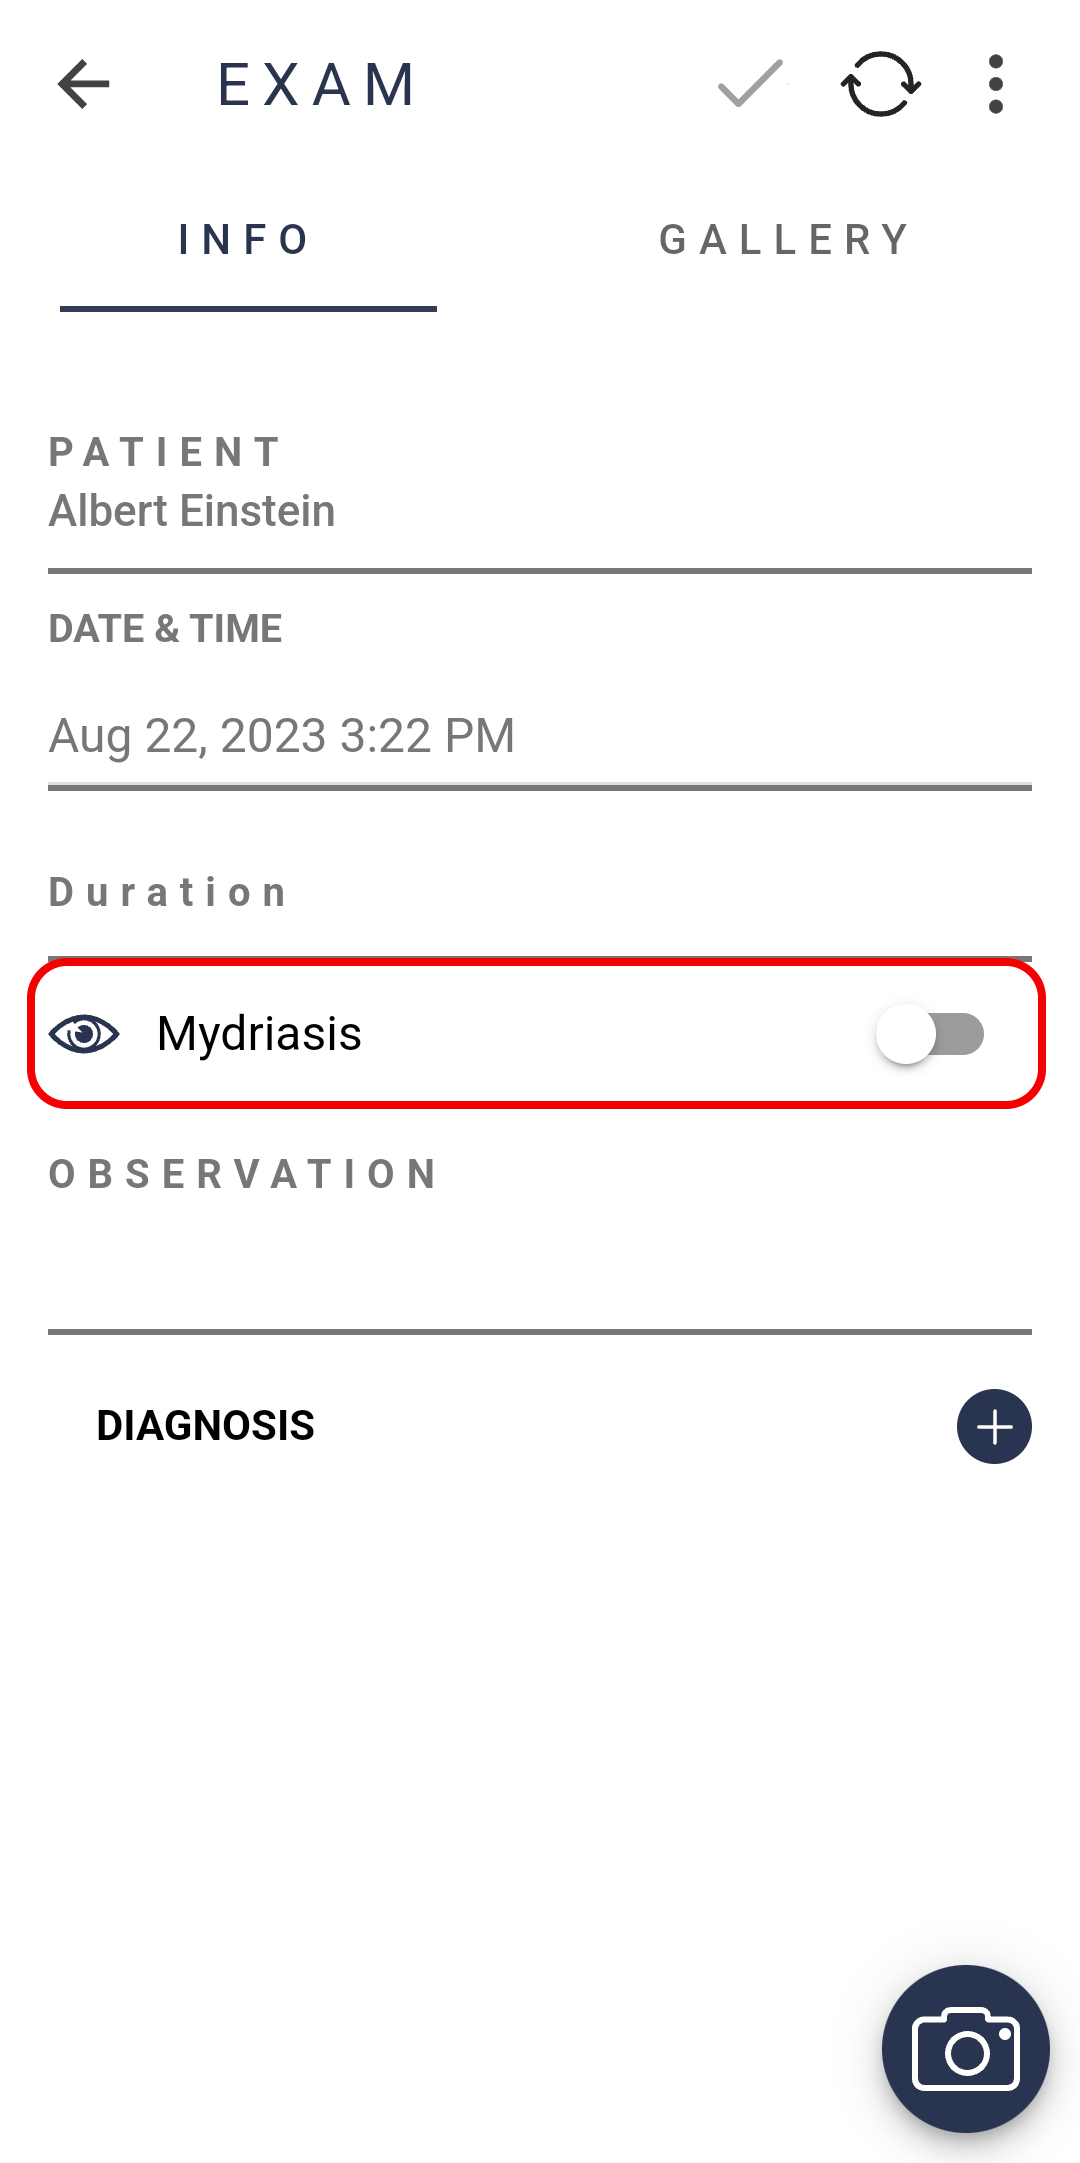
9. Default Mydriasis: Default disabled. It is recommended to turn on this feature if normal procedure on the clinic is to dilate the patient’s pupils.
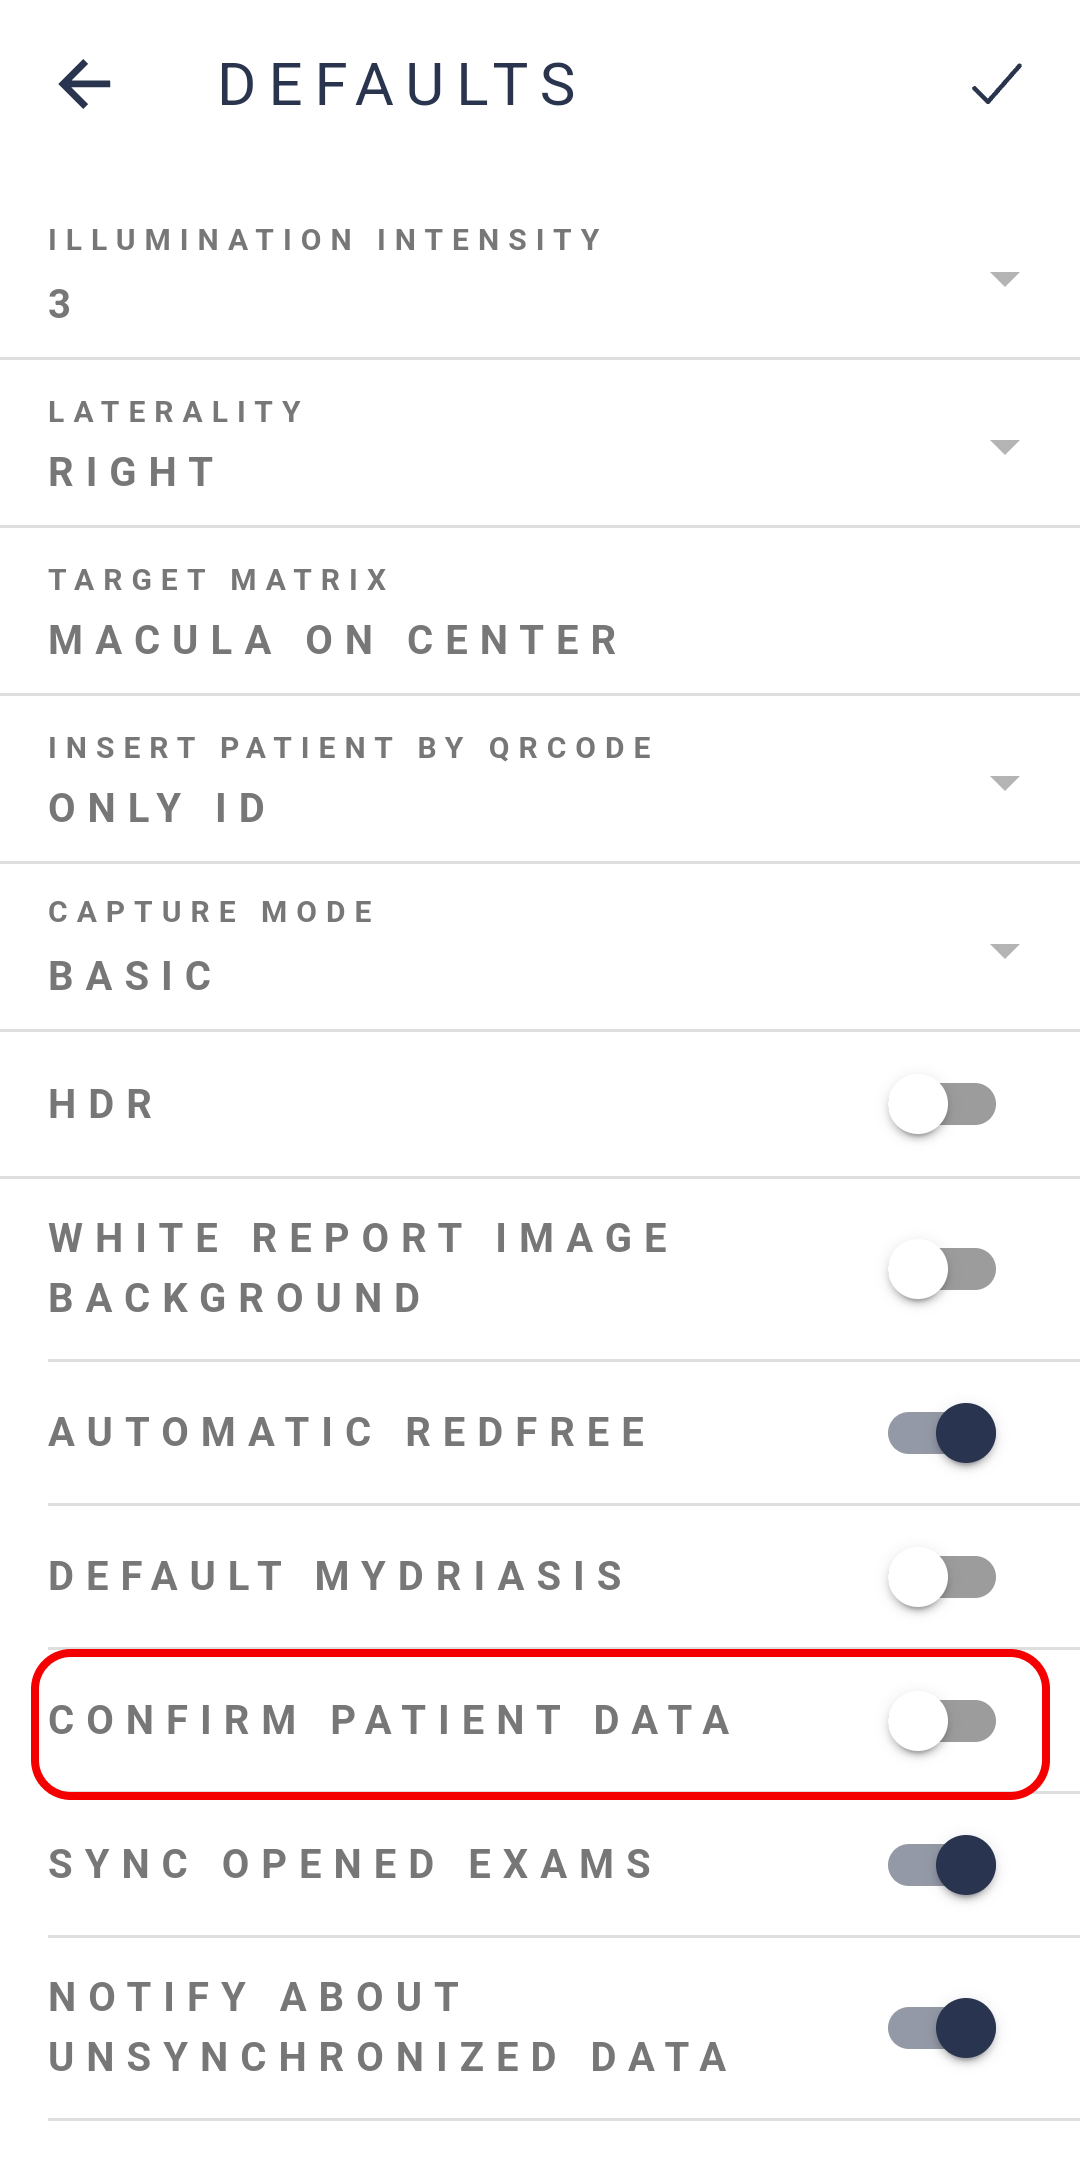
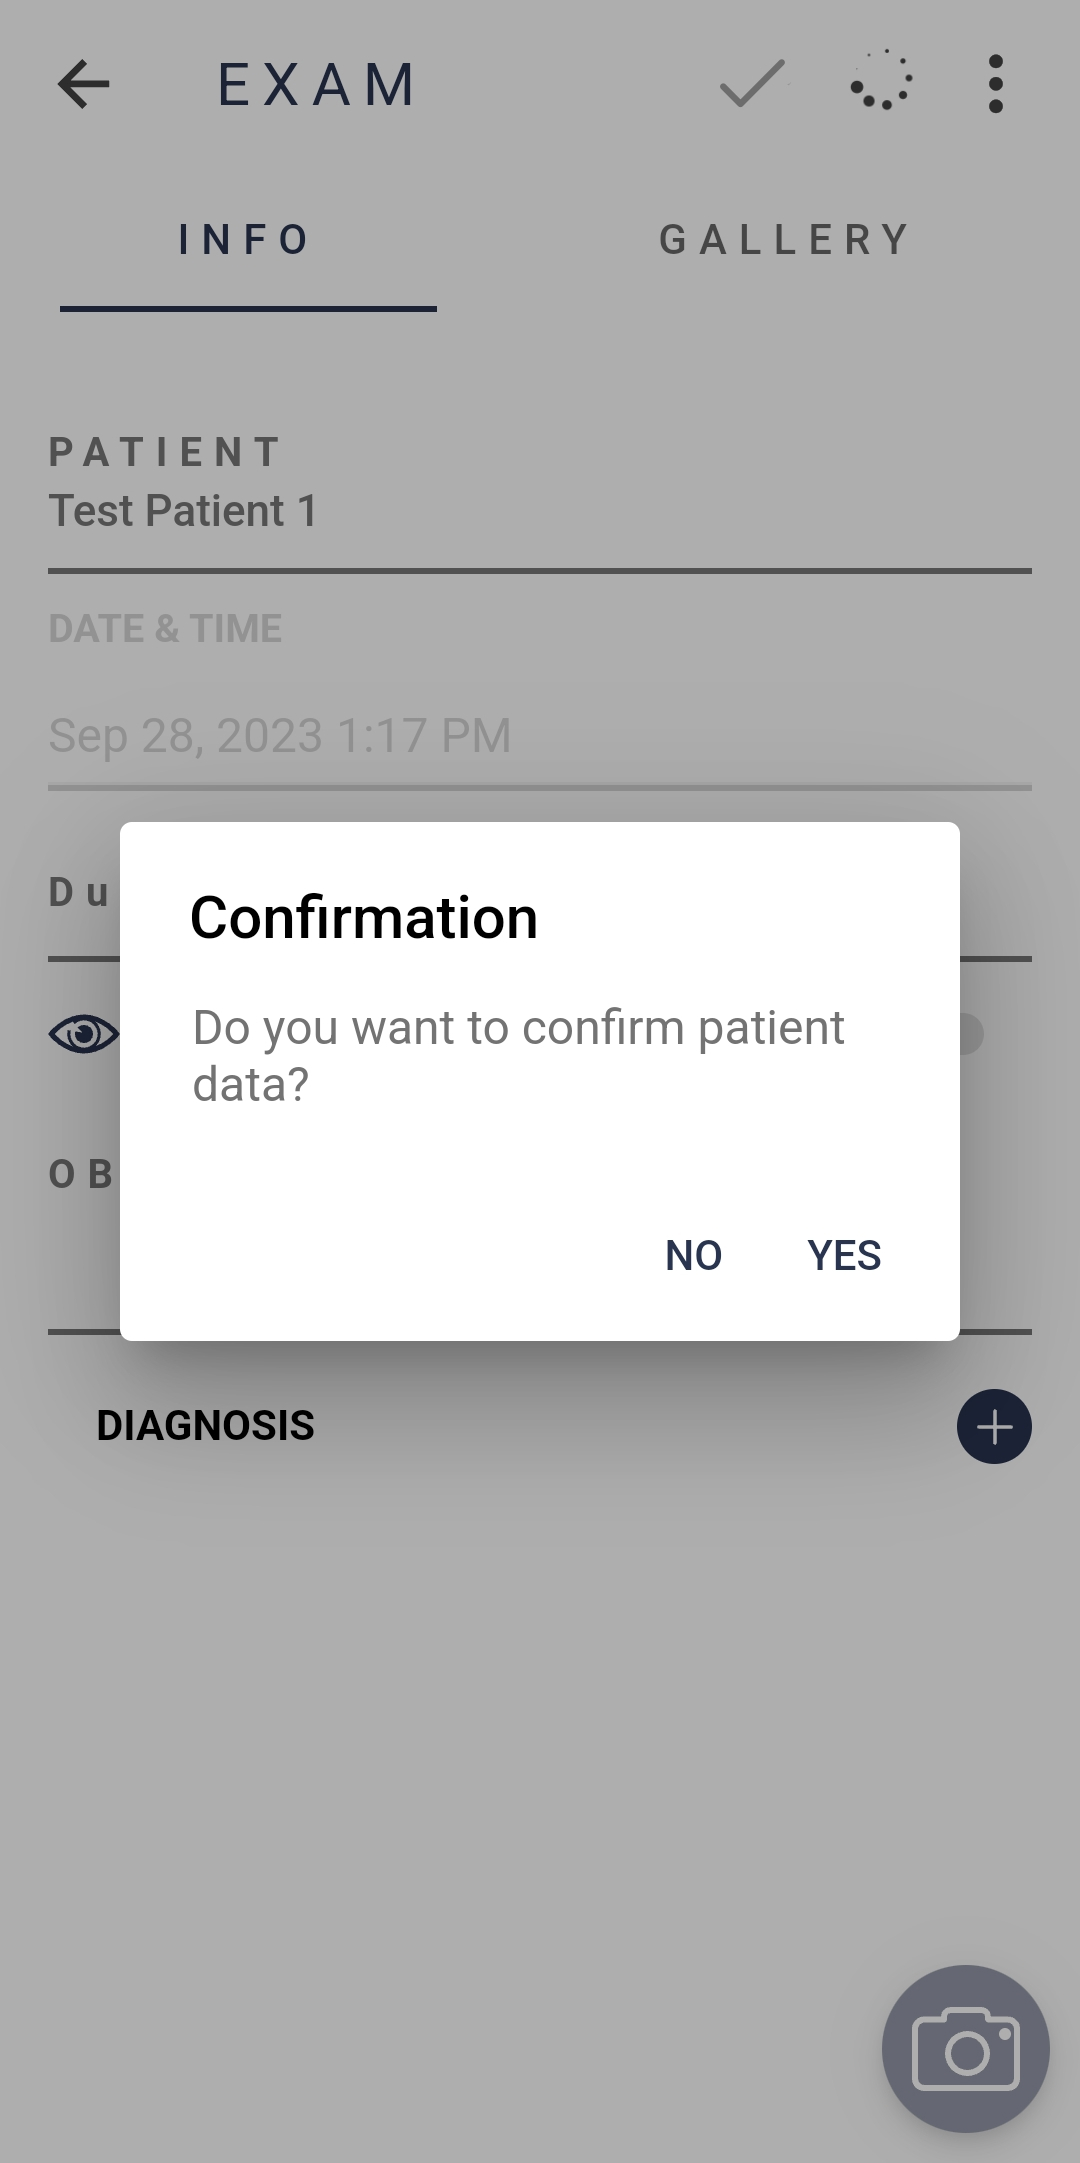
10. Confirm Patient Data: Default disabled. If enabled, when selecting a patient, a prompt will appear to confirm the patient’s data.
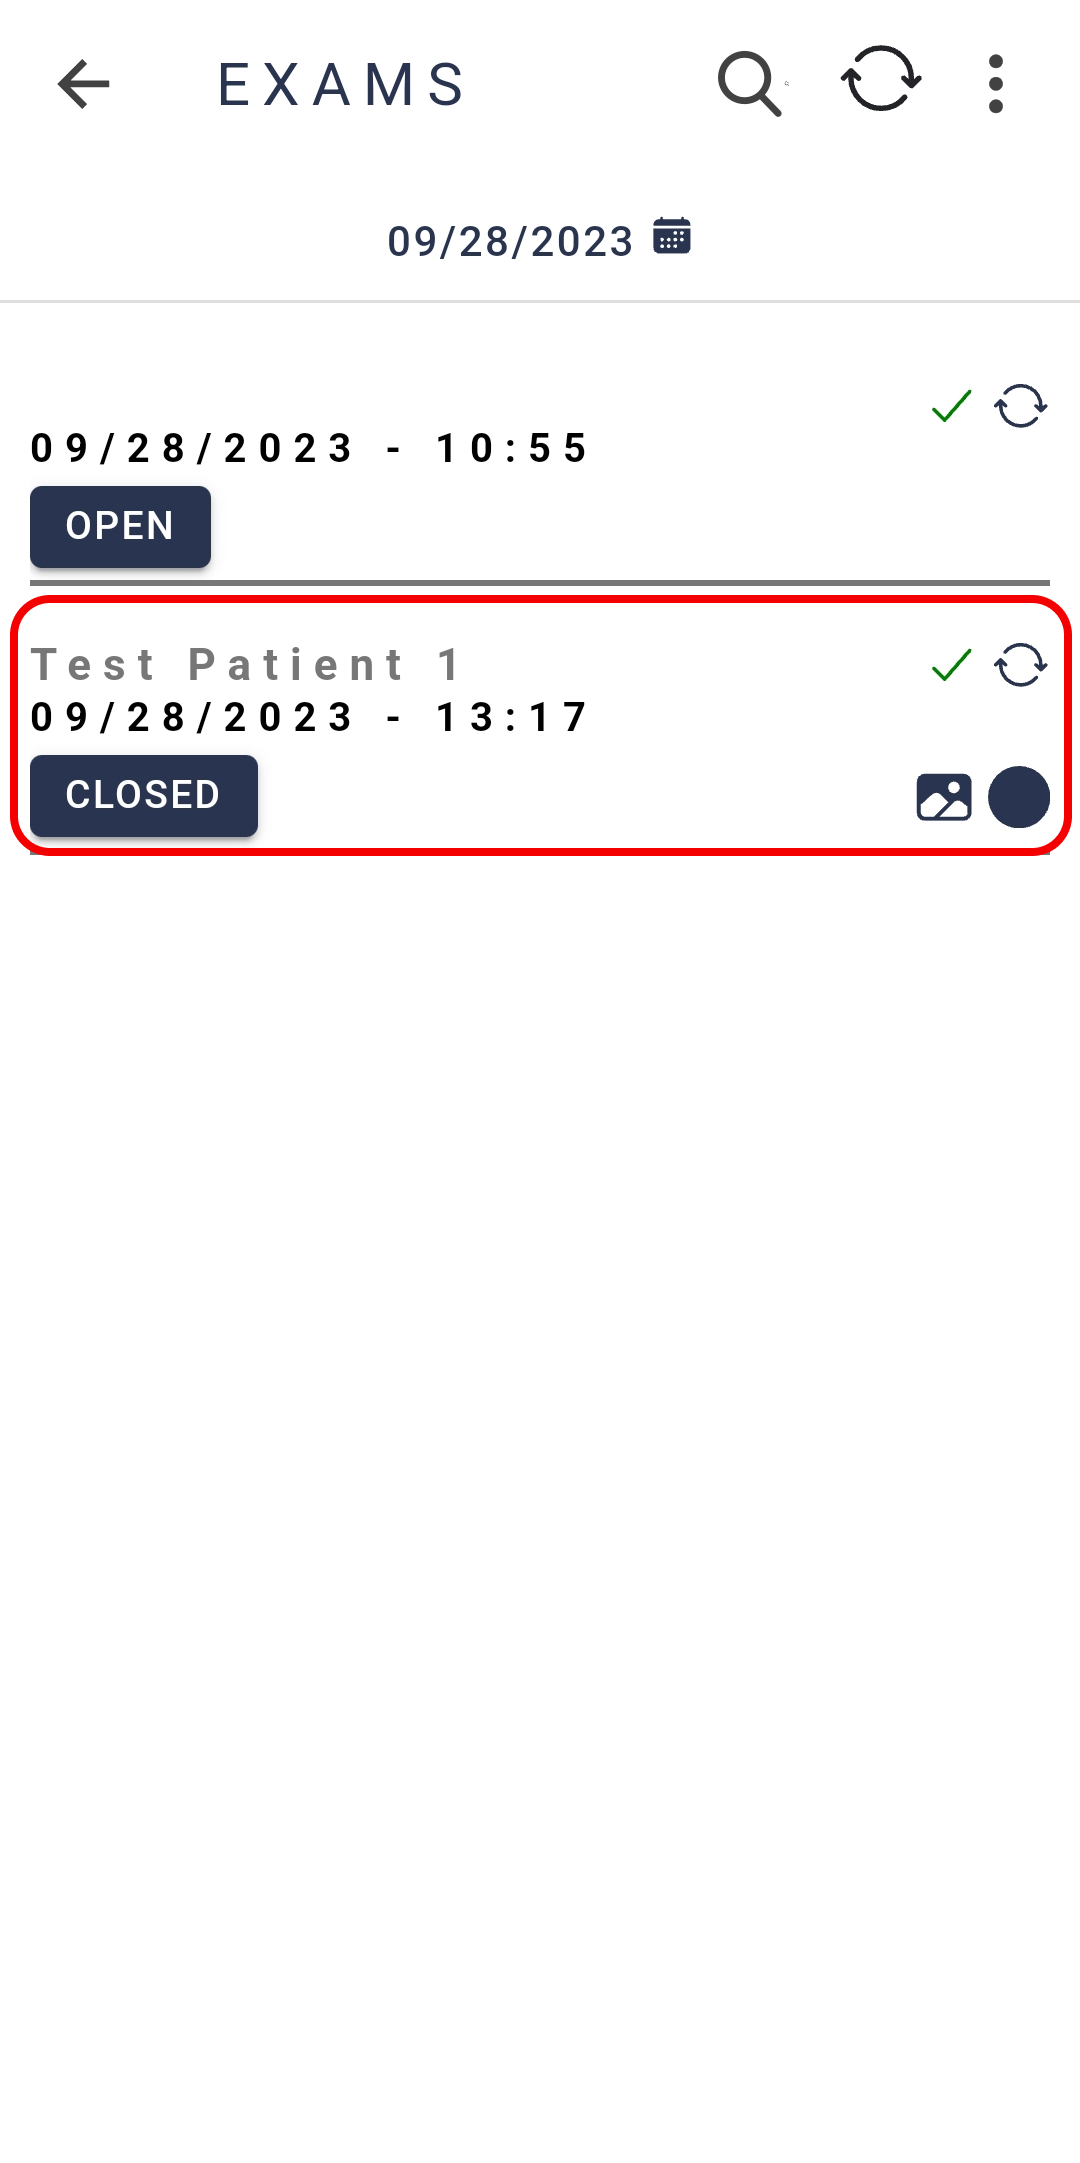
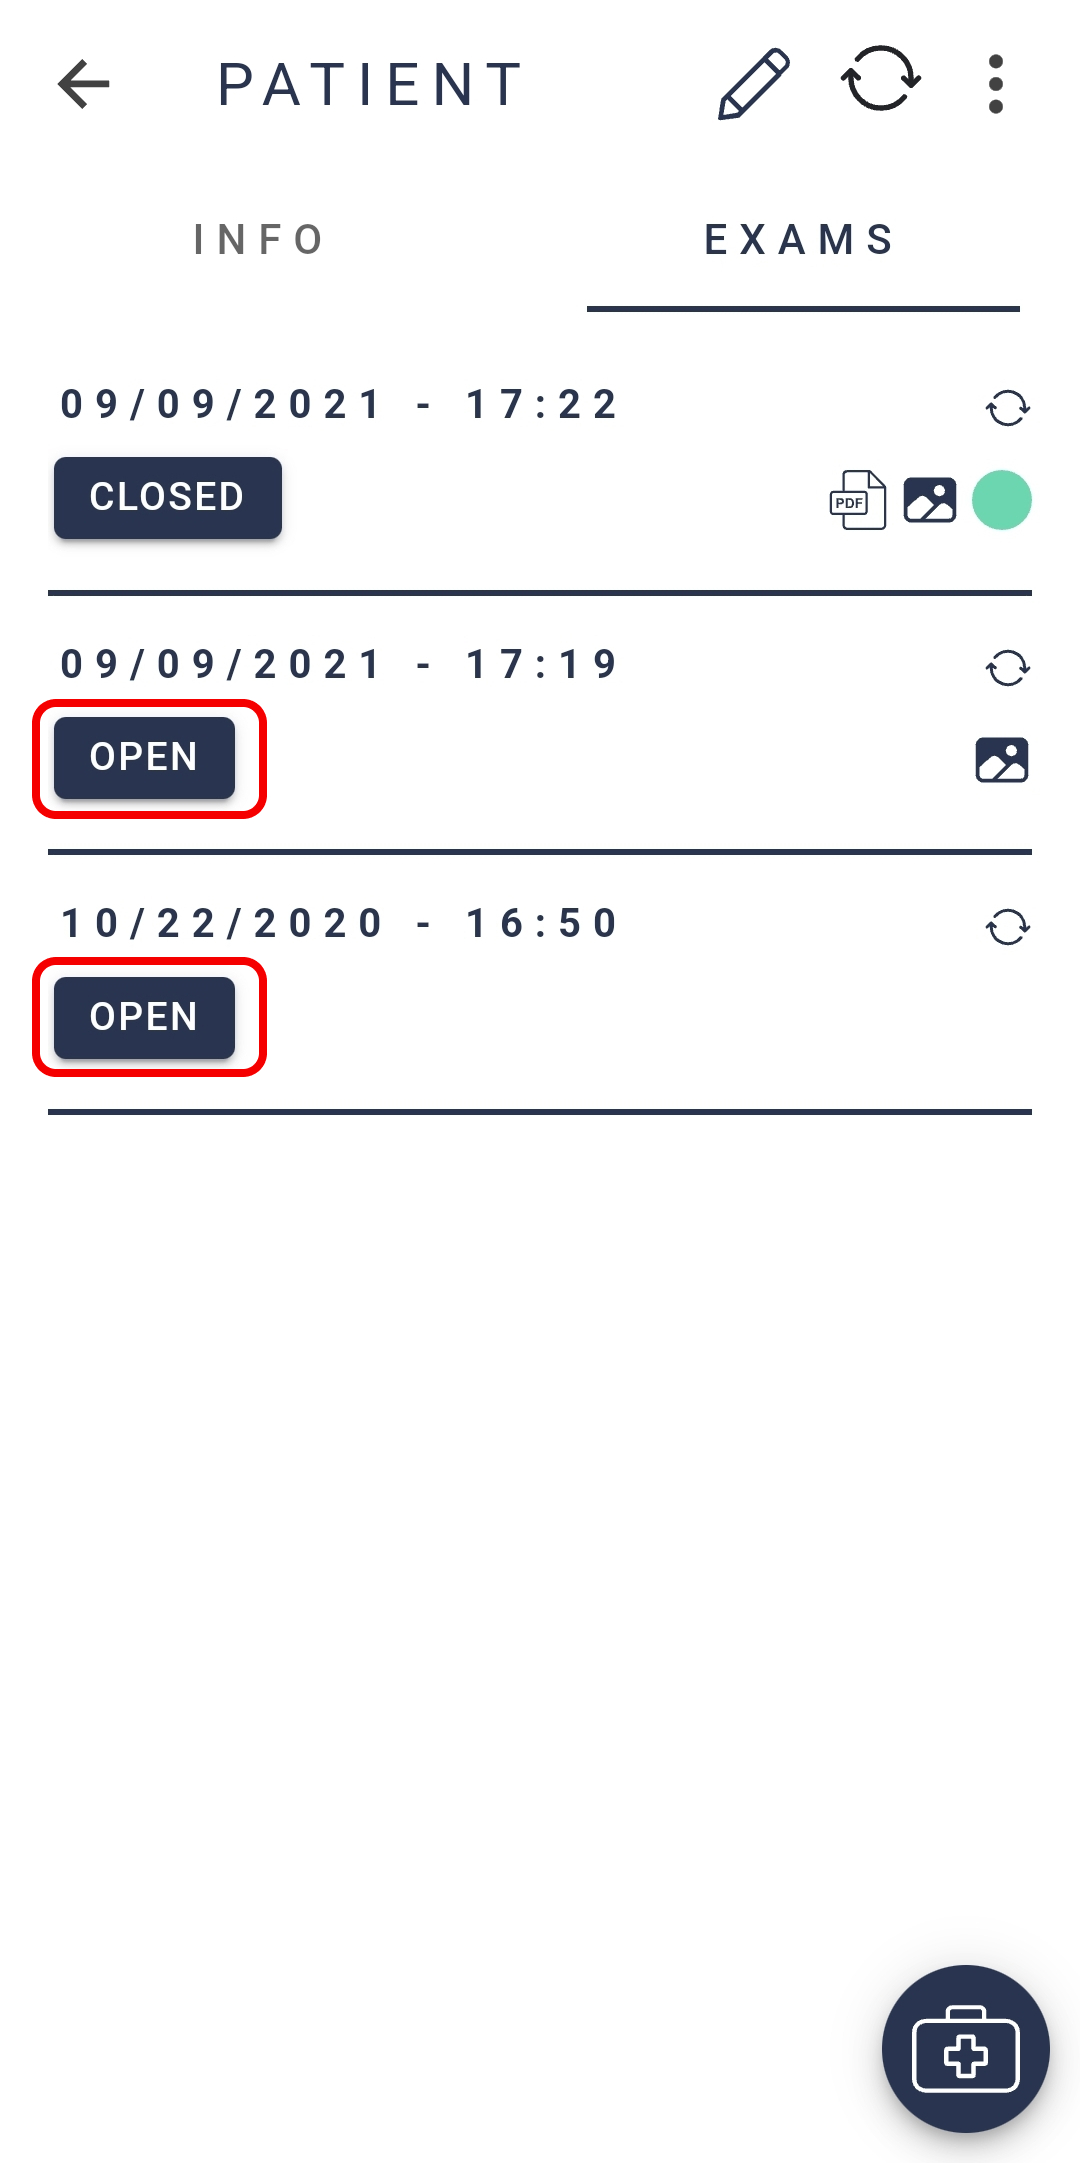
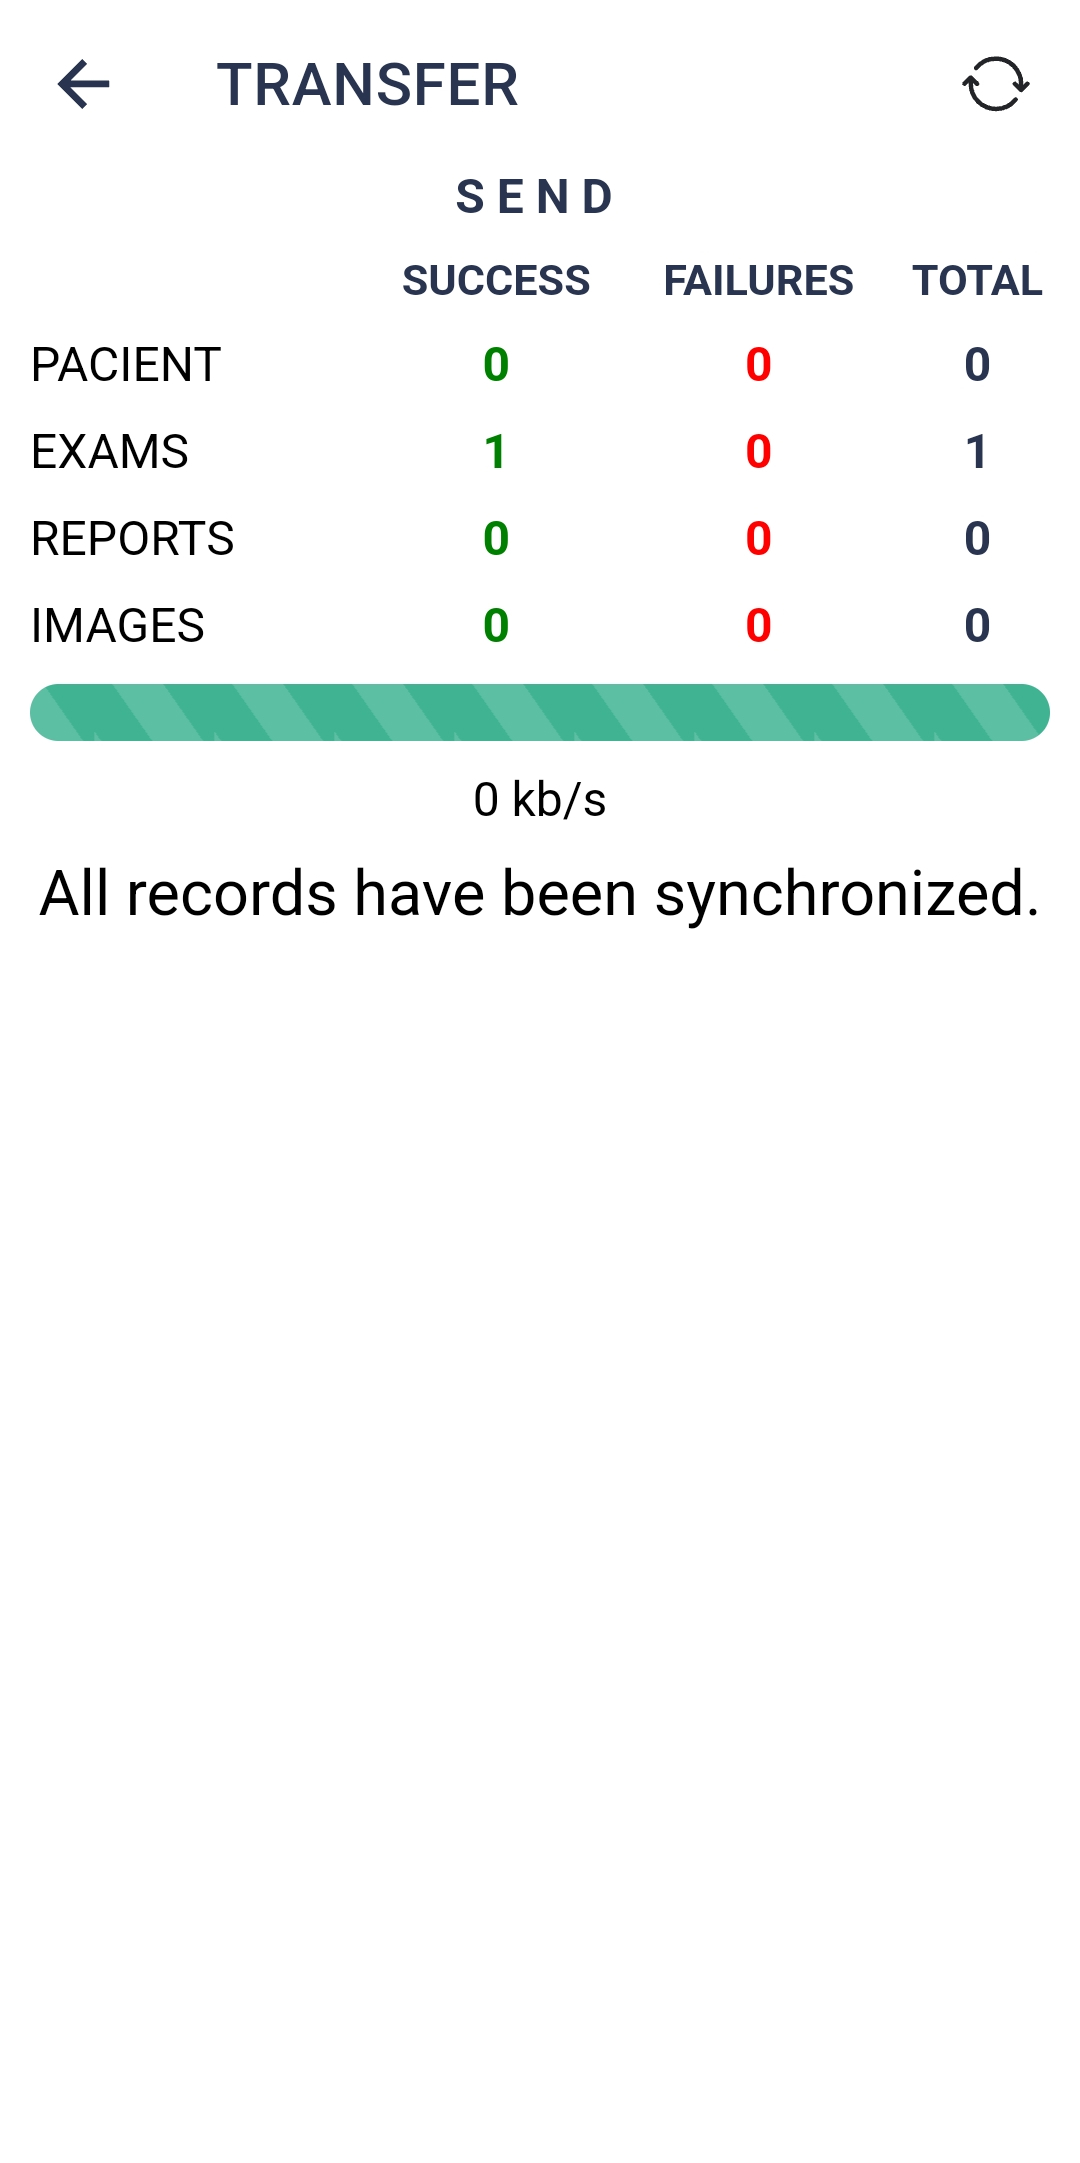
11. Sync Opened Exams: Default enabled. Determines whether open exams will be synchronized to your servers, or EyerCloud if available for cloud data storage, or only when they are closed.

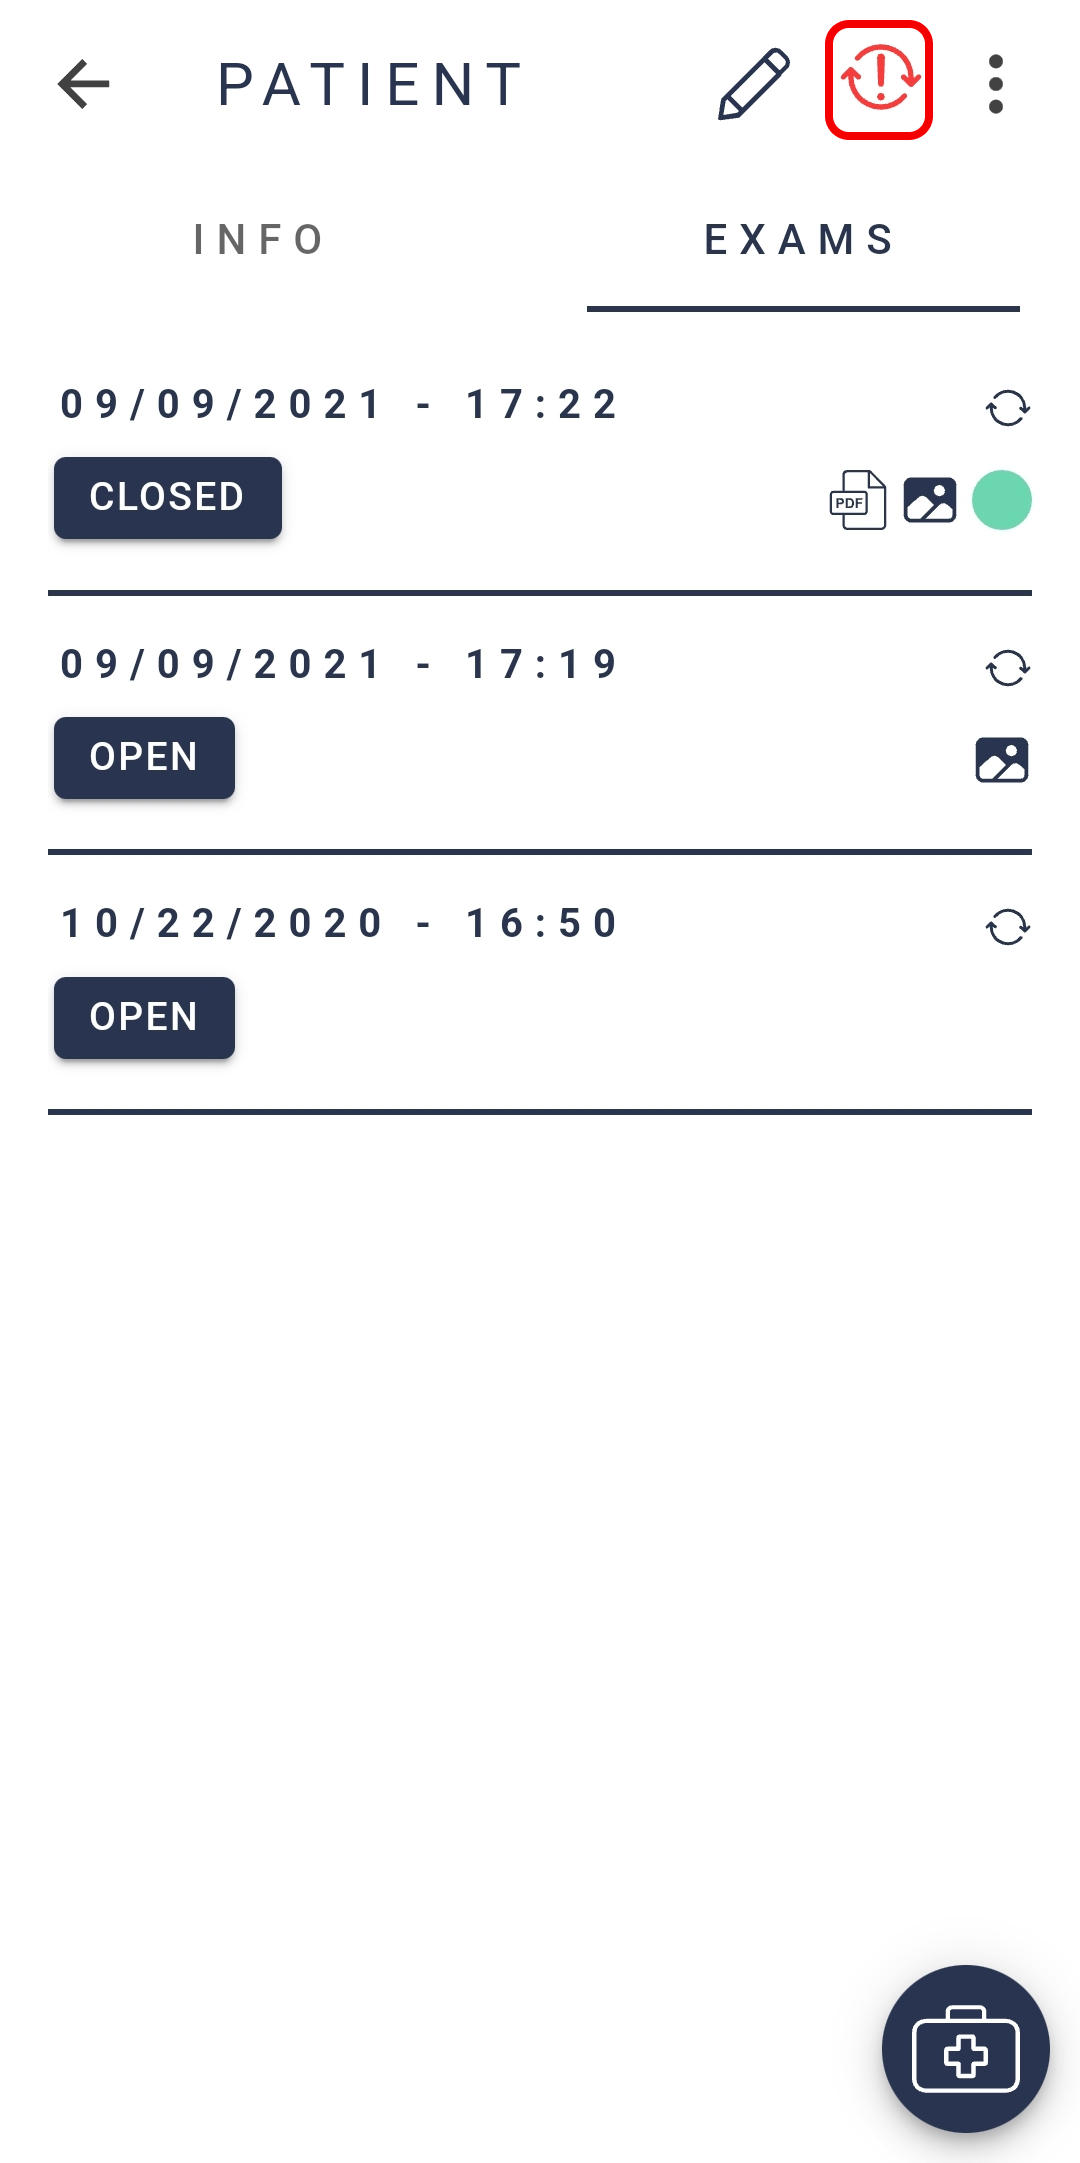
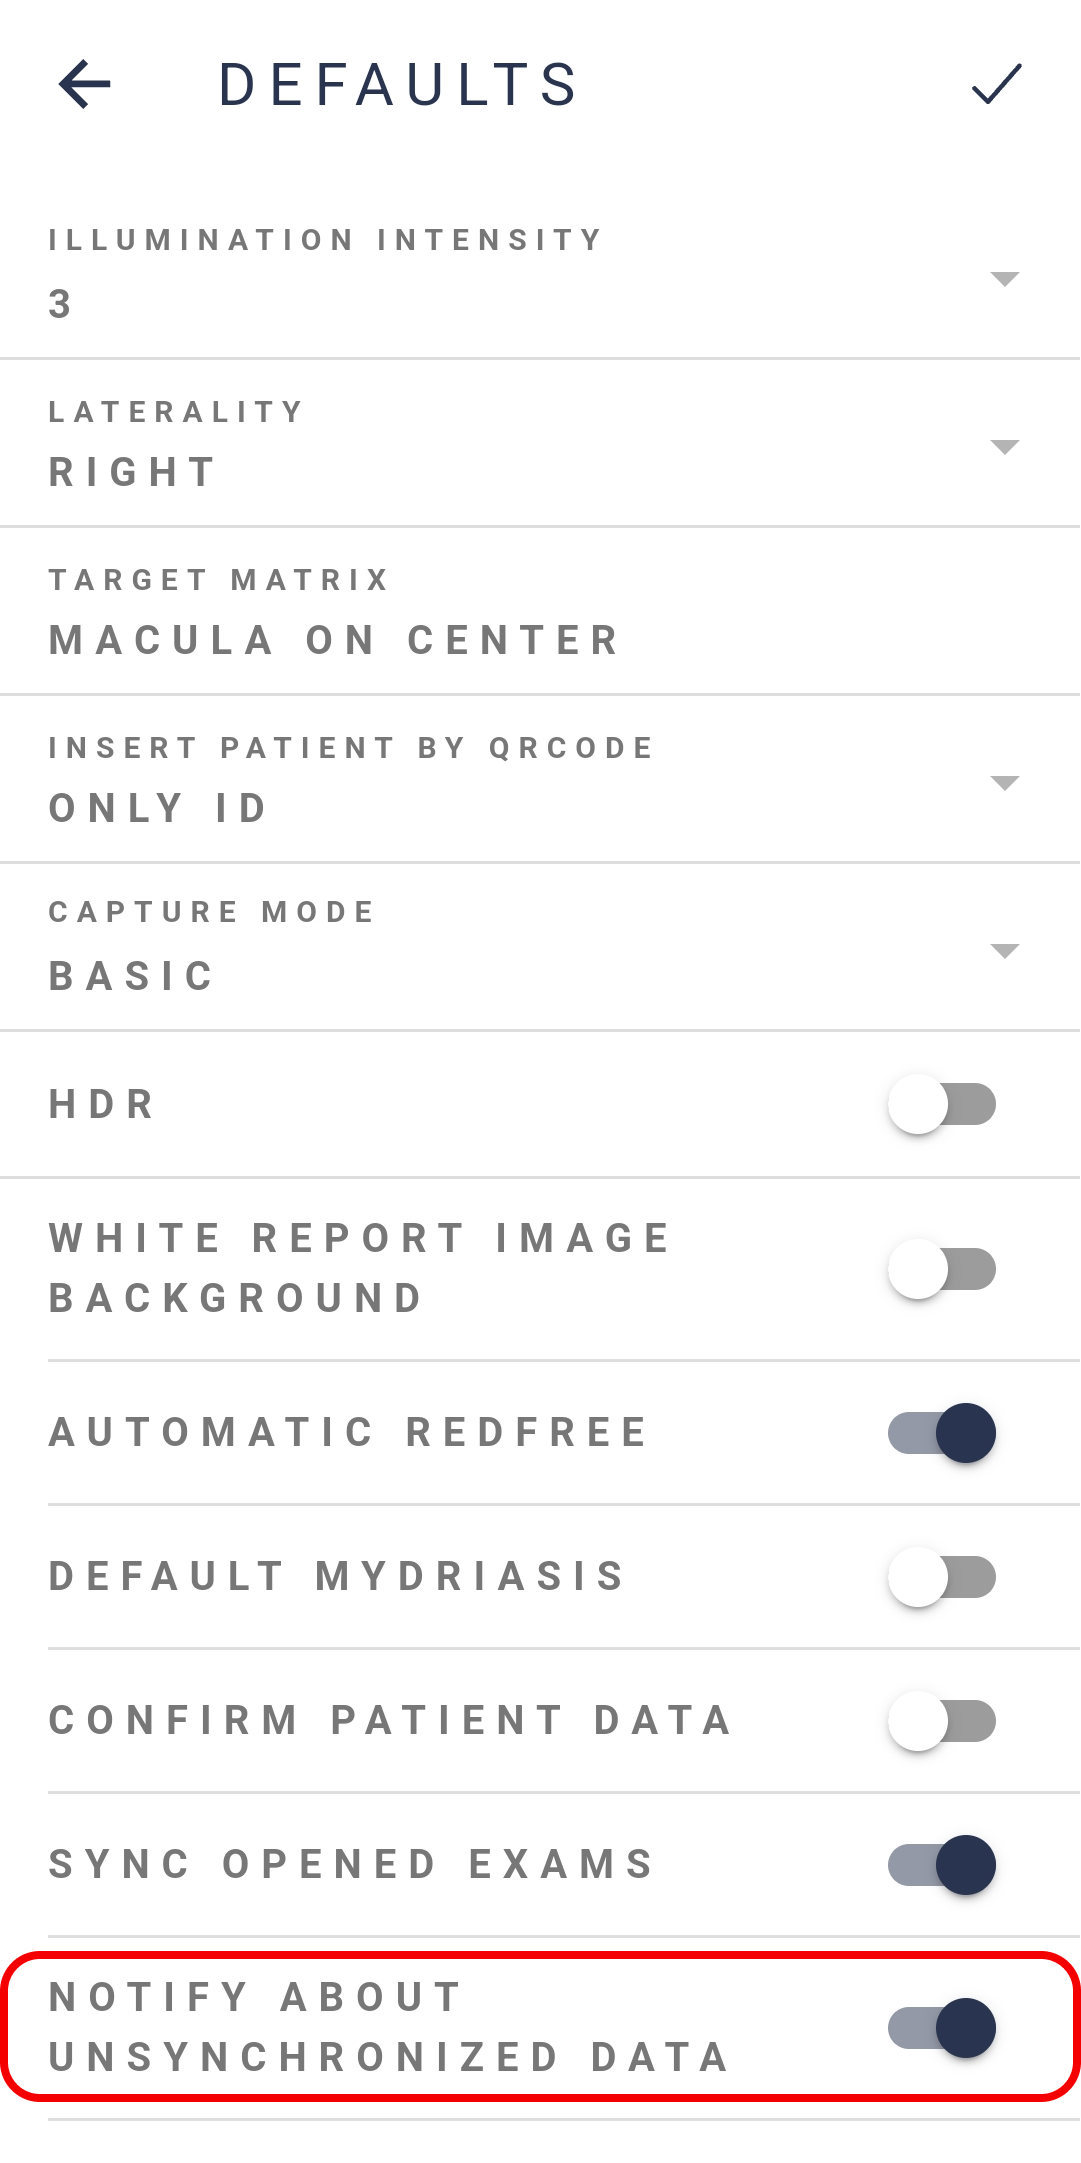
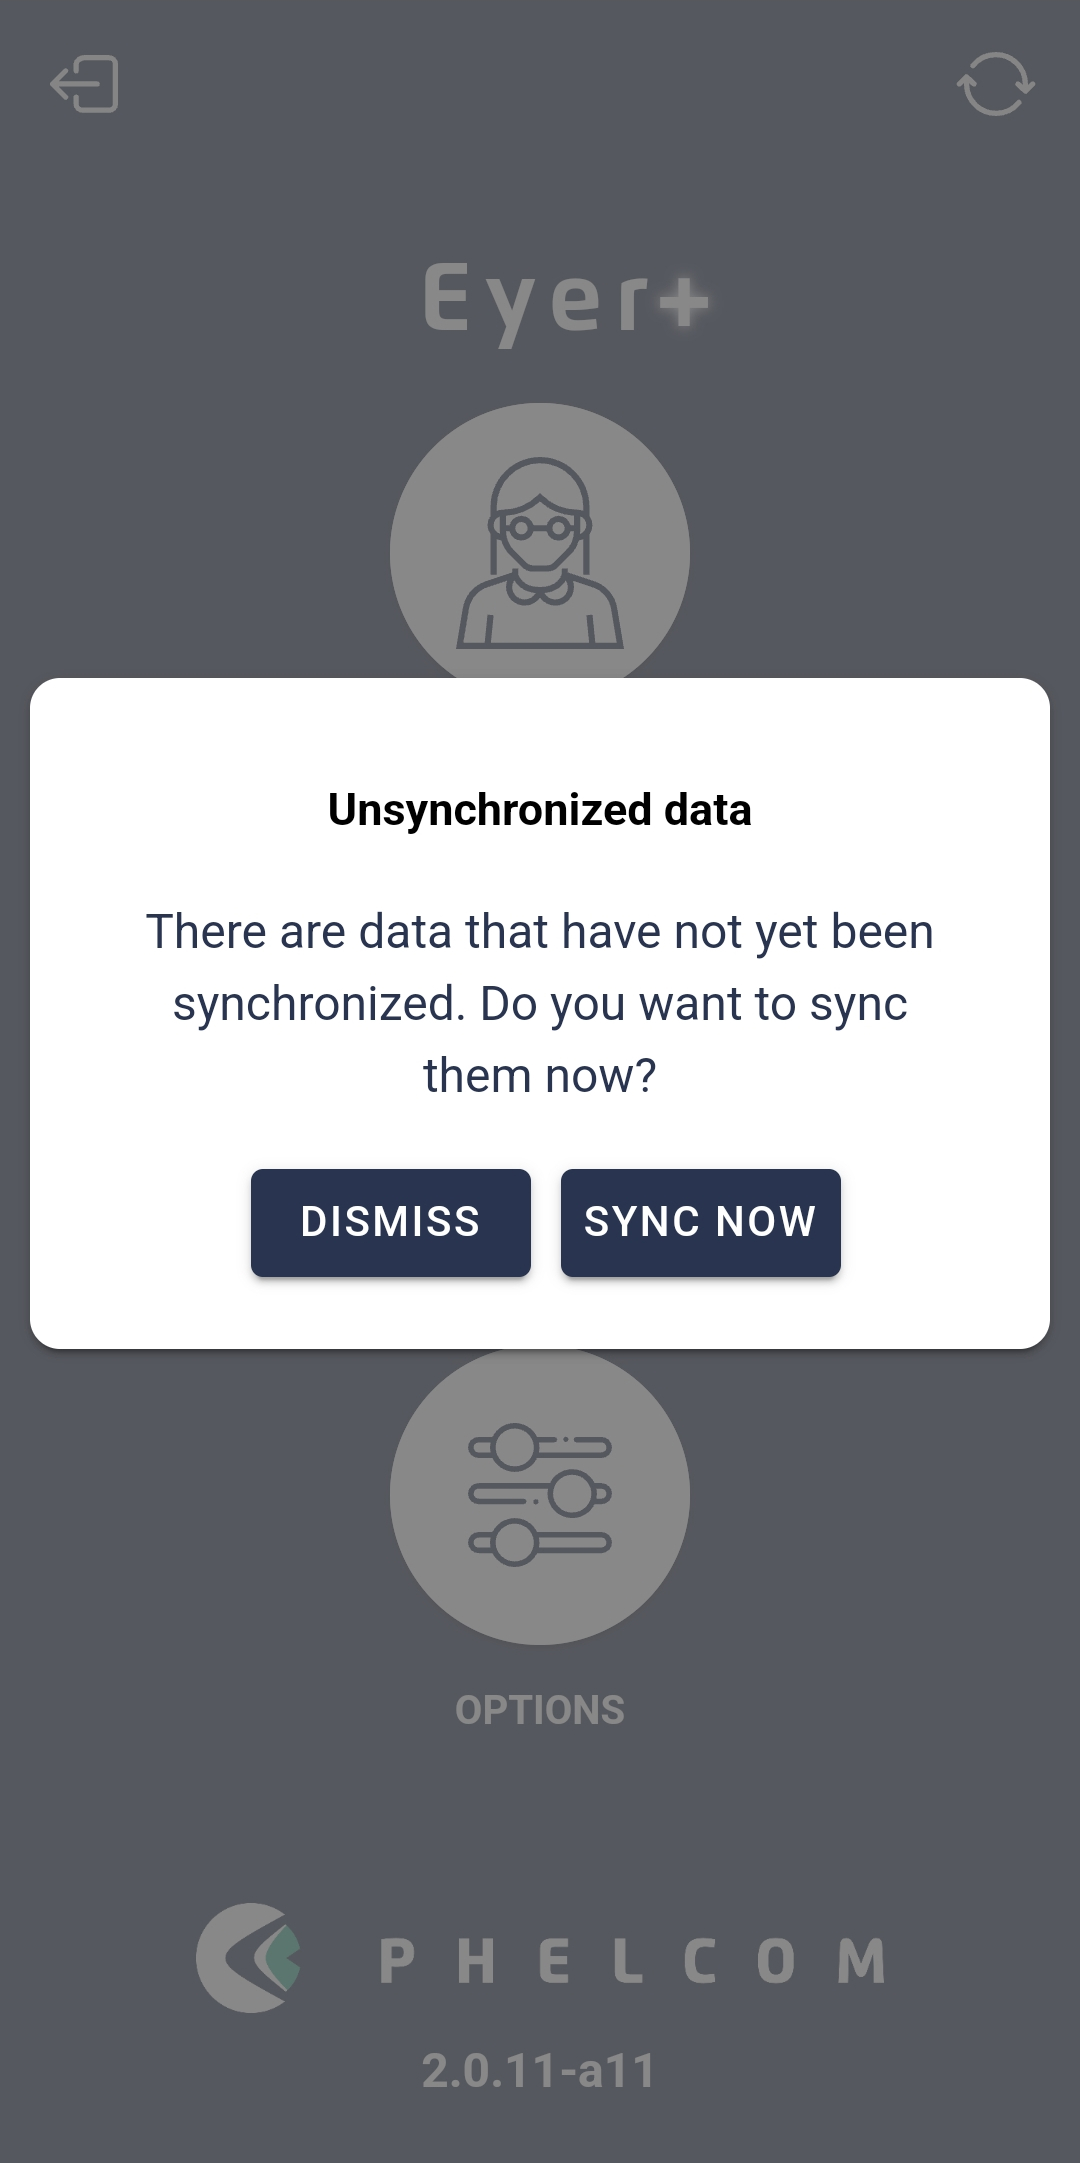
12. Notify About Unsynchronized Data: Default enabled. Determines whether the user is notified about unsynchronized data.
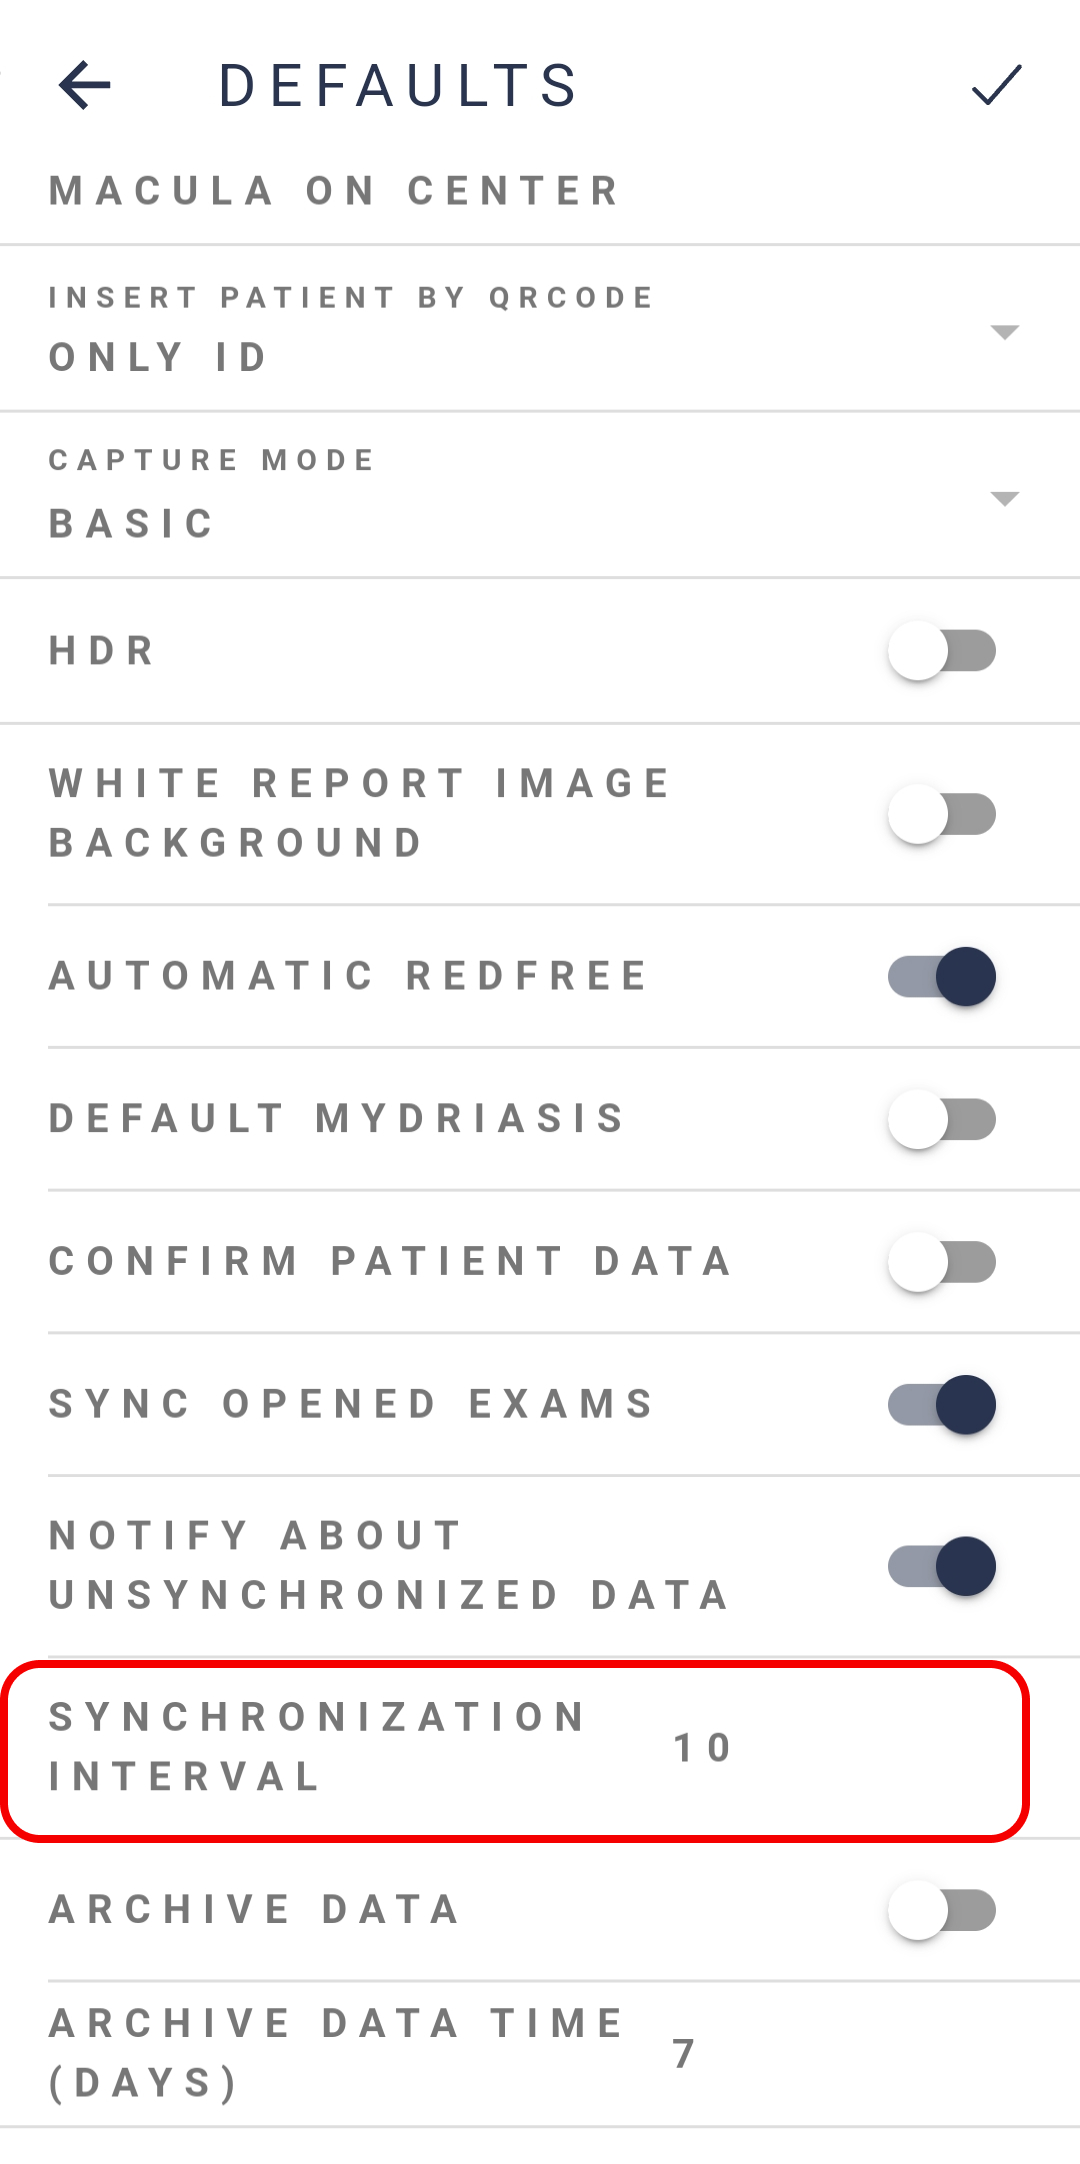
13. Synchronization Interval: determines the amount of time between synchronization attempts (in seconds).
14. Archive Data: Default disabled. When enabled, synchronized pictures will be removed from the device (number of days) after being taken in order to save space.