Windows
Create the shared folder manually:
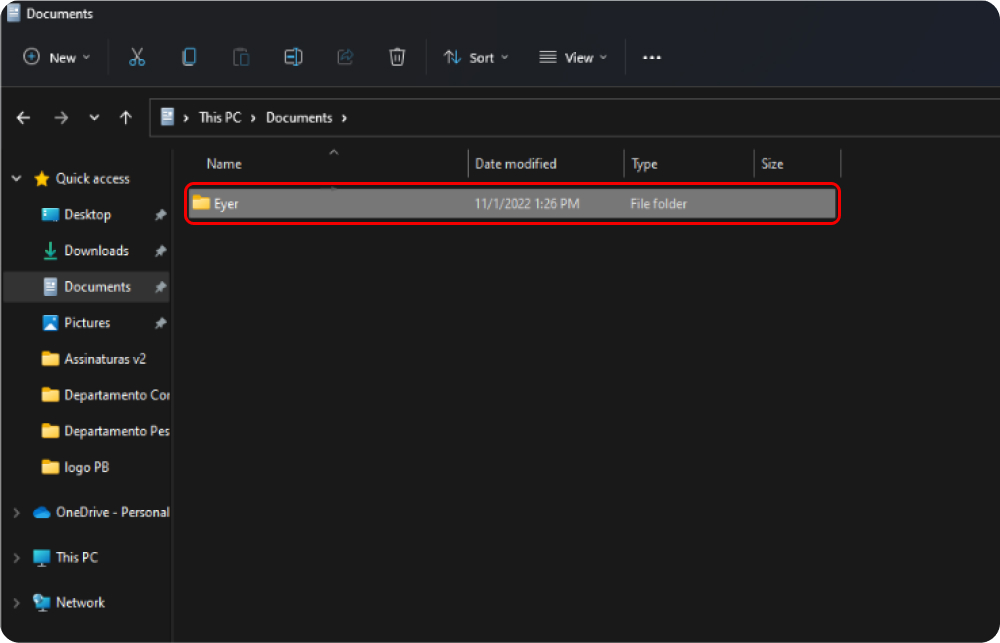
Create a folder to store exam data on the computer.
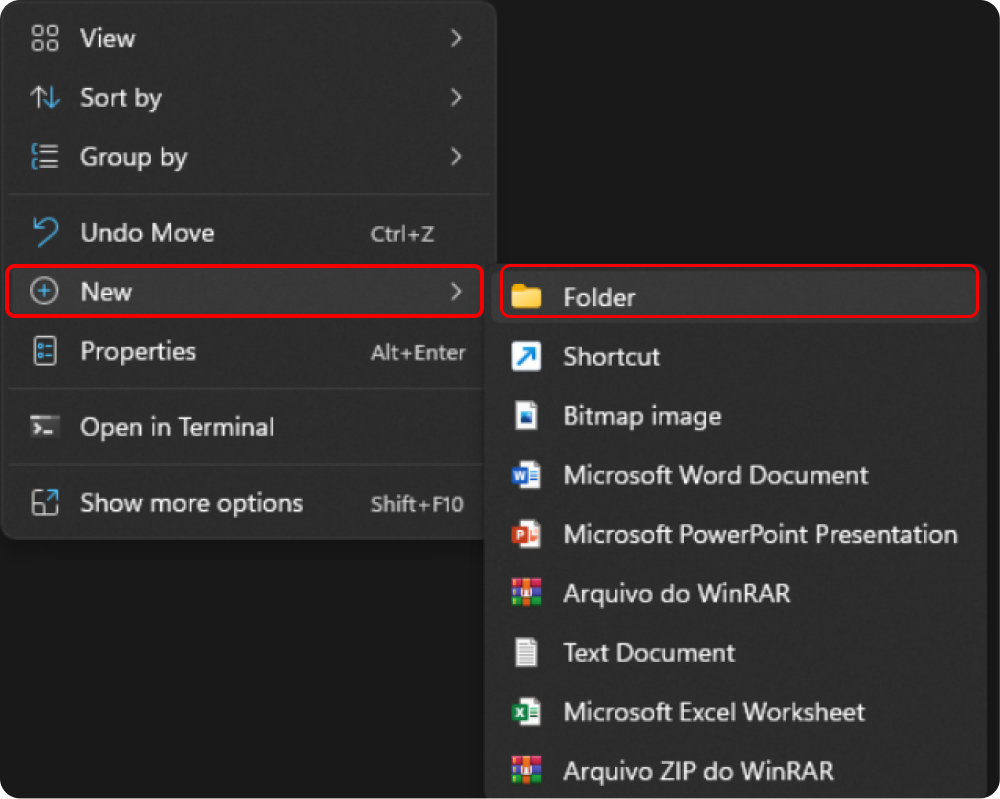
- Right-click the desired location and select “New”, followed by ”Folder” in the menu that appears.
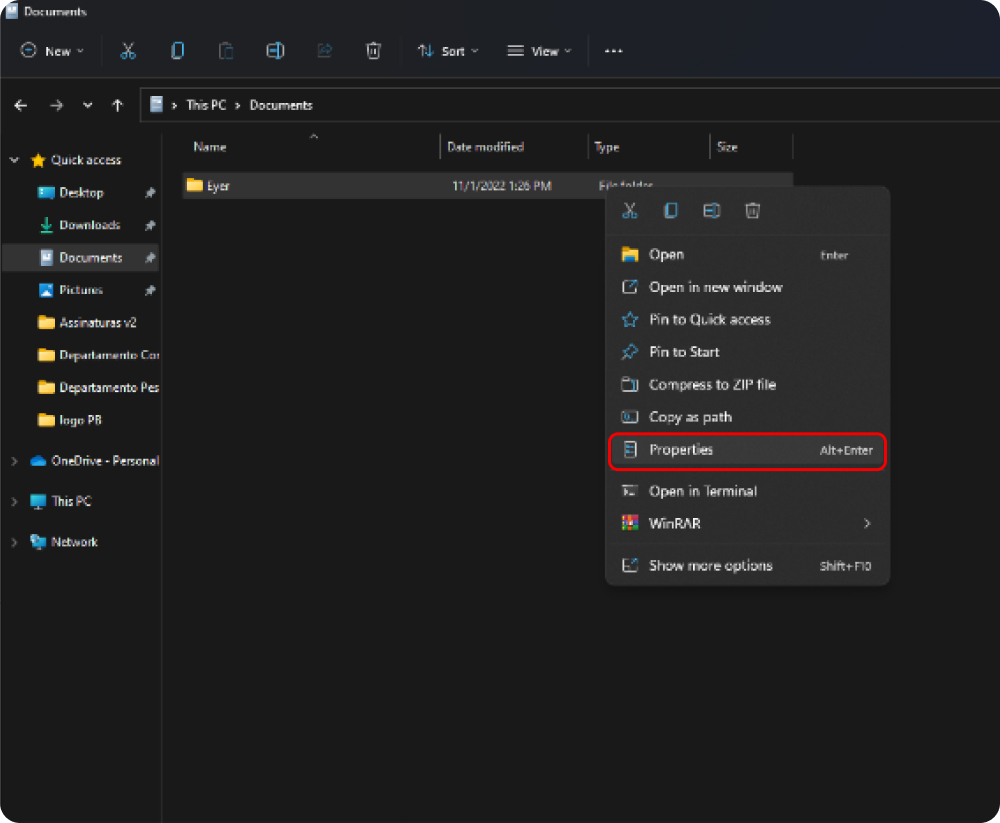
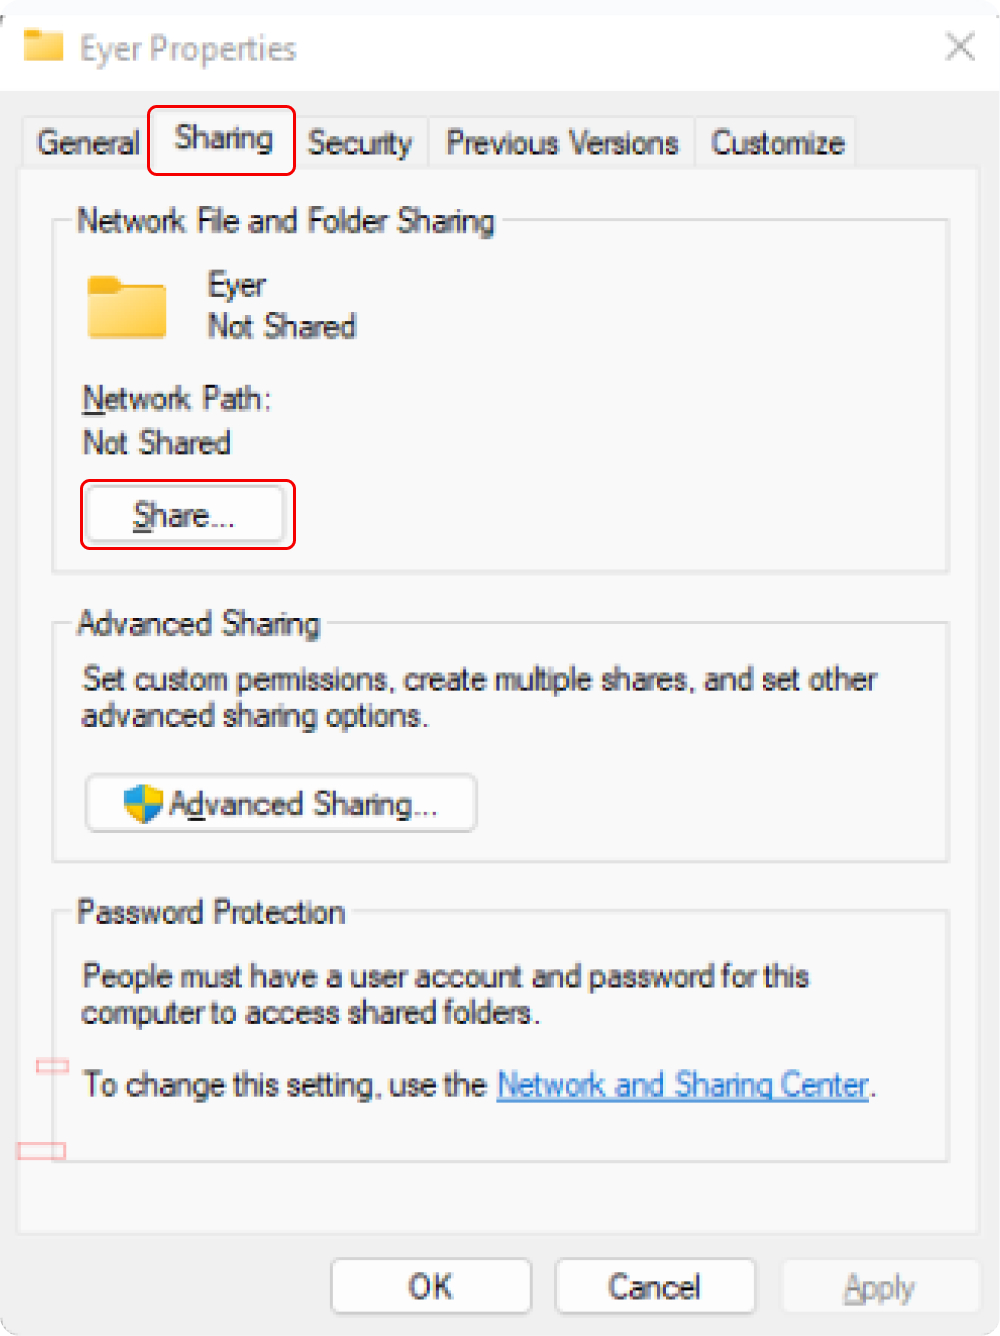
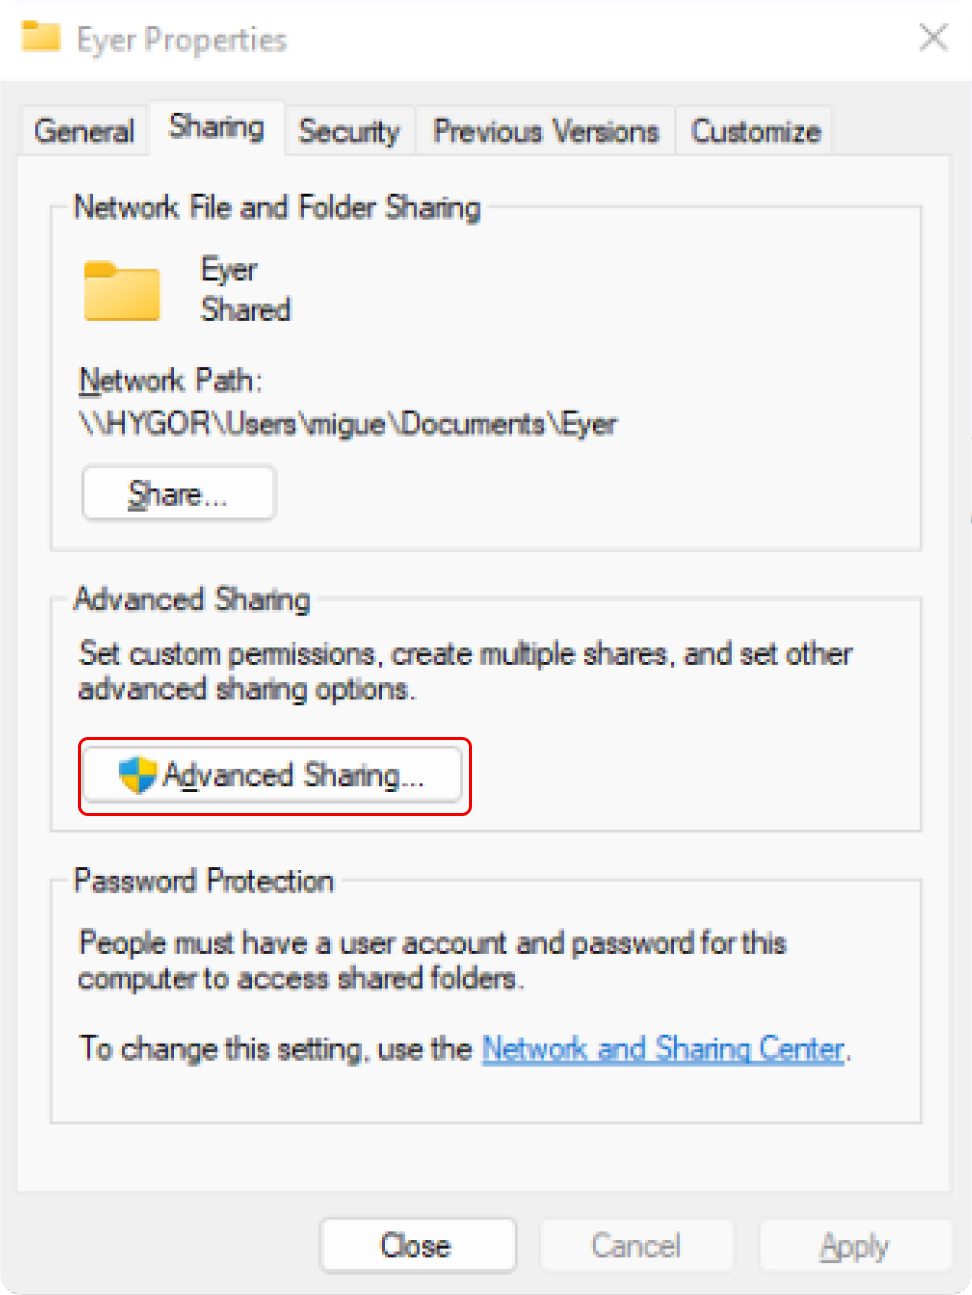
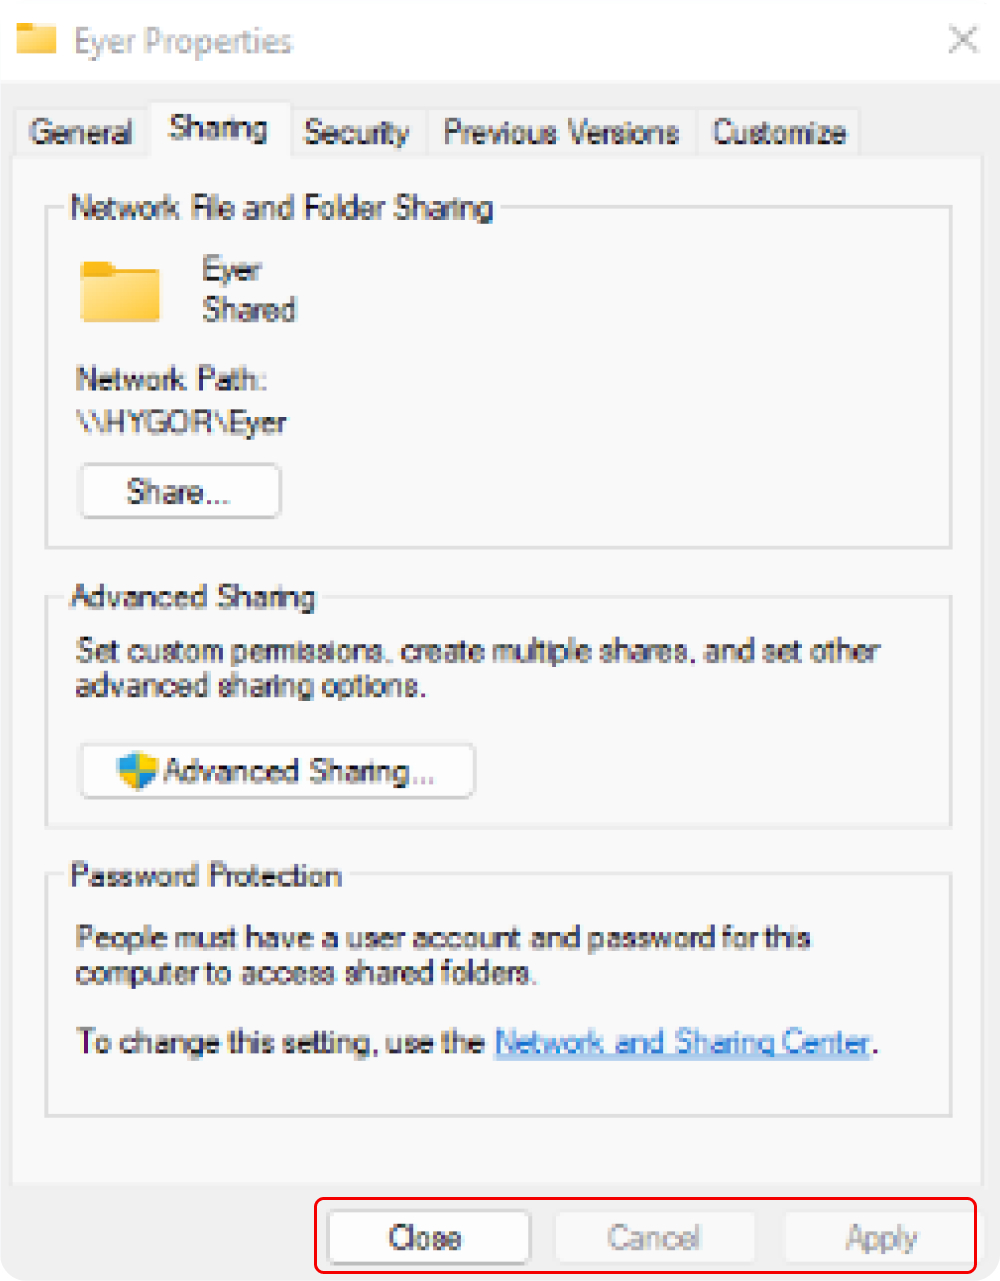
- Right click the folder and in the menu select “Properties”.
- On the displayed window navigate to “Sharing”, and click on “Share” as shown in the images below.
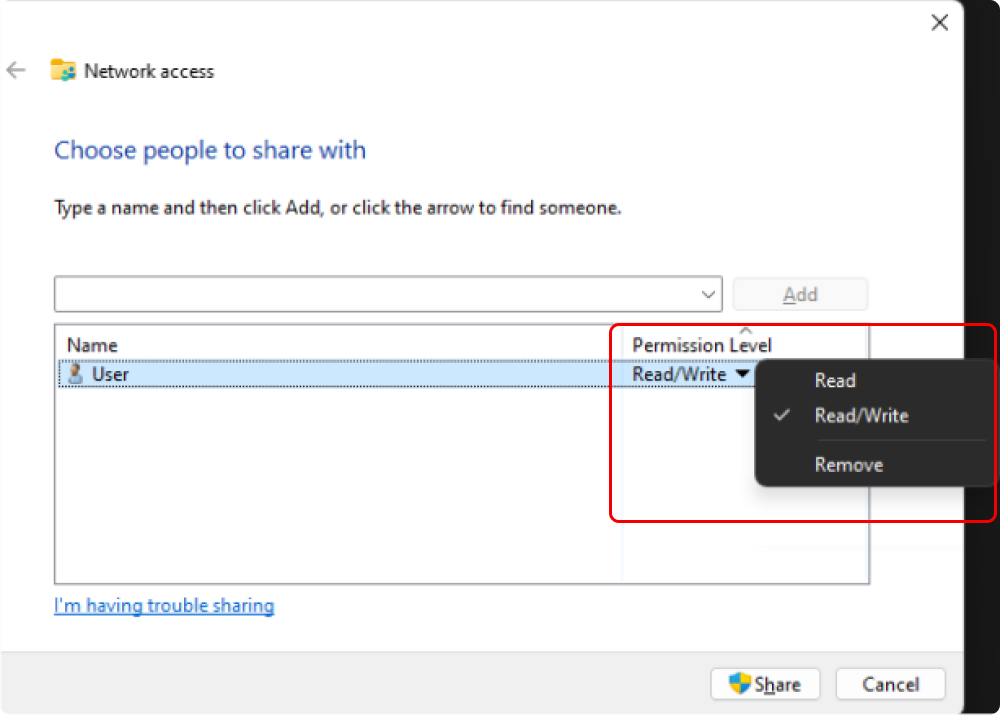
- Select a user to access the folder. Choose an existing one or “Create a new user”. Once selected, grant them “Read/Write” permissions.

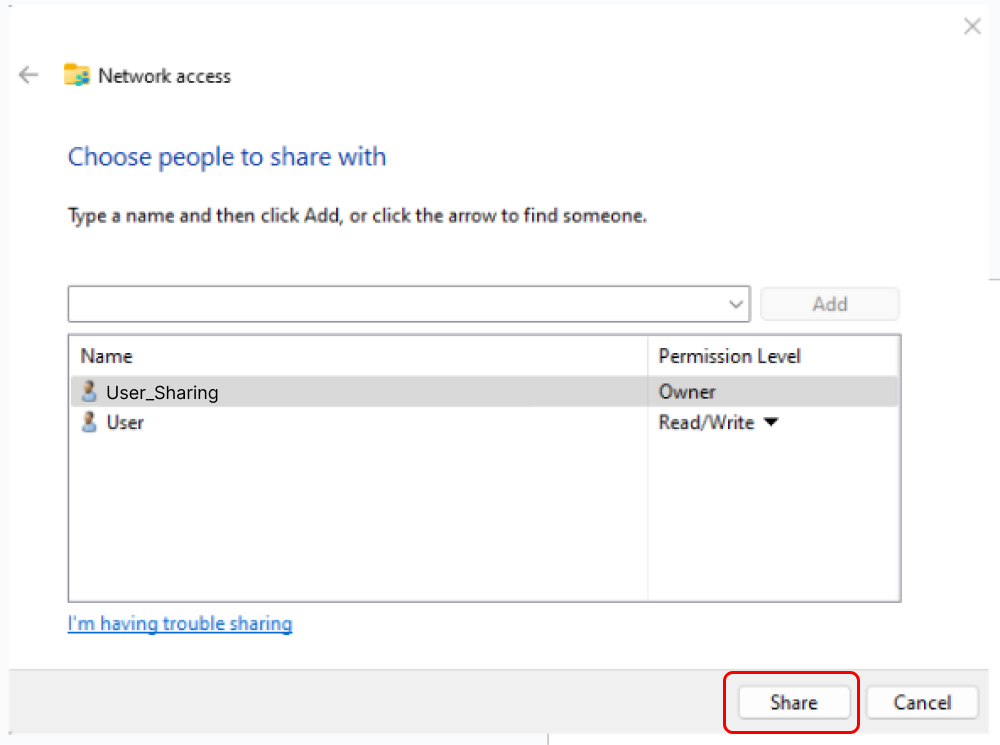
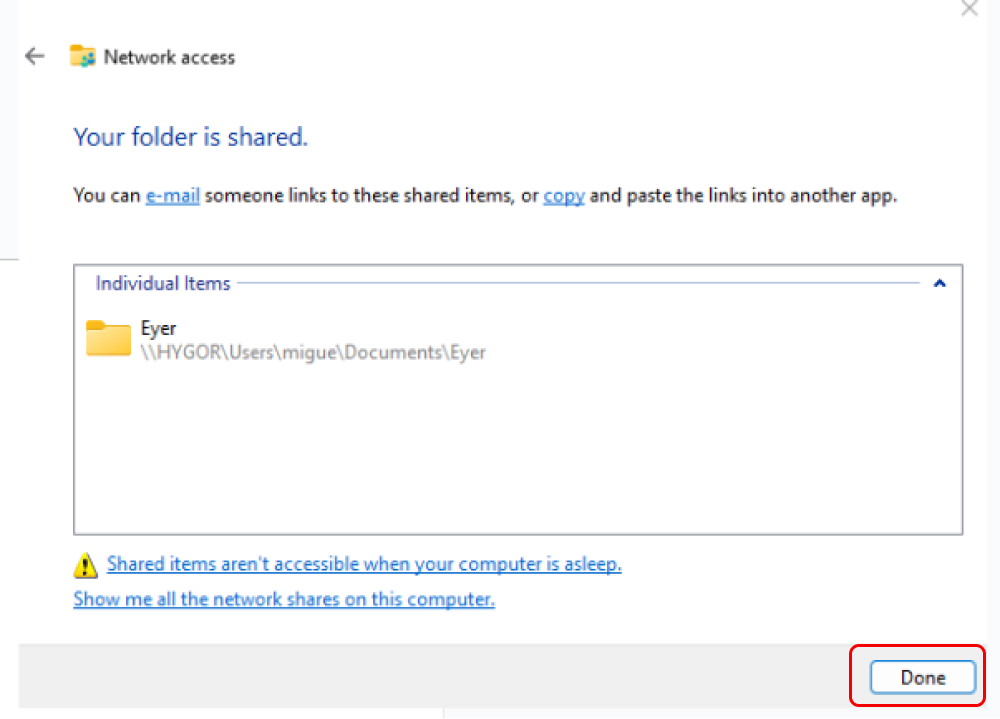
- Click “Share” to proceed. If necessary, click “No, make the network that I am connected to a private network”.
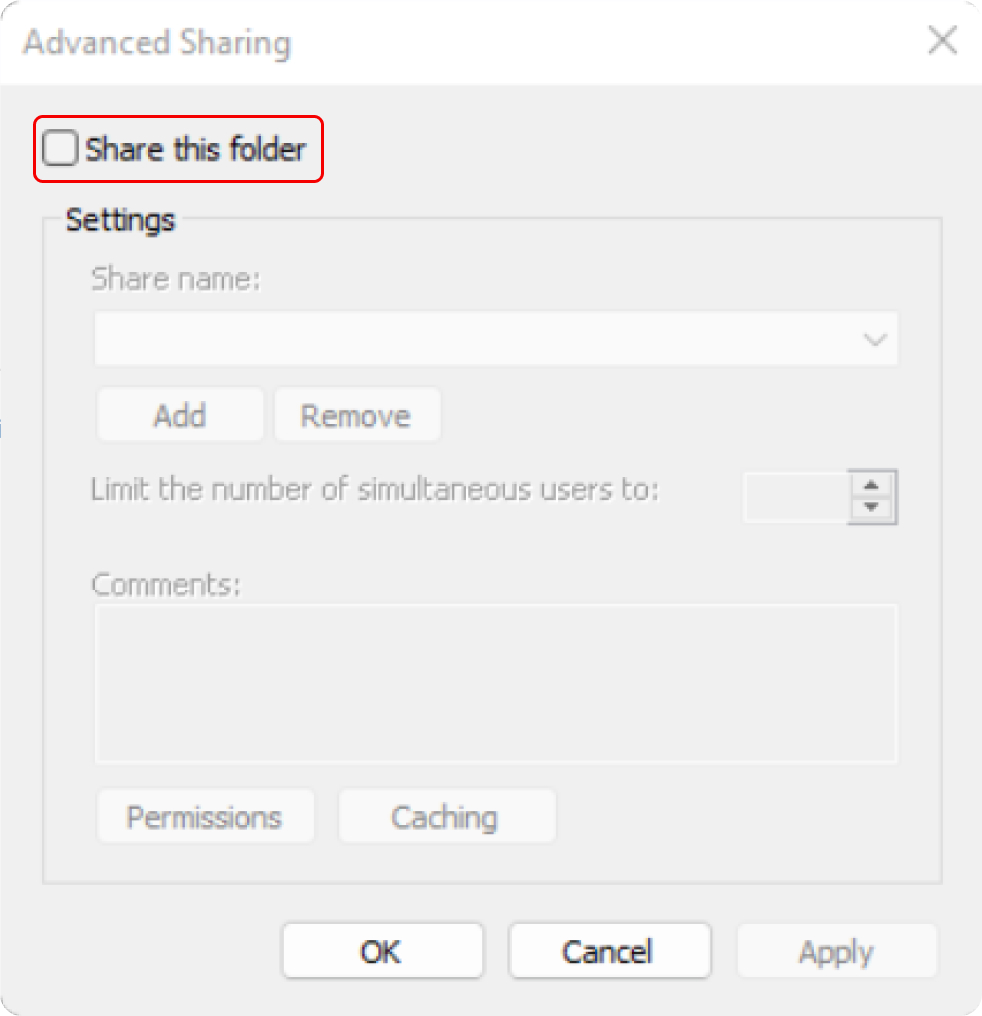
- On the “Sharing” window, click “Advanced Sharing” and then choose “Share this folder”.
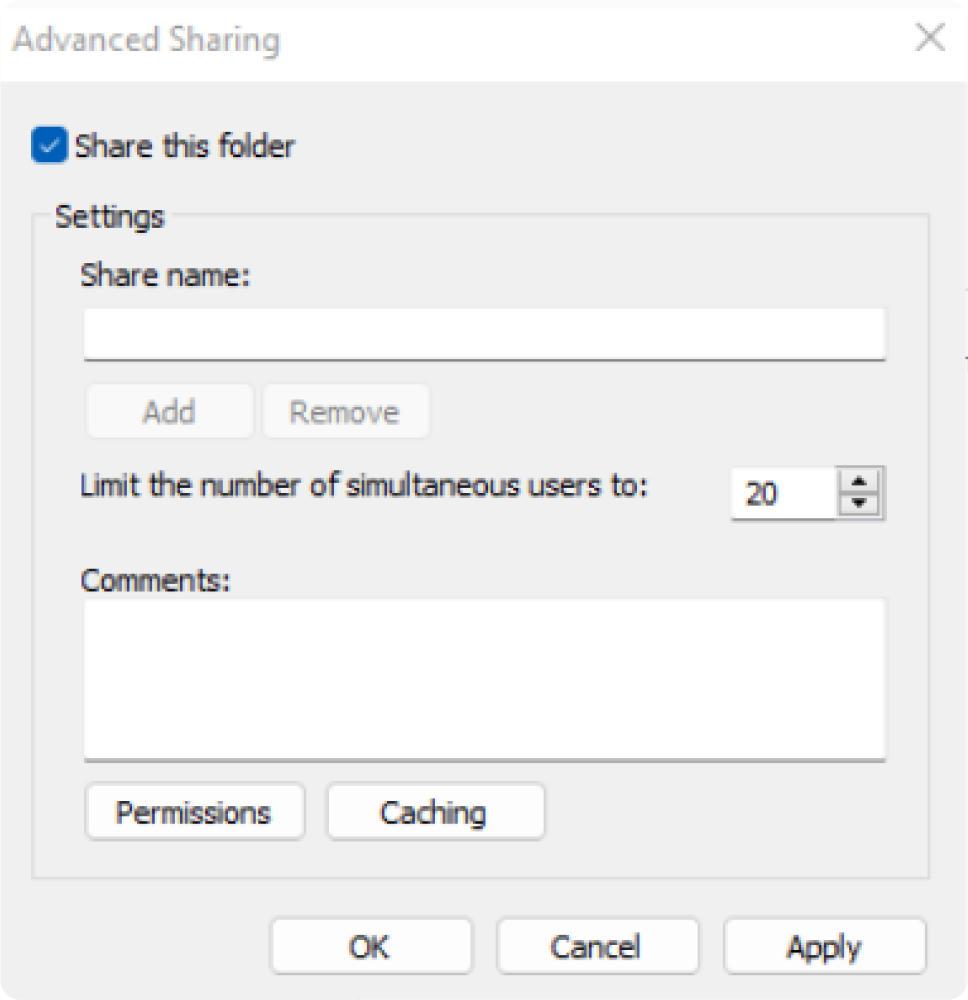
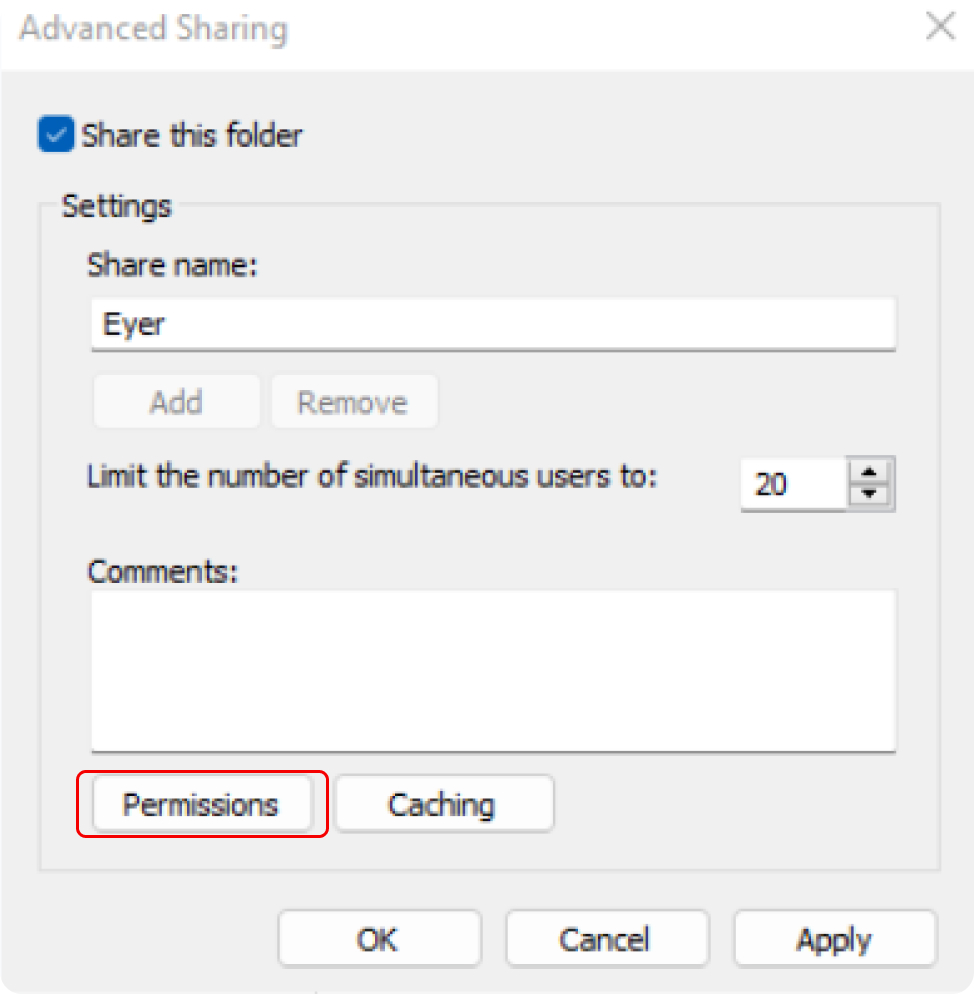
- Enter a name for the sharing operation in the “Share name” field.

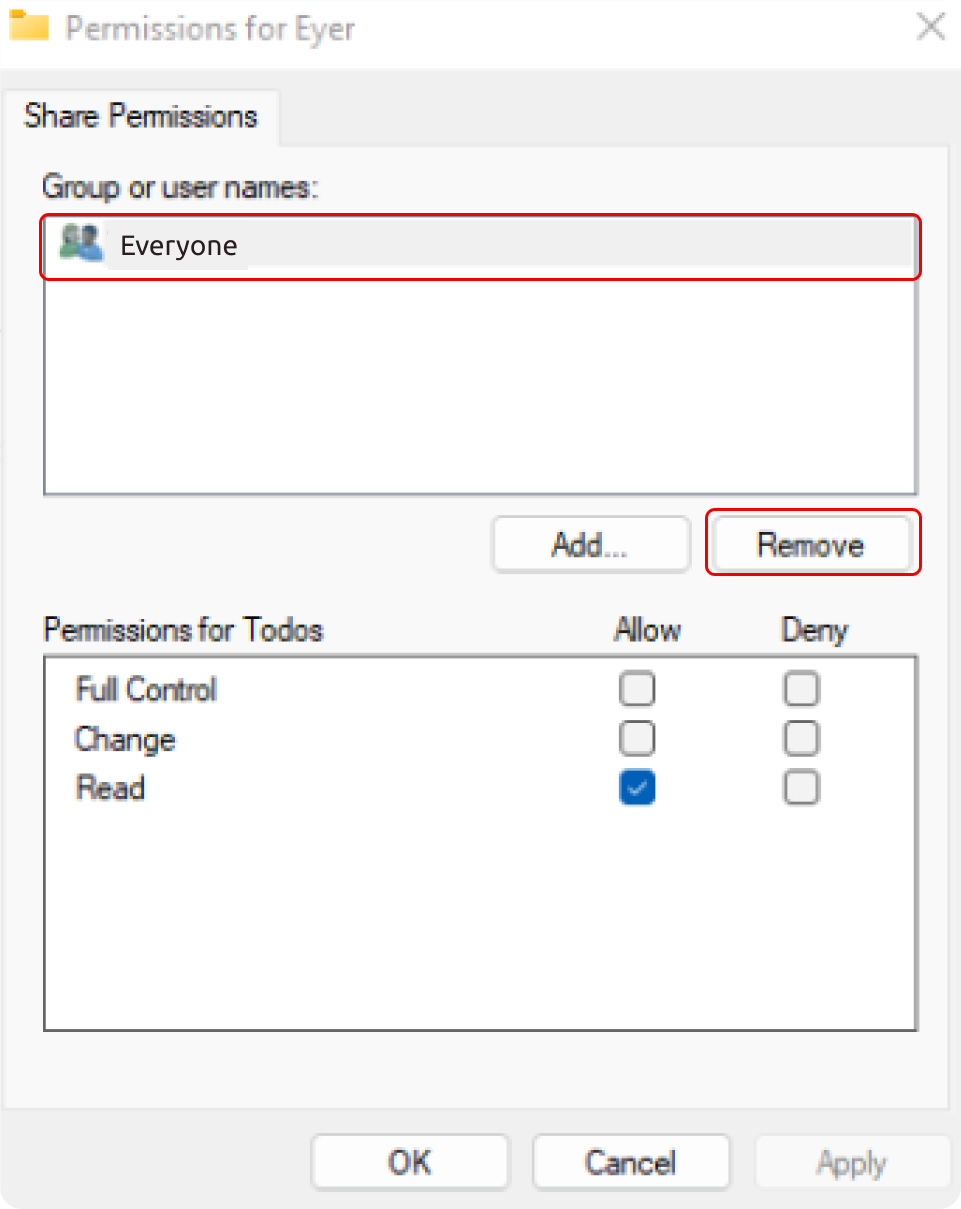
- Next, navigate to “Permissions”, choose the user Everyone, and remove it.
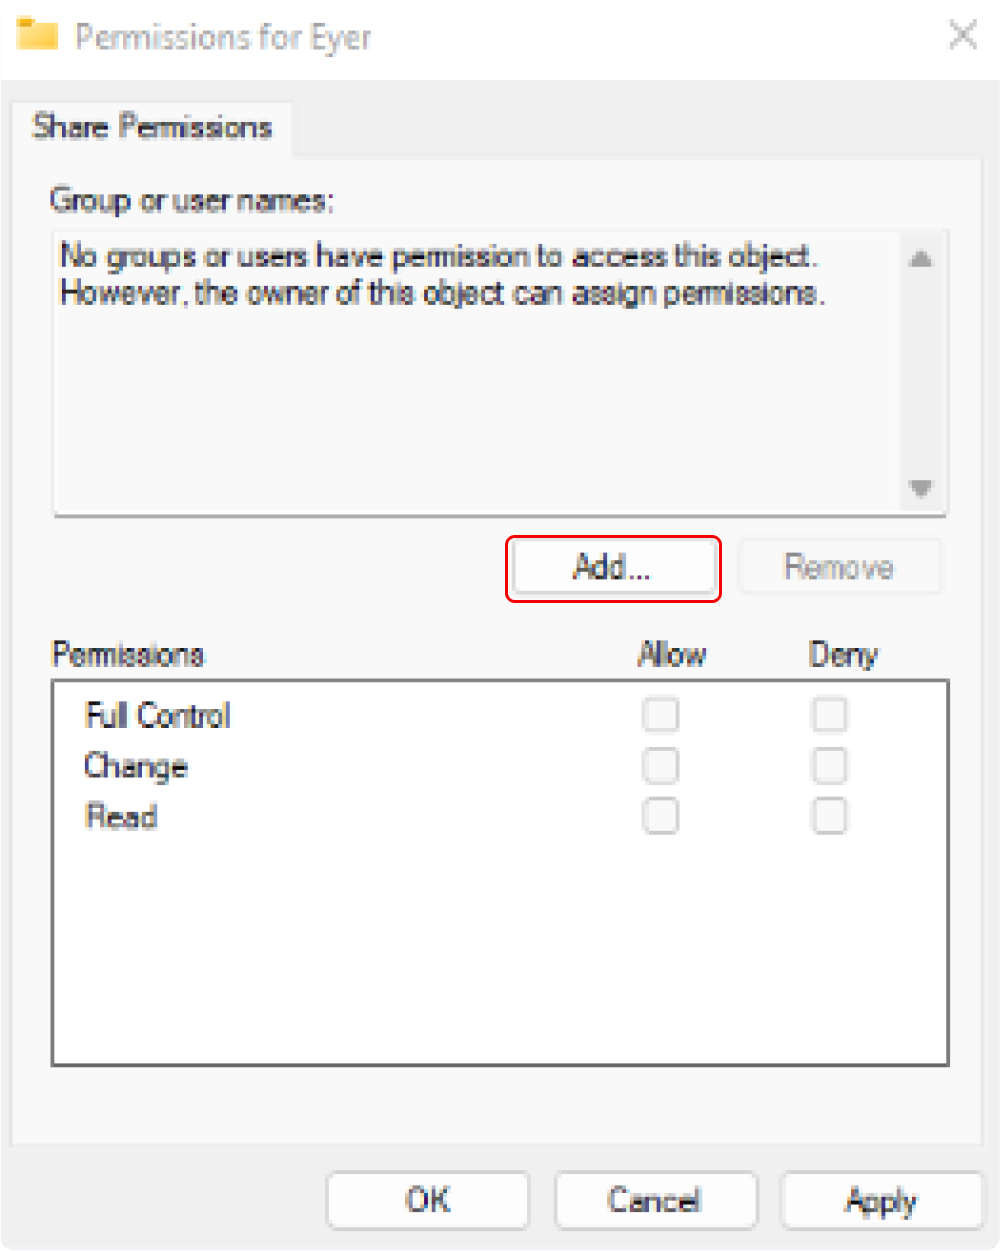
- Then, click “Add…” for all users who will access this folder.
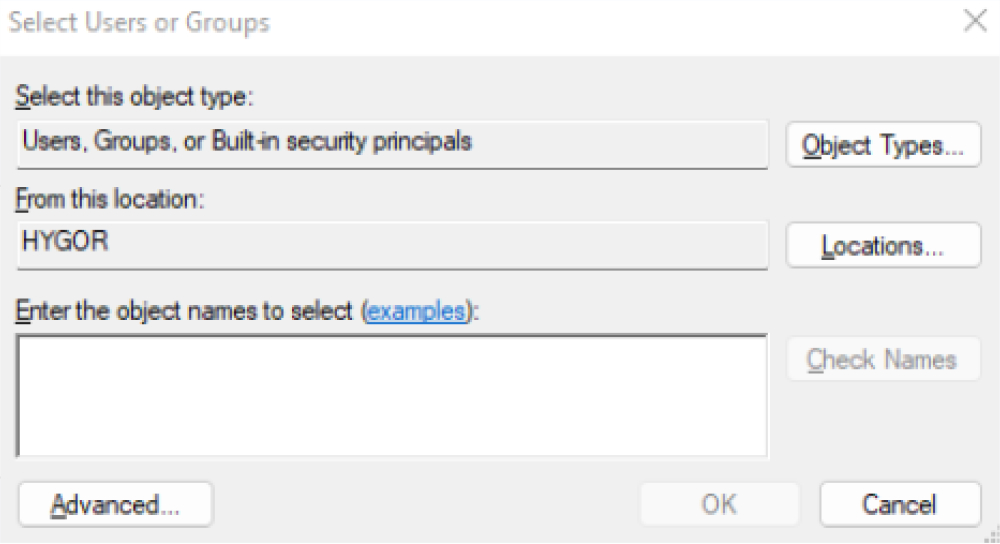
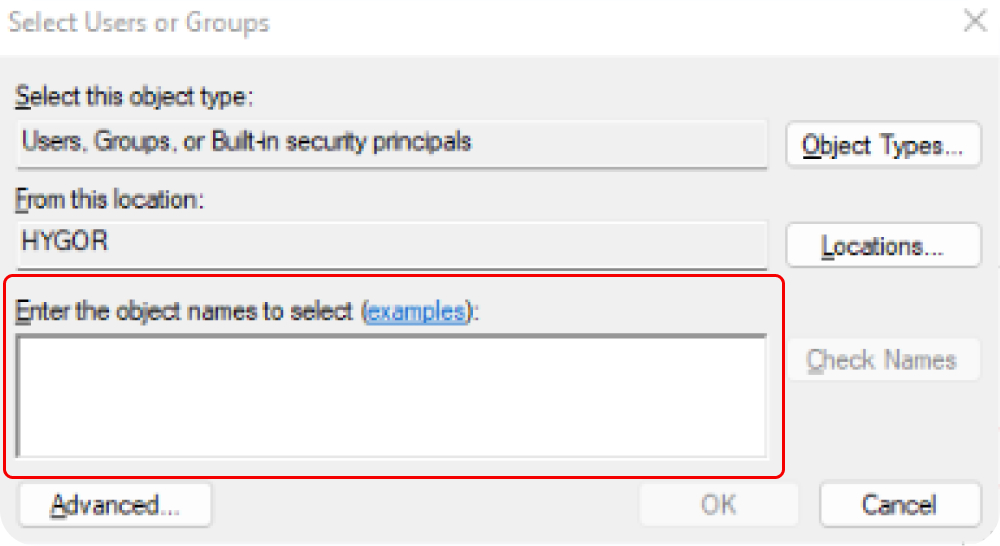
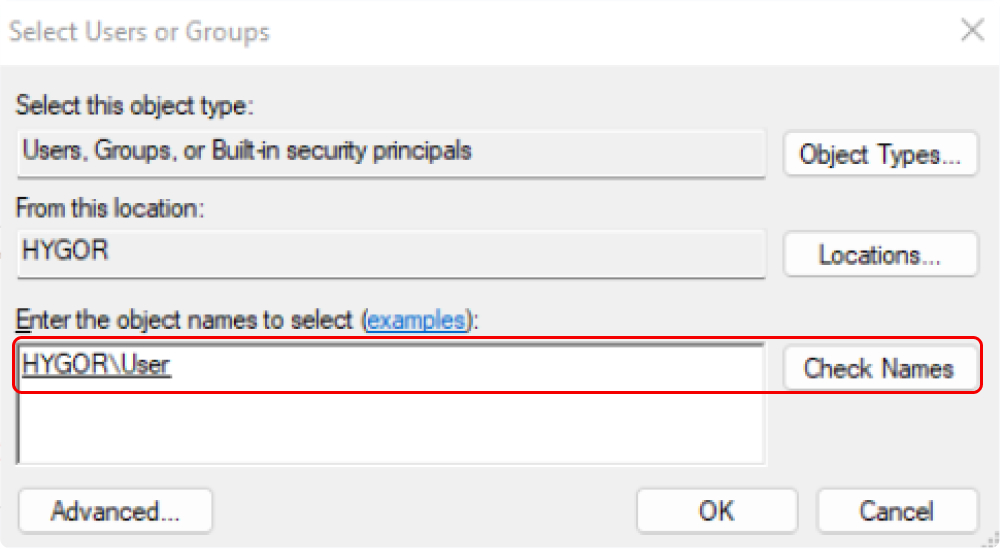
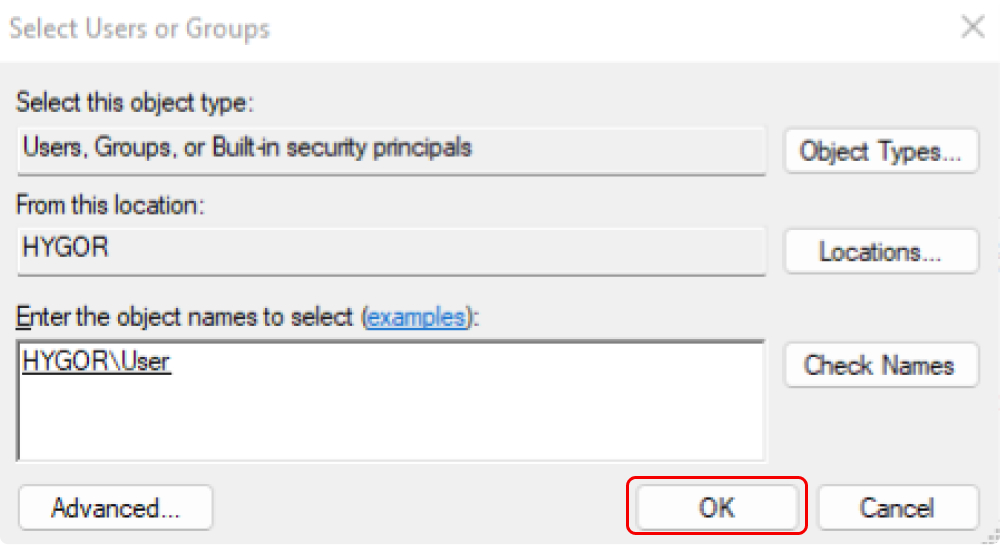
- When all the users who need access to the folder have been added, click “Ok”.
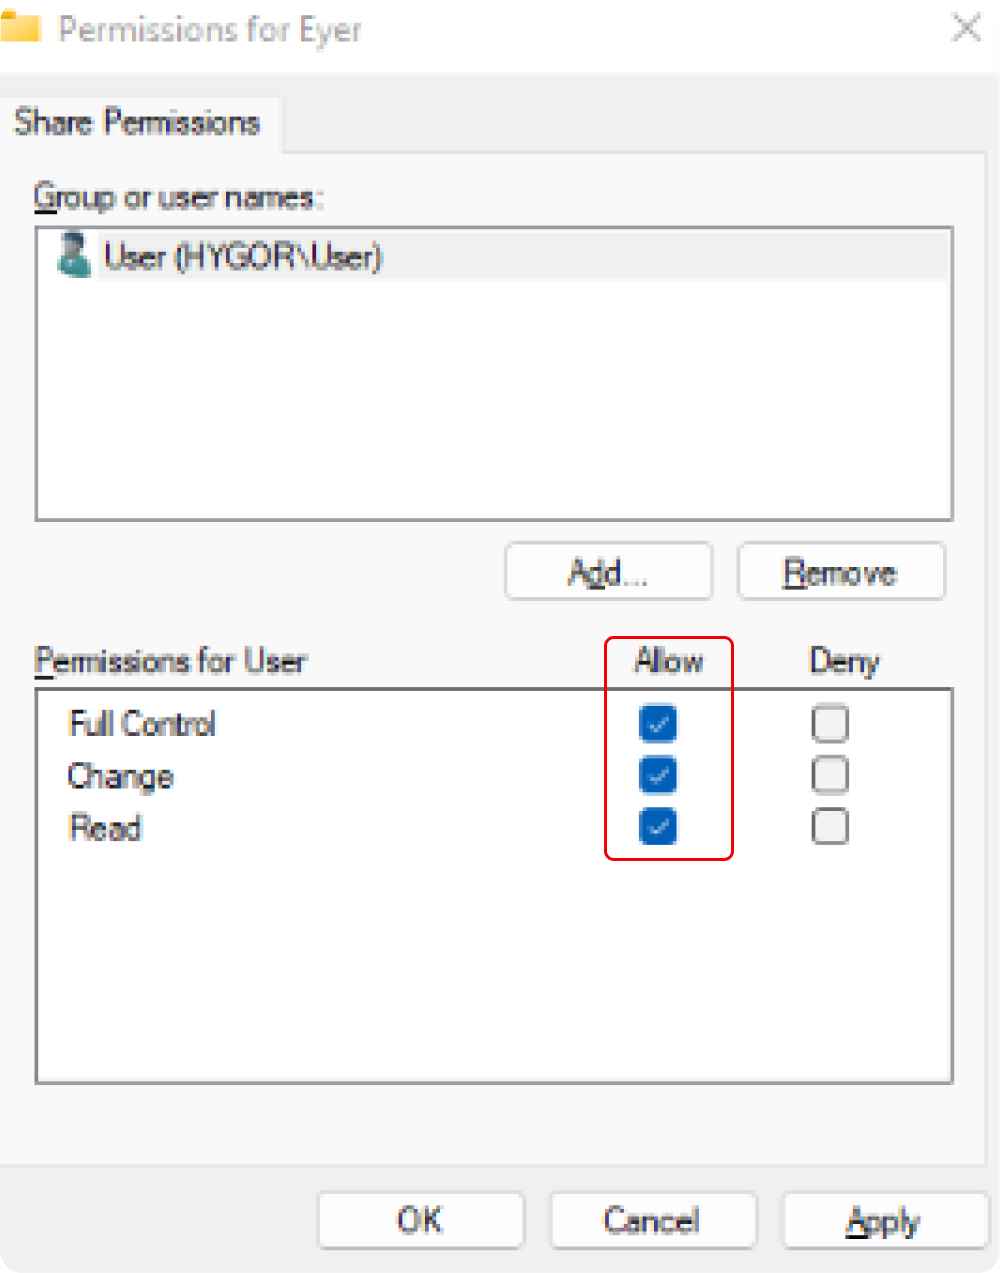
- Back on the Share Permissions window, individually select each user and grant them Full Control by clicking on the box in the Allow column.
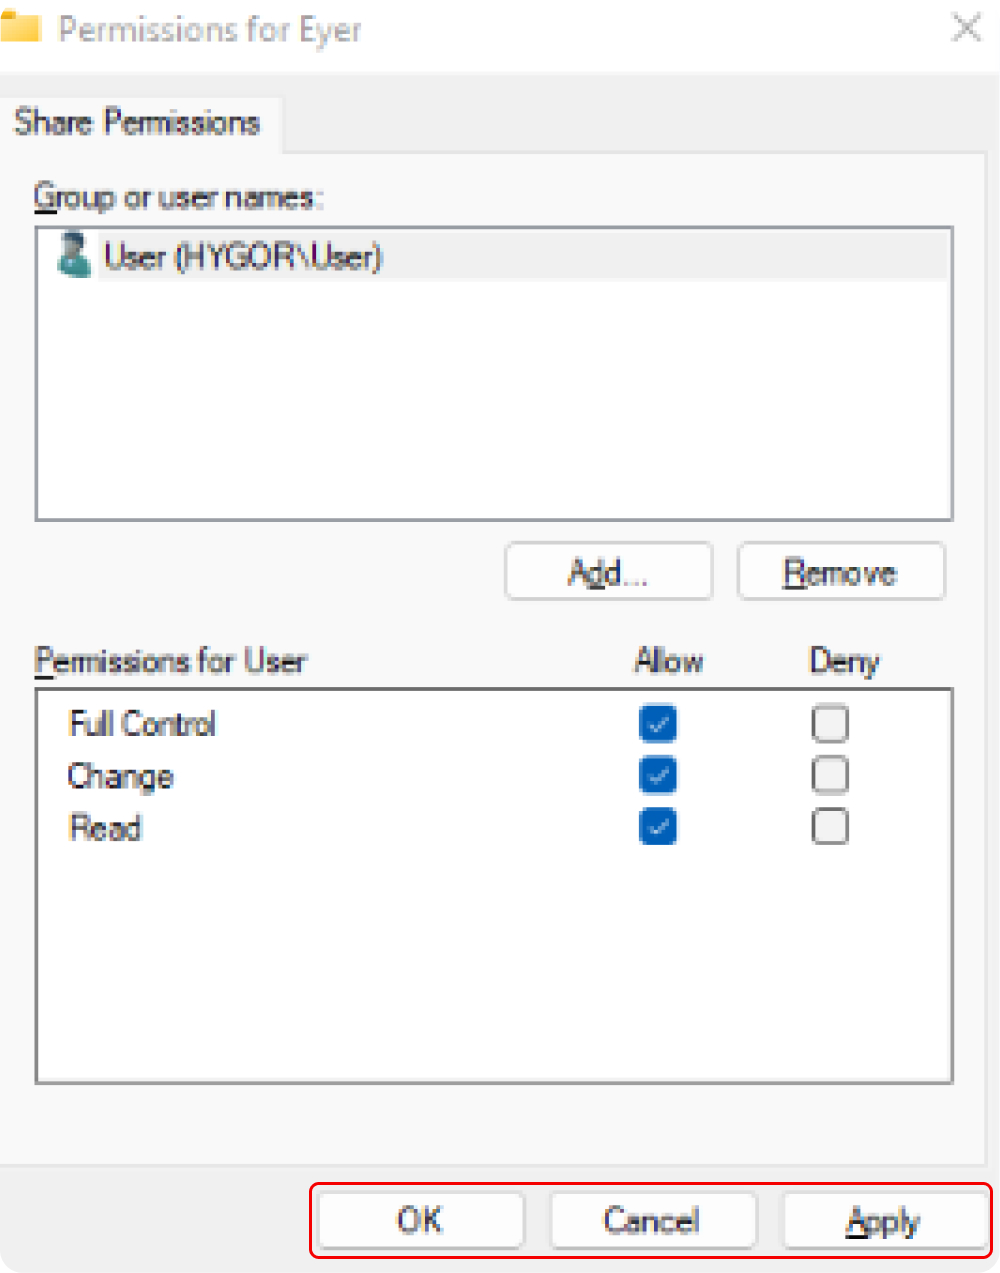
- Press “Ok”. Then press “Ok” again, and finally close the window.
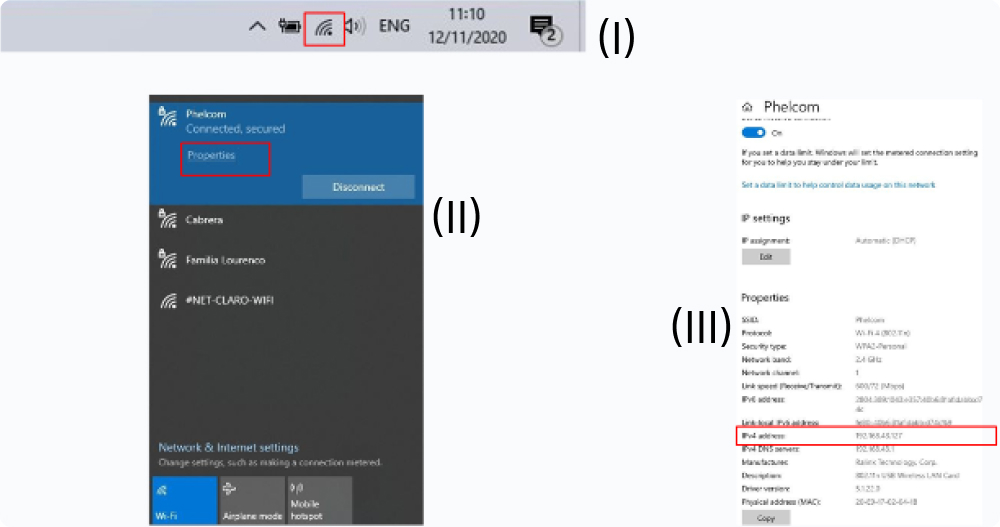
- In the bottom right corner of the Windows Toolbar, click on “Network & Internet Settings” (I). Click on “Properties” (II), and note the IPv4 address.
- On the server connection screen, fill in the information used to create the shared folder.
Create the shared folder automatically:
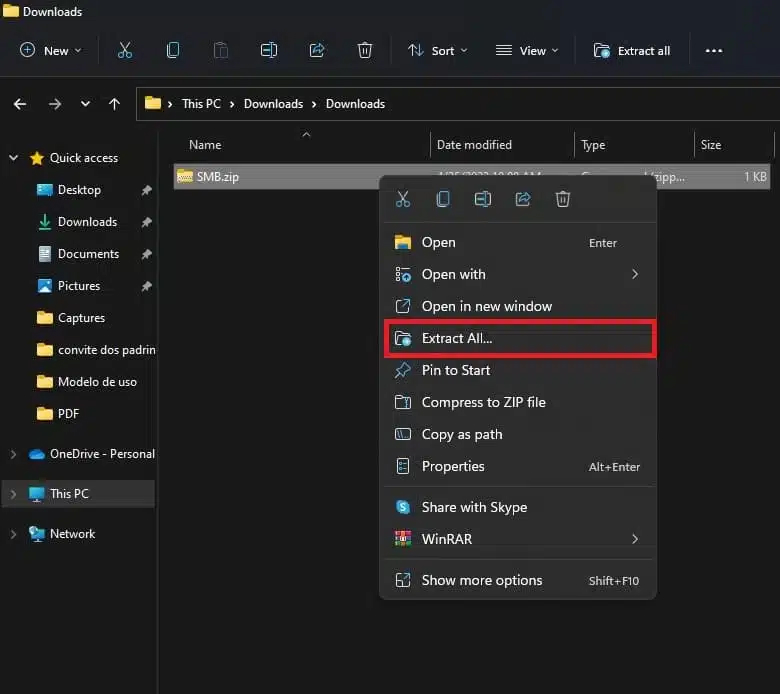
To download the executable, click here. Next, follow these steps to set up the shared folder on your computer:
- Extract the contents of the folder to access the executable (right click on the file).
- Run the file “Eyer-Script” as administrator (right click on the file).
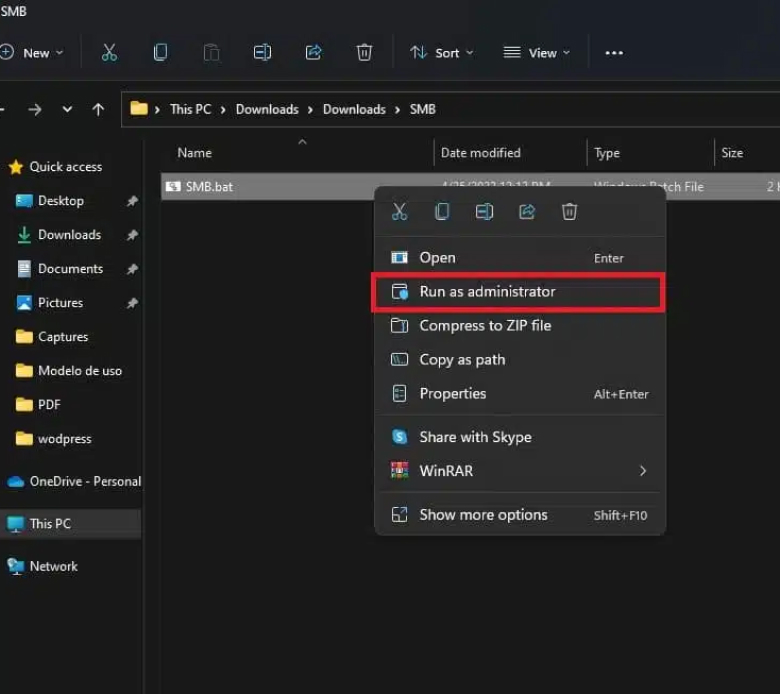
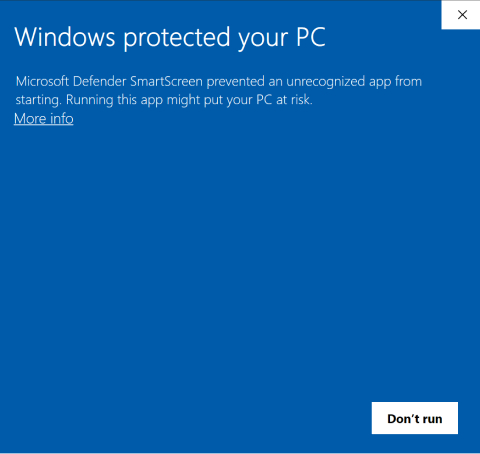
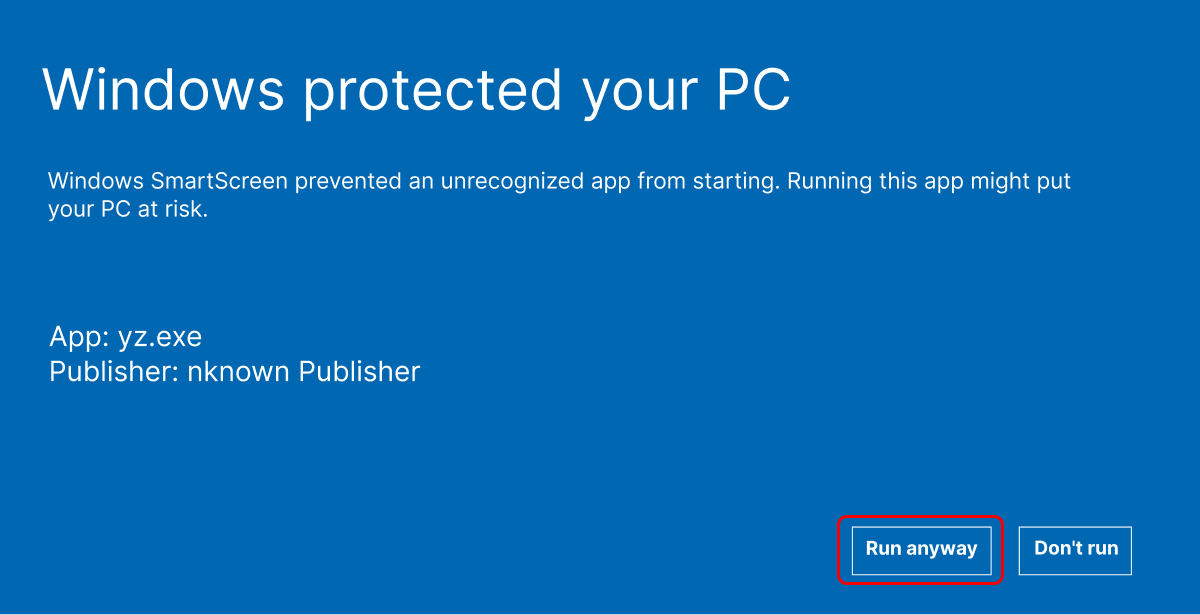
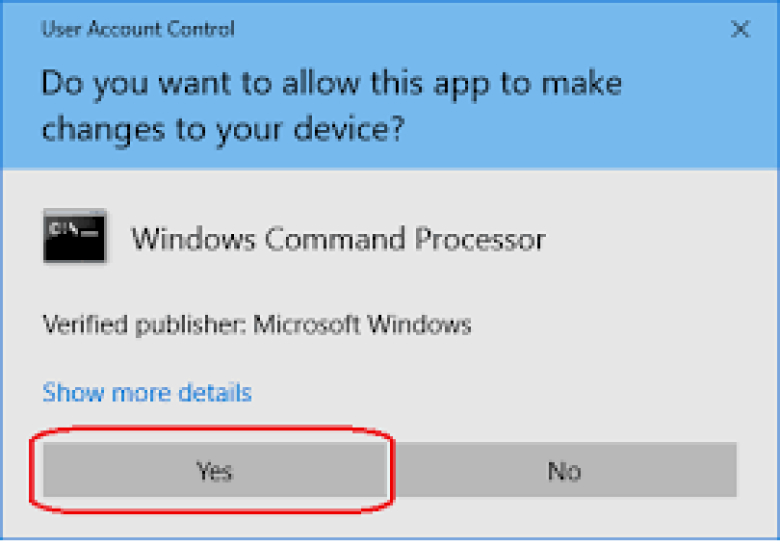
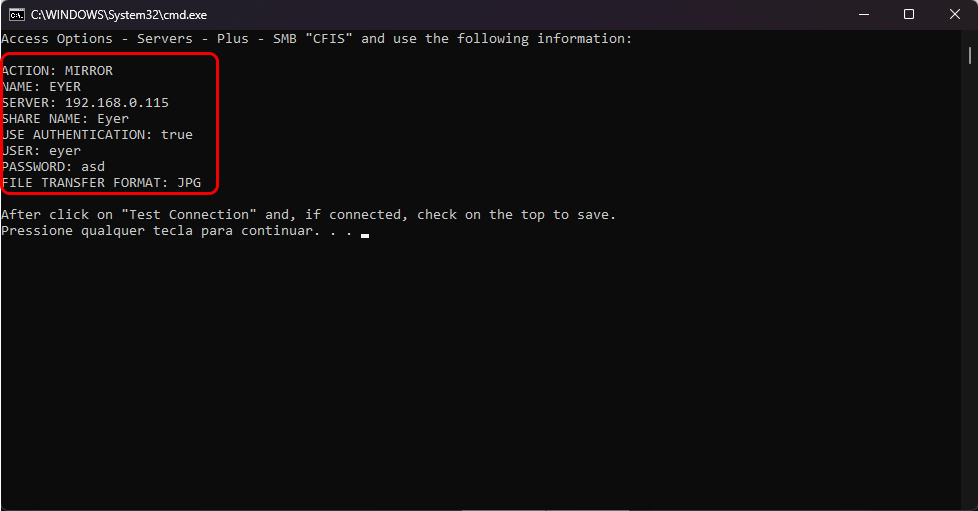
- The following window will open, follow the instructions.
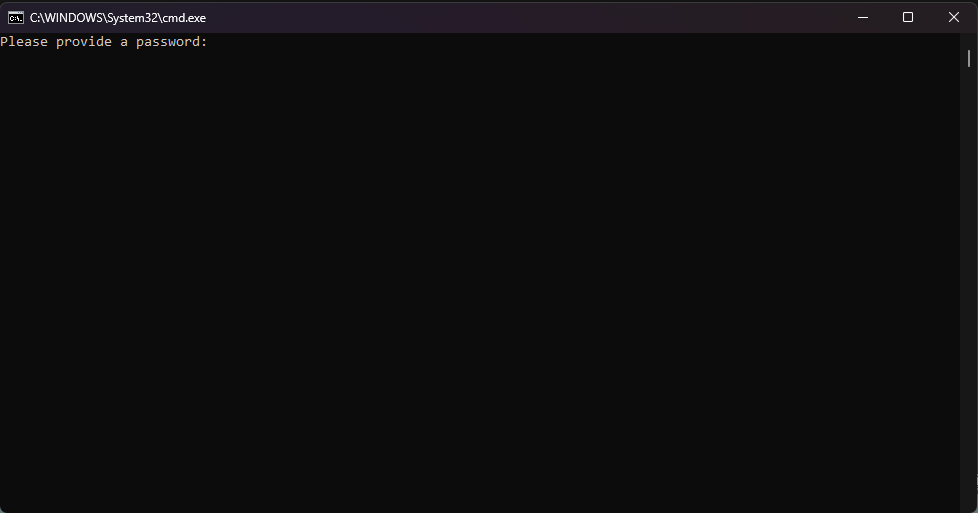
- Use the information on the command prompt to establish the connection with the device.